Attention whole-hearted vision board believers (we’re looking at you, Steve Harvey and Oprah Winfrey acolytes) and peeps seeking a new method of self-motivation: it’s time to ditch the scissors and glue sticks. PicMonkey has everything you need to create beautiful digital vision boards that’ll help you keep your eye (and mind) on the prize, without making a mess.
Read on for everything you need to know about these powerful goal-setting tools, as well as how to make a vision board in PicMonkey.
Digital vision boards 101

See all vision board templates.
If you’re new to vision board making, here’s the gist: vision boards (a.k.a. dream boards, visualization boards, mood boards or, to others, action boards) are essentially compilations of what you want to create in the world — either something tangible like a restaurant concept, or something more ethereal like a specific vacation vibe.
Many people — including more than a few PicMonkeyers who have made YouTube tutorials on the subject — create a new vision board annually, in order to stay focused on their goals for the next year.
Vision boards, in theory, are based upon the Law of Attraction, which proclaims that our thoughts create reality. If you've heard the phrase: energy flows where attention goes, this is why. In other words, what we focus on, we attract. For that reason, learning how to make a vision board holds several benefits. Making vision boards online can help you to:
Learn new design skills
Understand the Law of Attraction
Engage with the manifestation process
Establish your dreams and goals
Create a timeline for said dreams and goals
Create your reality
Not too shabby, eh? Now, for the logistics.
Digital vision boards usually consist of pictures, graphics, and words, and have a collage-y feel — sans the modge podge mess. There are a variety of ways to make a vision board — it really comes down to personal goals and personal style.
You can capture the photo collage look in your vision board, or opt for something more creatively complex (we mean that in a good way), like a photo montage.
Before you start designing, take a few minutes to reflect on the following:
What do I want to accomplish this year / in five years / in my lifetime?
You can make multiple vision boards for each separate timeline, or combine everything in one! Whatever you choose, this practice is all about intention, so feel free to meditate on it before, during, and after you create to hone your vision.
What do I need to do in order to accomplish my goals?
What challenges will I face?
What kind of support do I need throughout this process?
As you map out your ambitions, you're already building new momentum. For this reason, it's a good time to call in other mindfulness practices like yoga, meditation, journaling, community, or anything else you may need to support you during this process.
Digital vision board tips
First thing's first. You don't have to have all the answers now, but it can help to jot down some notes (words or phrases) to start. Visions boards are innately magic — the purpose is to simply create and let them reveal themselves to you.
Number two: If you don't have any clue about where to begin, no problem! Peruse through PicMonkey's hundreds of fun fonts, thousands of graphics, millions of stock photos to inspire your direction.
And lastly, this is not the time to think small. It's important to have short-term and long-term goals as well as manifest things you currently perceive to be out of reach. For example, want an extra $10,000 but feel it's impossible? Work through that resistance first and pivot your focus towards infinite possibilities. Try not to put down anything you're currently struggling with, but the things you feel you can really attain at some point in time. Then, let the Universe work its magic.

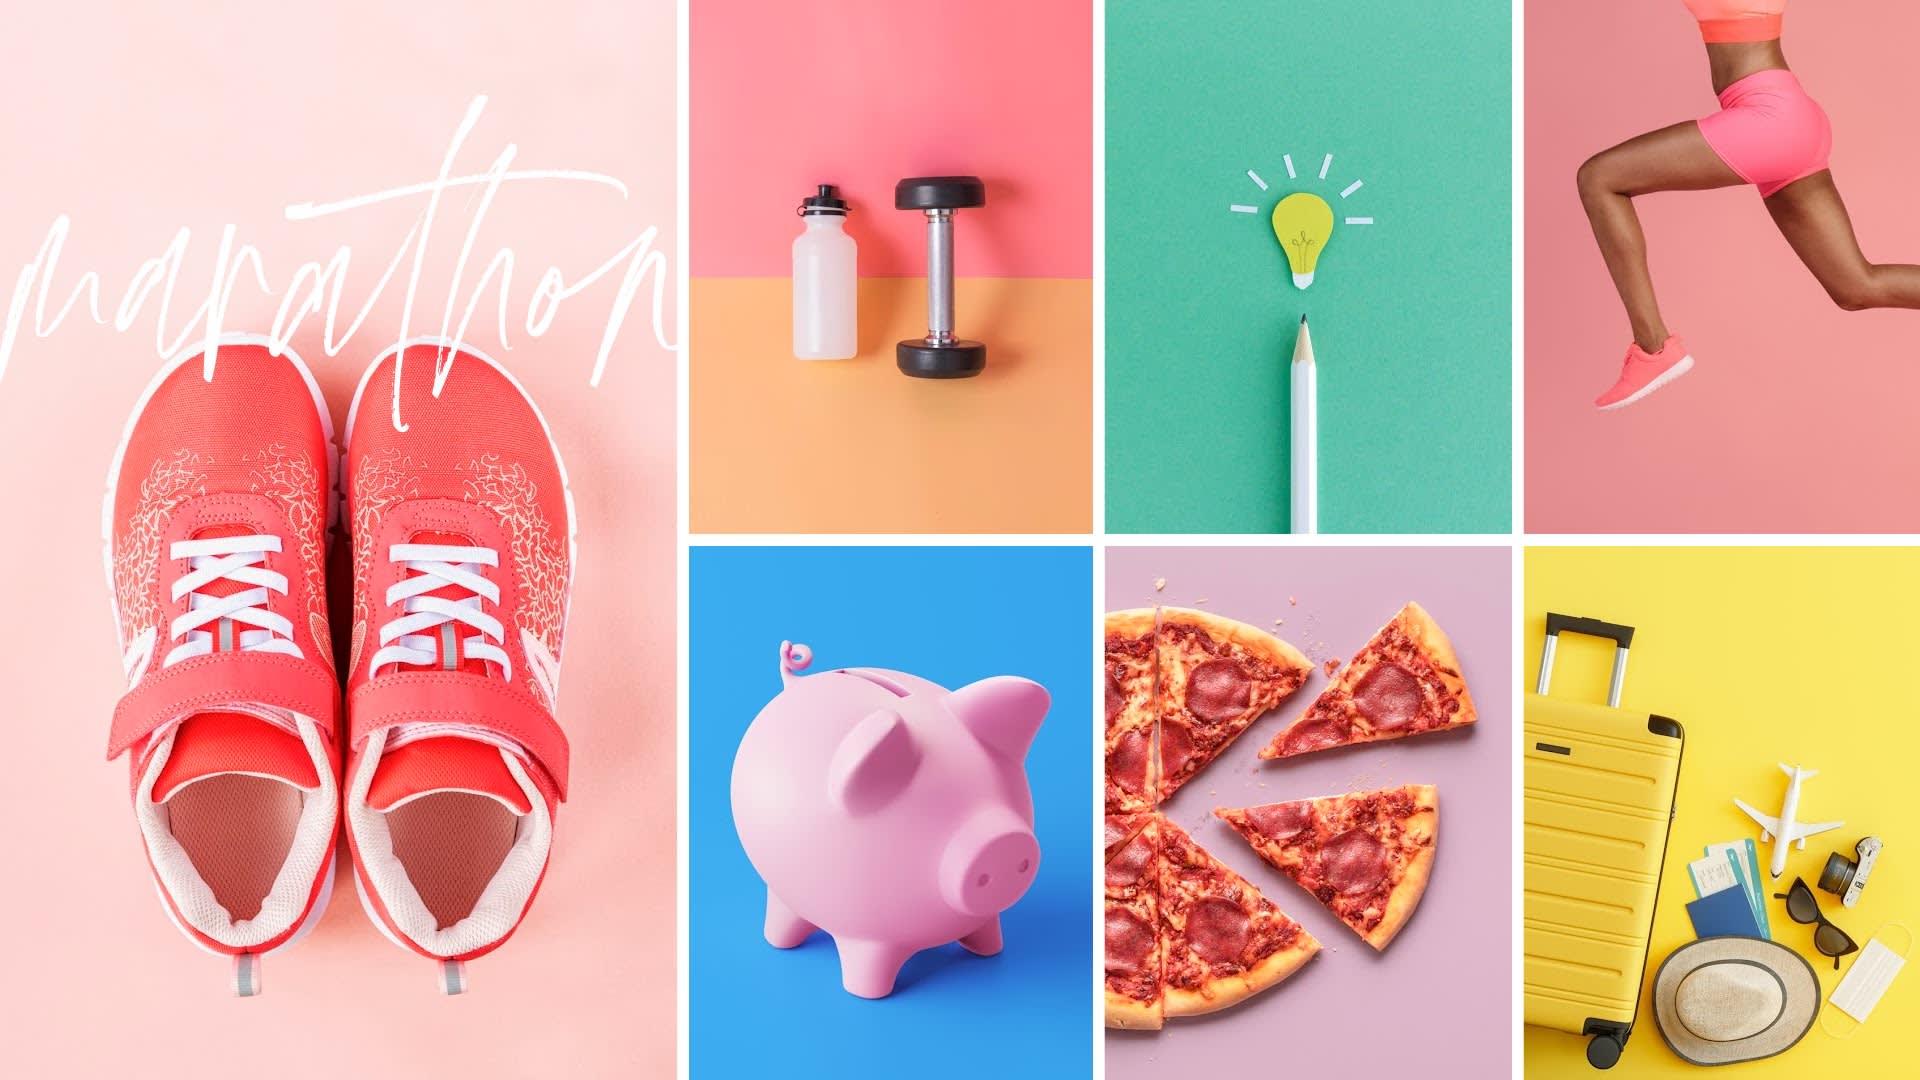
Try a collage template to make a vision board like this — so neat and tidy and ultra colorful for mega inspo!
How to make a vision board online with PicMonkey
How to make a vision board in 4 easy steps:
Click Create new at the top of the PicMonkey homepage, then choose a template or start from scratch with a blank canvas.
Click Add image to bring in your favorite pics or a video. If you need pics, browse our massive stock library.
Design with cool fonts, trendy colors, and our huge collection of graphics.
Download your vision board to your computer, post it to social media, print it to hang in your room, or keep it in Hub, your PicMonkey cloud storage.
As you feel your way into these quick steps, consider what application you'll want for your vision board. While sharing it on social can be a great way for others to support your vision, others may prefer it stays private for the sake of keeping the energy around it clean. Either way, knowing which format you prefer for your creation can help you focus inward right from the jump.
Now, let's get to it!
Step 1: Start your digital vision board project

In PicMonkey, simply click Create new > Blank Canvas to choose from the preset size options, or enter a Custom size to set your own pixel dimensions. If you want to eventually print your design but need to convert the dimensions from pixels to inches, check out our nifty conversion chart.
Step 2: Add photos and videos
Now it’s time to un-blankify that canvas! To add inspiring images that you have saved to your computer, click Add image and arrange your pics or videos on the blank canvas. Open your images from your computer, Hub, or choose from the ginormous stock photo library (thanks, Shutterstock), then crop, resize, and adjust to match your vision.

While looking for images, think of your goals — a beautiful kitchen to represent that remodel you’re aiming for, the Eiffel tower for that trip to Paris, a salad for feeling healthy, etc. Just make sure to check the image permissions if you’ll be sharing your vision board publicly (psst: all our stock photos are royalty-free!).
Step 3: Embellish with text and graphics

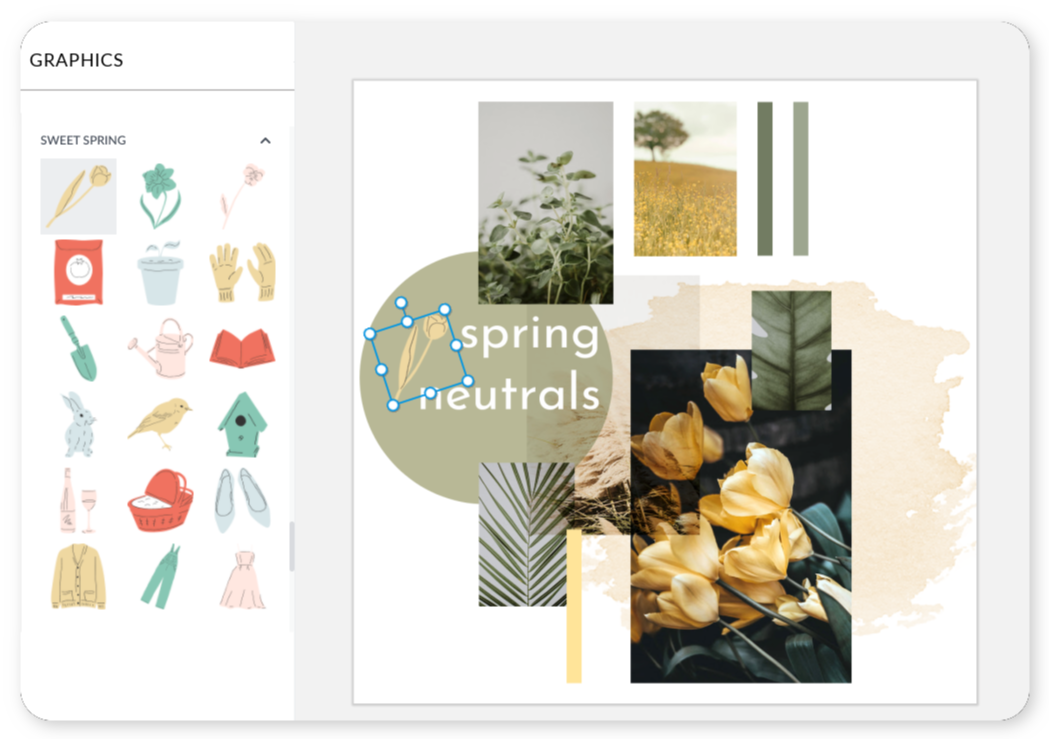
Access our collection of thousands of graphics from the Graphics tab. Peruse the category groups to add stars, flowers, abstract shapes, or whatever else you enjoy. And why stop there when you can animate your graphics (yep — we said it!)? Check out our thorough guide for Pro subscribers: How to Animate a Picture, Text, or Graphic.
To give your board a tactile feel, check out the tape and pushpin graphics. You can also create a cork board look with Boards in the Textures tab.
More, you ask? Go for our hyper-trendy Pro effects, like Polaroid, and give your board a nostalgic look in just a single click.
Many vision board pros also incorporate text or quotes into their motivational masterpieces. Some advocate for including dates on vision boards to stay focused. If that’s your jam, put the year at the top and/or months and years with each item on your board.
Describing each item in a word or a few words is also pretty common, like “Be productive,” “Restorative travel,” or “Become a yoga master.”
To add text to your vision board, head to the Text tab (the Tt icon). You’ll find a whole bunch of fabulous fonts to play with and the option to upload your own fonts (in the Your fonts group). Click the Add text button at the top of the panel, and type away.
Pro Tip: To make your words pop, try layering them on top of a graphic or photo!
Step 4: Download and share your vision

When you are finished with your design, you can either:
1. Download your vision board to your desktop as a JPG, PNG, MP4, or GIF (or PDF if you're a Pro subscriber). If you plan to print it out, then download as a PNG for better quality. If you included video or animated graphics in your design, then download your vision board as a MP4 or a GIF.
2. Share your vision board via email or directly to social media. You can also send a link to your design to others.
Pro Tip: If, upon, printing, you wanna take things a step further with a poster or flyer-type size to hang, simply use PicMonkey's Resize tool to keep the quality intact. Learn more with this handy tutorial: How to Resize an Image Like a Pro.
Make a vision board from a design template
We mentioned before that we have a gorgeous collection of digital vision board templates in all sorts of styles. For a fast start, choose your fave and get to work:
In PicMonkey, Create New > Templates.
Search for "vision board" then browse.
Click each template to preview it larger.
Replace our images with yours.
Elevate your vision with these design ideas
Just because you're forgoing the glue sticks, magazine clippings, construction paper, and glitter (not the glitter!) and making a vision board online doesn't mean there aren't plenty of ways to capture inspiring looks.

Grab a vision board template and get to work.
1. Draw on your design
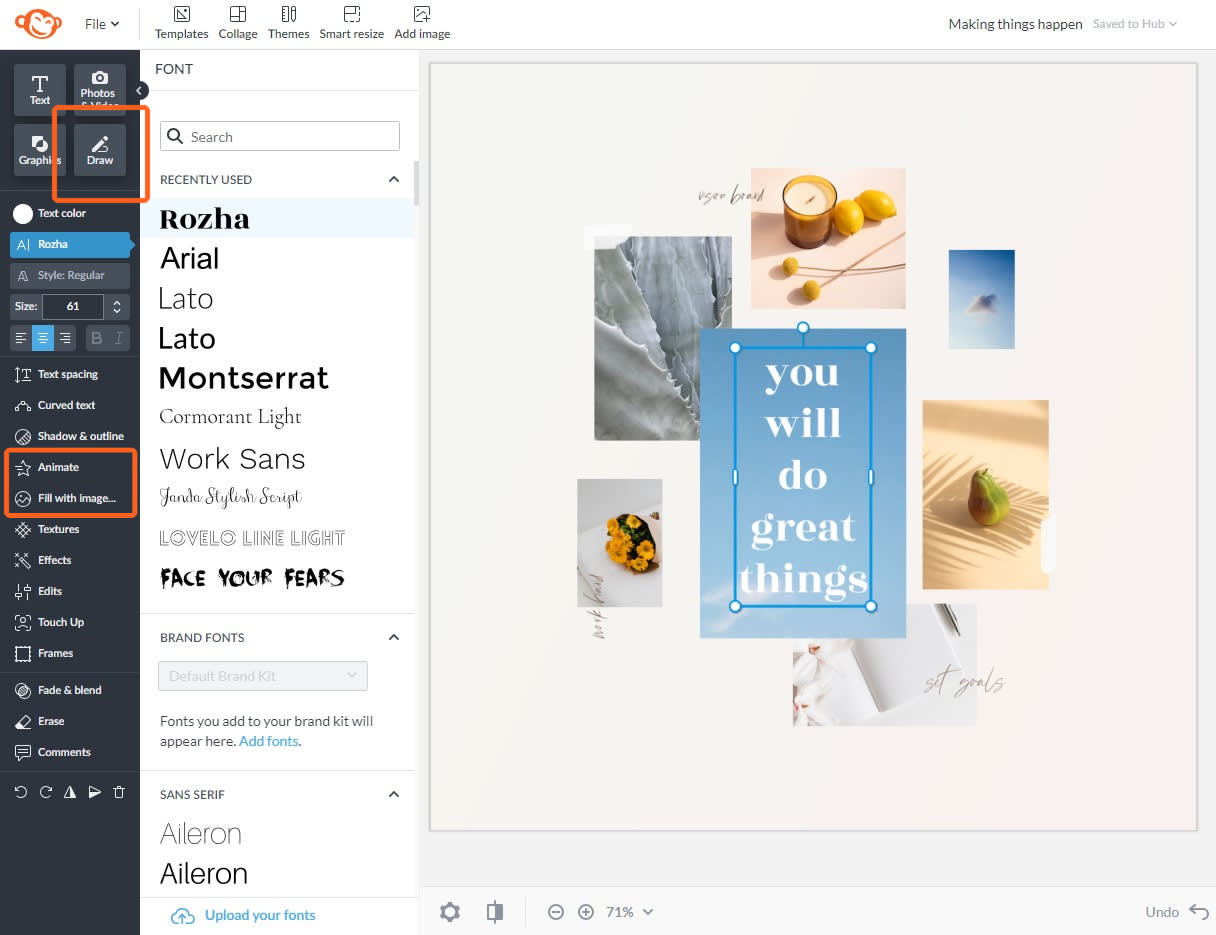
Use the Draw tool to doodle or sketch on your vision board for a hand-drawn look. After you create a drawing, it saves as a graphic. Then you can customize it as such — change its size, color, rotation, or animate it.
2. Fill text or graphics with an image
Ever heard of an image mask? It's where you put an image inside a text or graphic layer. To do so, select your layer, then click Fill with image in the left tools menu.
Upload your own image for a personalized touch, or pull from our pro stock photo collection.
3. Add animation effects
Okay, PicMonkey Pro subscribers! If you reallly want to take things to the next level, you can animate parts of your design. That's right, vision board Padawan: images, text, and graphics are all fair game for animation when a digital vision board is involved.
How to make a vision board with the PicMonkey mobile app:
Bring your vision board to life on the go using the PicMonkey mobile app. Need to download it? We got you! Simply click below.

Get the PicMonkey Mobile App!

Next, peep these easy steps to learn how to make a vision board straight from your phone!
Open the app and choose a Blank canvas.
Add a background color or a pattern then tap Next in the top right.
Tap Graphics in the bottom right to add photos from your camera roll, Hub, or pick from any of our fun designs.
Layer on text by tapping Text and typing in your favorite inspirational phrase.
Save your vision board to your phone or save it in Hub to keep editing later.

Even though you’re on a small screen, think big (like 1800 x 2400 pixels) when you choose your canvas size so you can fit all your vision-board worthy designs in one place. You can add a drop of color or a pattern before moving on to the mobile editor, or leave it blank if that’s your vibe.
Tap Graphics in the bottom toolbar to add photos from your Camera Roll/Photos or inspiration-inducing graphics to your board. Adjust the sticker’s color, opacity, and even strategically erase parts of it to fit your vision.
You can layer inspirational phrases on your vision board using Text. Choose the font that matches your mood and change its pigment to match your board’s color scheme.
When your vision board is finished and you’re filled with all the let’s-do-this feels, save it to your computer or to Hub, where it remains editable (in case you wanna add some new goals later on).
Make sure your digital vision board is someplace where you’re gonna see it. Many vision boarders make their creations their computer desktop backgrounds, or print and frame their boards. Others share their boards with a trusted friend or throw a vision board party.
And if you're like, Wait, more, please, we've got you. Check out these other two powerhouse resources before you create a vision board online.
Know that what you do with your board is up to you, just have fun and get ready to live your best life!
