You’ve likely seen this new take on images with text: the photo subject and the letters are intertwined, resulting in a 3D-esque feel. This layered look is high-end, eye-catching, and ridiculously easy to make in PicMonkey. Learn how to DIY it here, then turn out scroll-stopping social posts, advertisements, covers, thumbnails—whatever you need—in minutes.
How to layer images and text in three steps:
Open your image in PicMonkey.
Choose a font and add text to your photo.
Erase parts of the text where you want it to appear behind an object or subject in the photo.
Read on for more detailed steps...
Open your image in PicMonkey

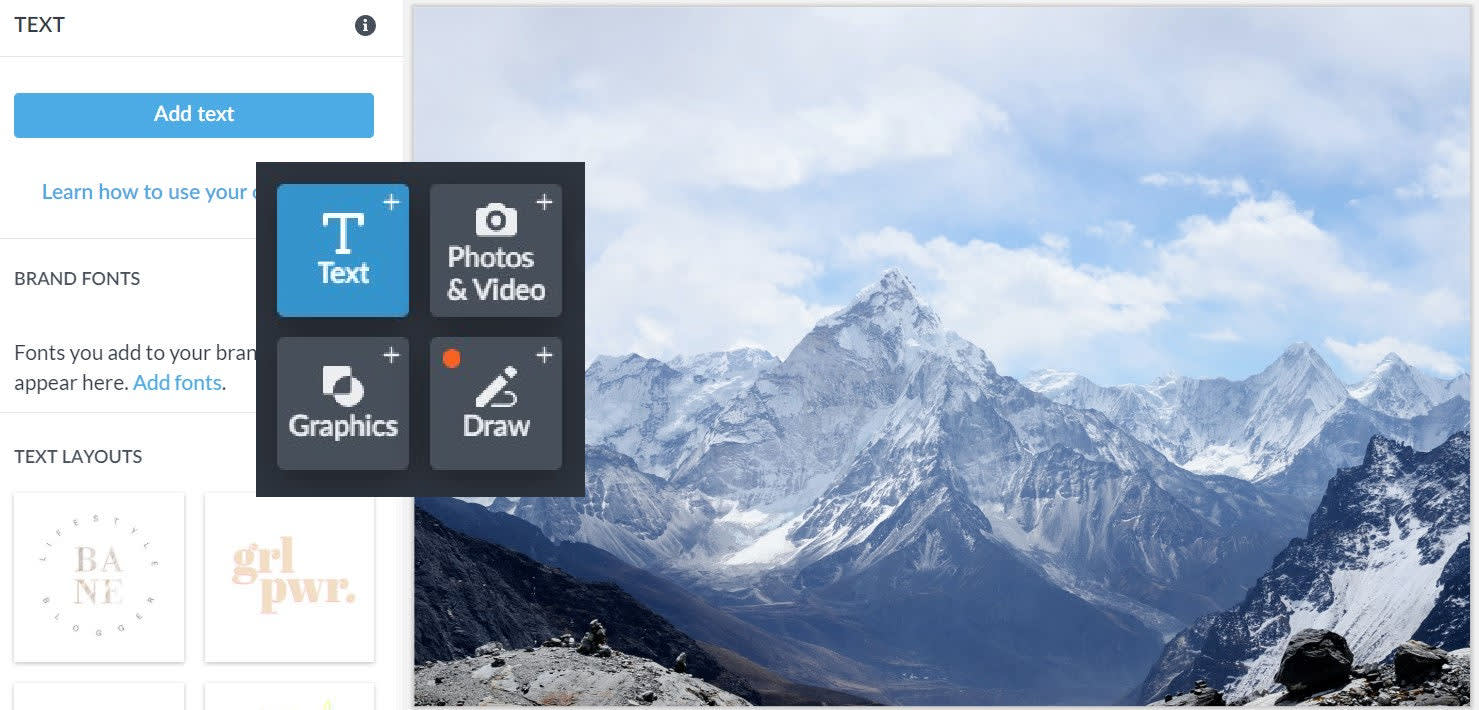
To kick your design off, click Create New at the top, left-hand side of the PicMonkey homepage and choose a photo you'd like to add text to, from our stock photos library, your computer, or a cloud storage location. Open the Text tab from the tabs menu.
Add text to your photo

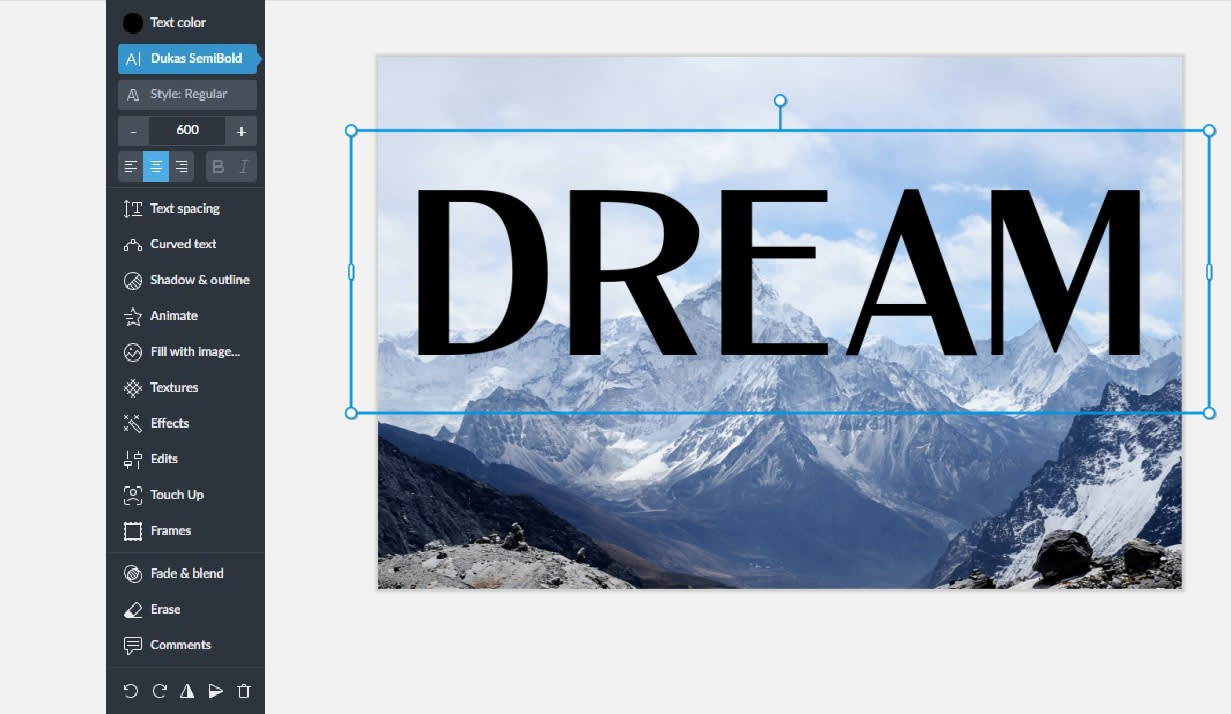
Click the Add text button. This will add a text layer to your image and open up the Text Tools menu on the left. Choose a font from the drop-down list. Type your copy into the text box that appears over your image and make any other adjustments to your liking.
Pro tip: To place your text perfectly, try our alignment tools. Click the settings button (gear icon in the bottom toolbar) and create a grid, then choose Align and snap.
Erase parts of your text

Now for the extra fun part! You can create that intertwined text on photos with an almost-3D feel. With your text selected, click Erase on the Text Tools menu.at the top of the Text palette. Use the sliders to adjust your brush size, hardness, and strength. Erase bits of the letters to make them appear behind parts of the photo.
Zoom in on your image while you’re erasing to make sure you get it juuuust right. And if you erase too much, click the paintbrush icon to paint it back on.
Not loving your word choice after you’ve erased text? PicMonkey remembers which parts of letters you’ve erased, so you can type something new and the parts you’ve erased will remain intact — no need to erase twice!
Layered text design inspo
Now that you know how to layer text on photos (surprisingly easy, right?), check out these layered text-and-image combos and get your creative wheels turning.

The layered text-and-image technique underscores the sense of movement in action shots beautifully. Try it out with your #fitspo images and you’re sure to end up with something wow-worthy.

When your photo has people in it, you need to use a little more ingenuity to figure out what text placement is gonna look best. Think outside the lines and come up with something fun and unique, as seen in this blog cover featuring hot yellow text.

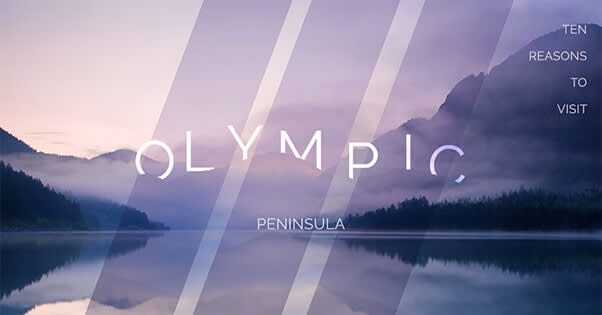
Make an idea pop or a quote come to life by placing it directly into an environment, like we did with this landscape shot. Text is especially eye-catching when embedded in natural features like these purple-tinged mountain ranges.
Pro tip: Wanna break free of the confines of your computer? There's a phone-and-tablet-friendly text erase tool in the PicMonkey mobile app, too! Download the app to layer text on the go, and log into your account to take your projects from Picmonkey.com to the mobile app and back again.
Read more: Layer Images: How to Use Layers in Your Designs and Photo Editing
