Curved text in designs is everywhere these days! Logos, social posts, websites, ads, print— you name it. Still, PicMonkey is one of the only design platforms out there with a super easy-to-use curved text tool (*cheers and applause*).
So, if you want to put your words into circles or arcs and create some serious typography art, we've got the goods to show you. Learn how to curve text in PicMonkey and on the PicMonkey mobile app. Then, we'll walk through all of the glorious customization options at your disposal, along with some ways to use curved text in your designs.
Let's do the thing.
How to curve text with PicMonkey
Type text, curve text, adjust text — and you're done!
Not to throw shade, but other photo editing platforms make learning how to curve text a NIGHTmare. So clunky! Why spend so much time trying to figure things out in Canv—ahem, other photo editing platforms—when you can curve text in a fraction of a second with PicMonkey?
Curve writing mastery in 5 quick steps
Click the Text tab and click Add text.
Choose your fave font from the font selection drop-down menu.
Type your text in the text box.
Click Curved text on the left tools menu.
Arc it as much as you want, or make circle text. Fin!
You've got the gist! Now let's walk through the ins and outs before trying your own hand at curved text.
How to curve letters with PicMonkey mobile
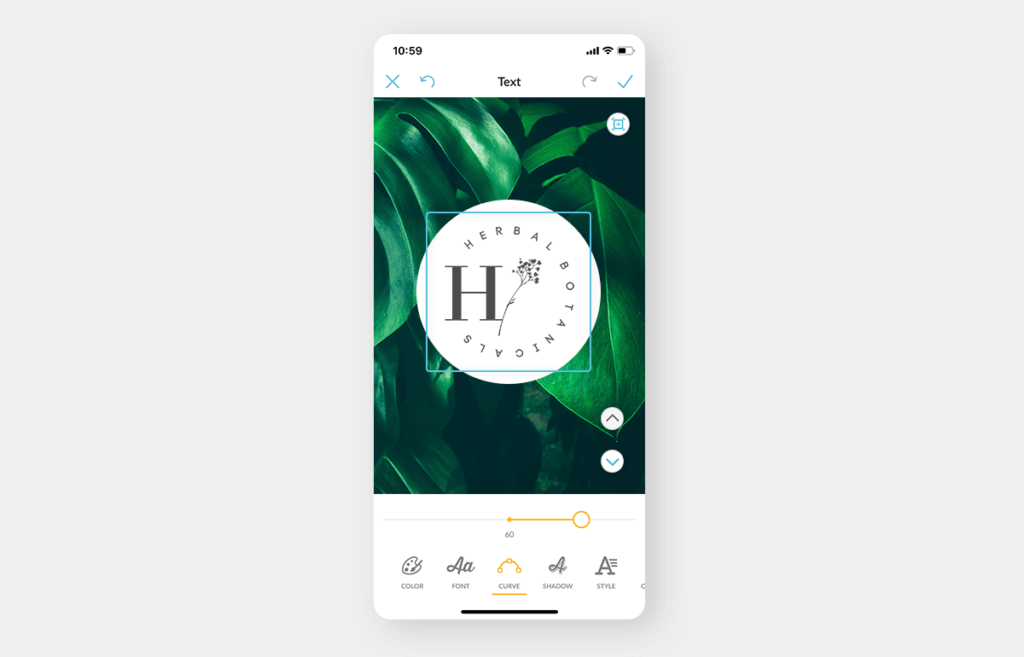
Good news mobile users, curve-ifying your text on PicMonkey mobile is just as easy as it is on desktop.
And if you're like, Ah! Wait, I don't have the app! Do not fret. Click below and done!


Get the PicMonkey mobile app!
Now that you're equipped, here are the quick steps:
Tap the Text option from the bottom toolbar and type your message.
Tap Done.
Tap Curve and use the slider to adjust the curve of your arc. Easy as pie.
Curve writing with shadows, outlines, spacing, and more
Now that you know how to make curved text in PicMonkey, check out all of the ways you can customize it to create unique looks and exciting effects.
Add a drop shadow, outline, and/or knockout to the center of your text.
Use the handles on the sides of the text box to stretch out or scrunch up your arched text or resize the diameter of your circled text.
Add spaces between your letters to play with the kerning of your text.
Animate your text (a PicMonkey Pro feature) or fill with an image.
Use the Erase tool to layer your text and create cool overlapping effects with words and images.
Combine two or more arcs curving in different directions to create a wavy look. Experiment with the rotation handle to increase the waviness.

Nab a wavy look with curved text arcs moving in different directions.
10 ways to use curved text in your designs
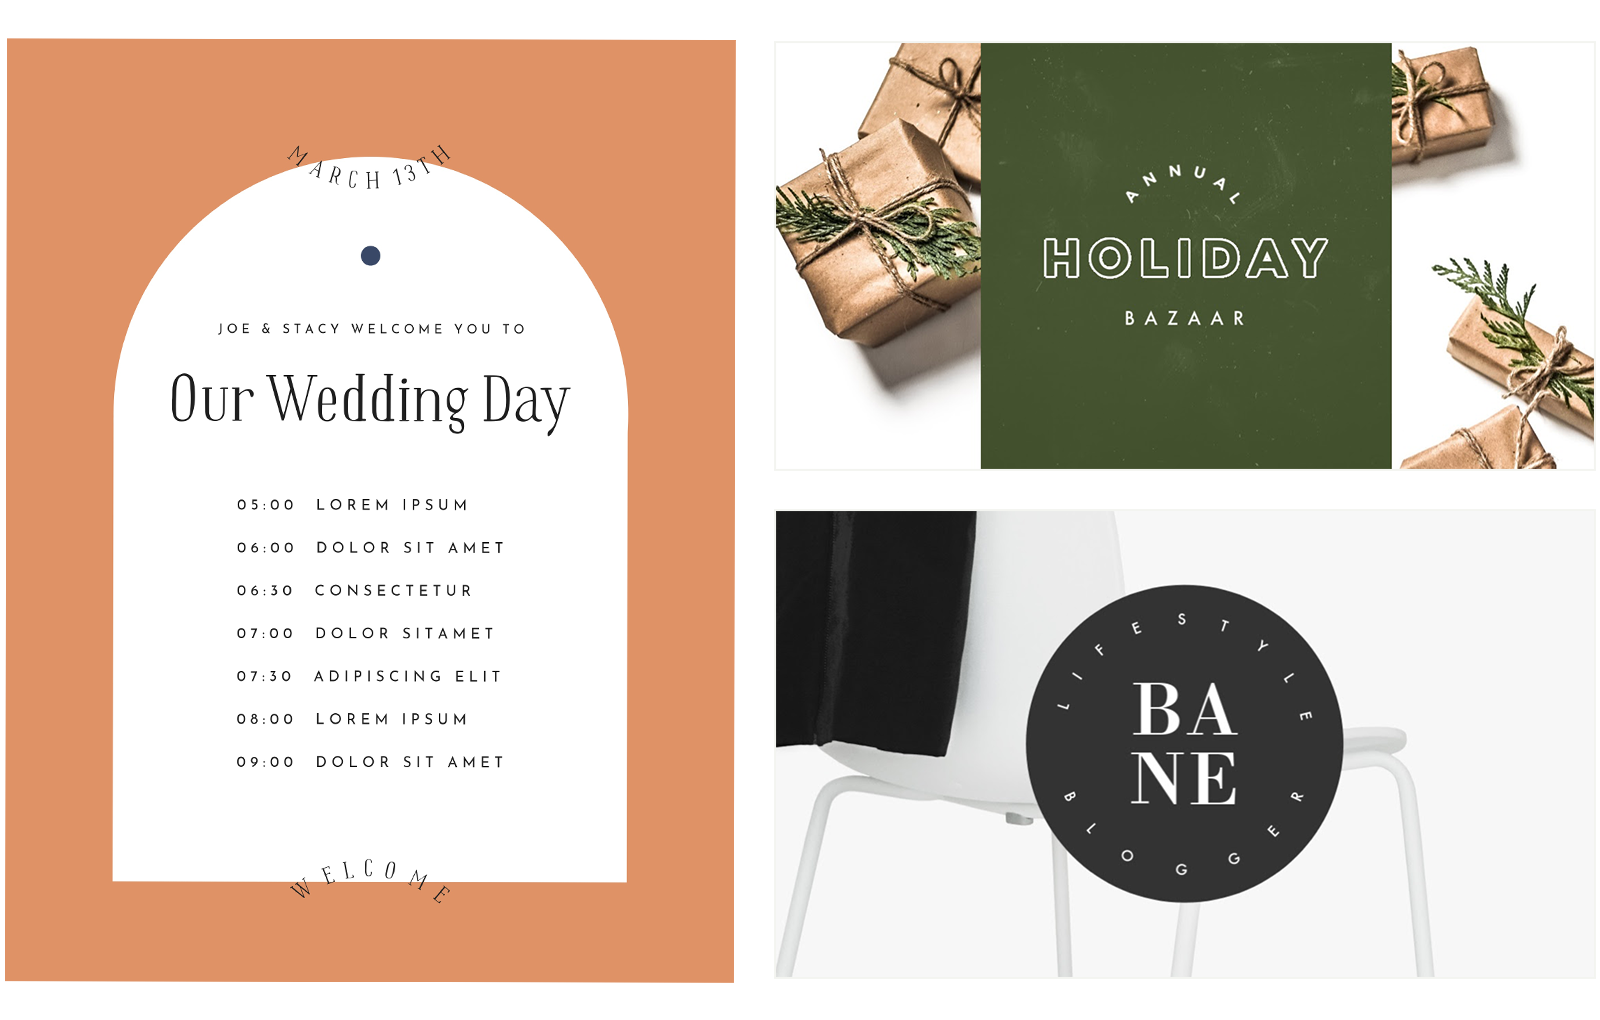
See more templates like these.
Alright, you've learned that curving text in PicMonkey is crazy easy, and there are a TON of customization options available. But what designs call for this kind of look? Here are ten ways to make the most of text that has a *little* bit of a bend to it.
1. Add to a logo design
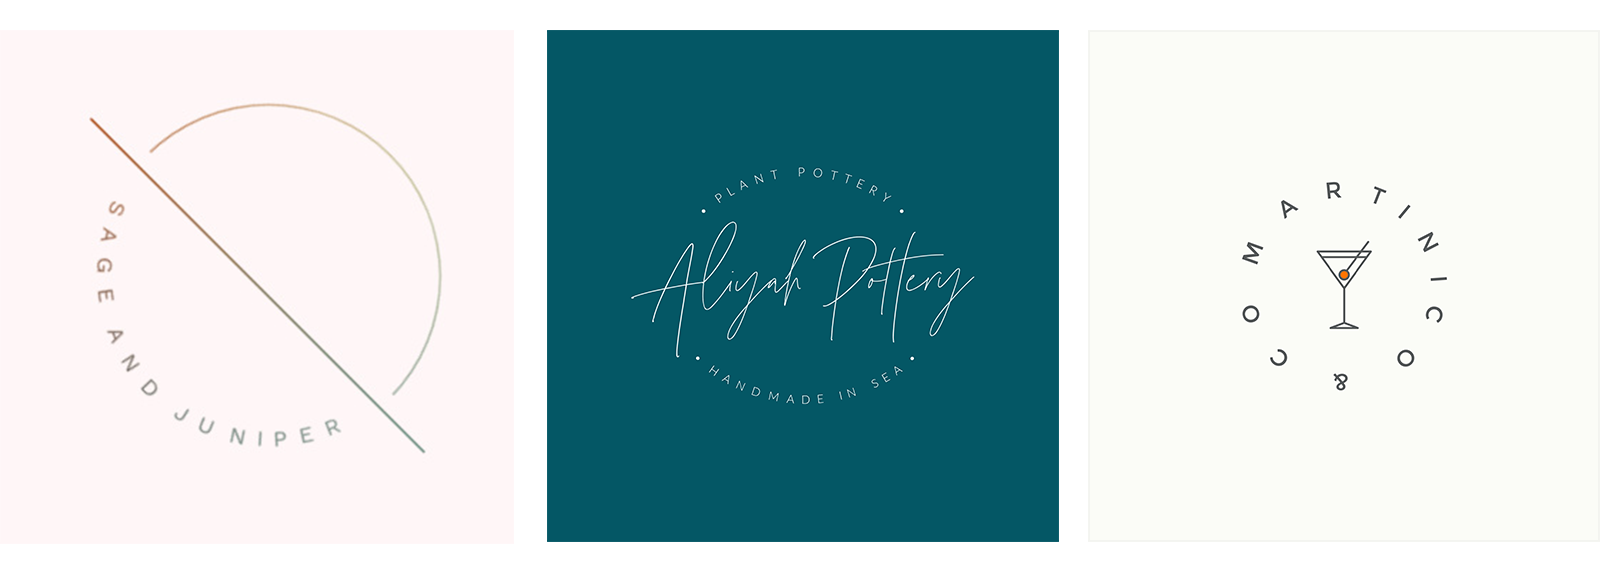
See more logo templates in PicMonkey.
Our logo templates are a perfect match with curved text. Check out the premade logo designs in the template library and choose one to customize to your own needs. To create a logo with text in a circle, where the bottom part of the text isn’t upside down, just use two arcs on top of each other (see above).
2. Use curved text in quote posts

Customize more quote templates with curve writing.
Add curvature to your next quote post for an aesthetically pleasing final product. Curve the entire quote, or just bits and pieces. Add sentimental value to any post with captivating content and design elements. What better way to engage your audience than with curve letters?
3. Create a point of emphasis

Customize this template in PicMonkey.
Since curved text provides its own unique look, you can use it as a point of emphasis in your designs. Like what we have here — our focal point in the quote, curved with intent.
Pro Tip: Wanna go the extra mile? Add focal effects to your curved text for an extra attention-grabber. Up for it? Check out this tutorial for the deets: Grab Attention with These 4 Focal Effects.
4. Make curves with graphics and spacing
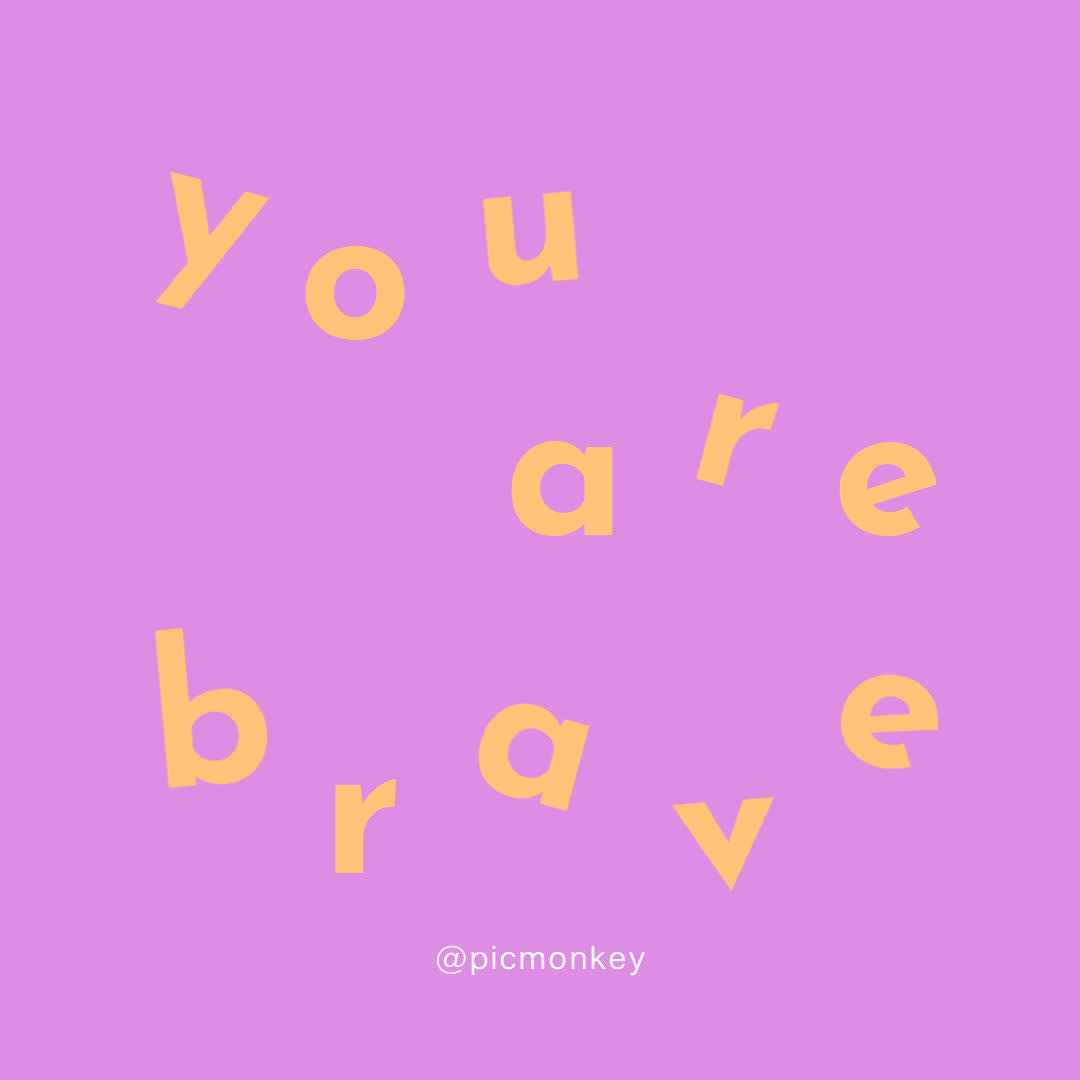
Customize this template in PicMonkey.
Here's a clever way to add some twists to your design without even having to use a curved text tool. All we did was use individual text boxes for each letter and then created our own curve, adjusting letter rotations as we went. Once you get the basics down, the curve text world becomes your oyster!
5. Wrap text around an image

Customize this template in PicMonkey.
This is great for social posts; you can create that eye-catching something by curving text around your superstar image. Let both design elements (text + image) complement each other.
And while this image is held within the curve writing, you can also layer text on a photo for an upscale vibe. Learn how to pair text and image seamlessly with this nifty tutorial: Layer Text on Photos for High-End Designs.
6. Add curved text over an image
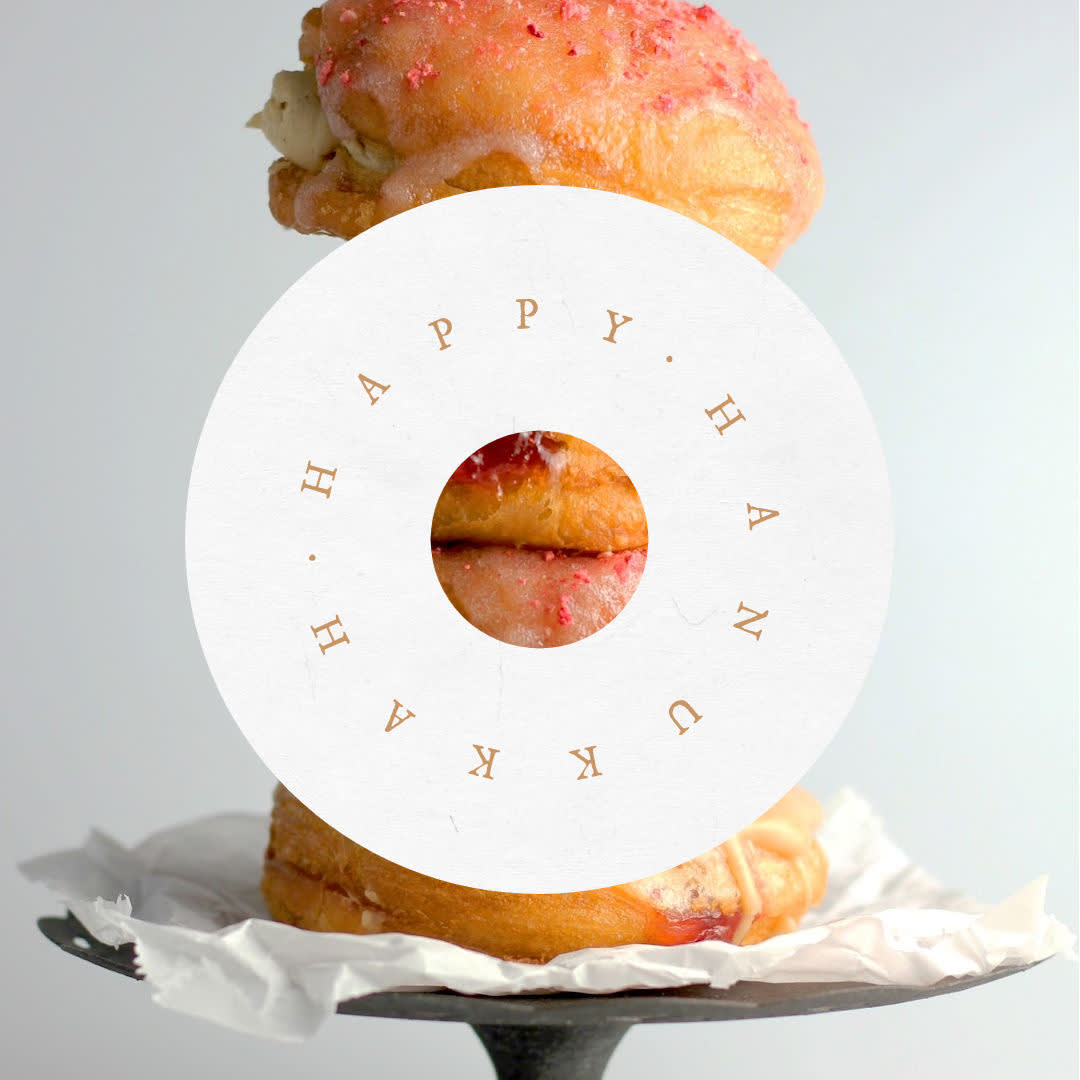
Customize this template in PicMonkey.
Oppositely, if you're using your image as a background, you can place your text over it. This opens the door for some wildly cool looks and double symbolic meanings. See all that circular-donut visual messaging going on above?
7. Use curve letters as an accent

Customize this template in PicMonkey.
For a more muted look, use curve text as an accent piece in your design. It's simple, minimalistic, and complementary to the design's star attraction. To help define an accent like this one, you'll want to identify the main focus so you know just what you're accenting. Is it the color, texture, effect, or graphic?
Designing without some intention can present as sloppy or confusing to an audience. You don't have to know how it will look right off the bat, but you also don't want to force an inorganic curve. Subtle and sophisticated is good. Busy and clashing? Not so much.
Ultimately, your intuition will always guide your stylistic choices. If you're unsure, feel free to set it down for a couple of days and revisit it in Hub, our beloved cloud storage, where your creations remain editable forever. Beginning again with fresh eyes always helps.
8. Bring text to life with animation
Customize this template in PicMonkey.
PicMonkey Pro subscribers have access to PicMonkey's animation wizardry. Choose from 11 different animation effects and unique variations — animated text is a homerun scroll-stopper.
To finesse your animation curve letters, check out this tutorial for the scoop: How to Animate a Picture, Text, or Graphic.
9. Keep it simple

Customize this template in PicMonkey.
Sometimes simple is super. A basic arc to your text might be all you need for a clean and refined look. Remember, every decision you make tells the audience how to interpret it. Adjust the intensity of the curvature to find that Goldilocks spec — not too much, not too little, but just right.
10. Or don't...
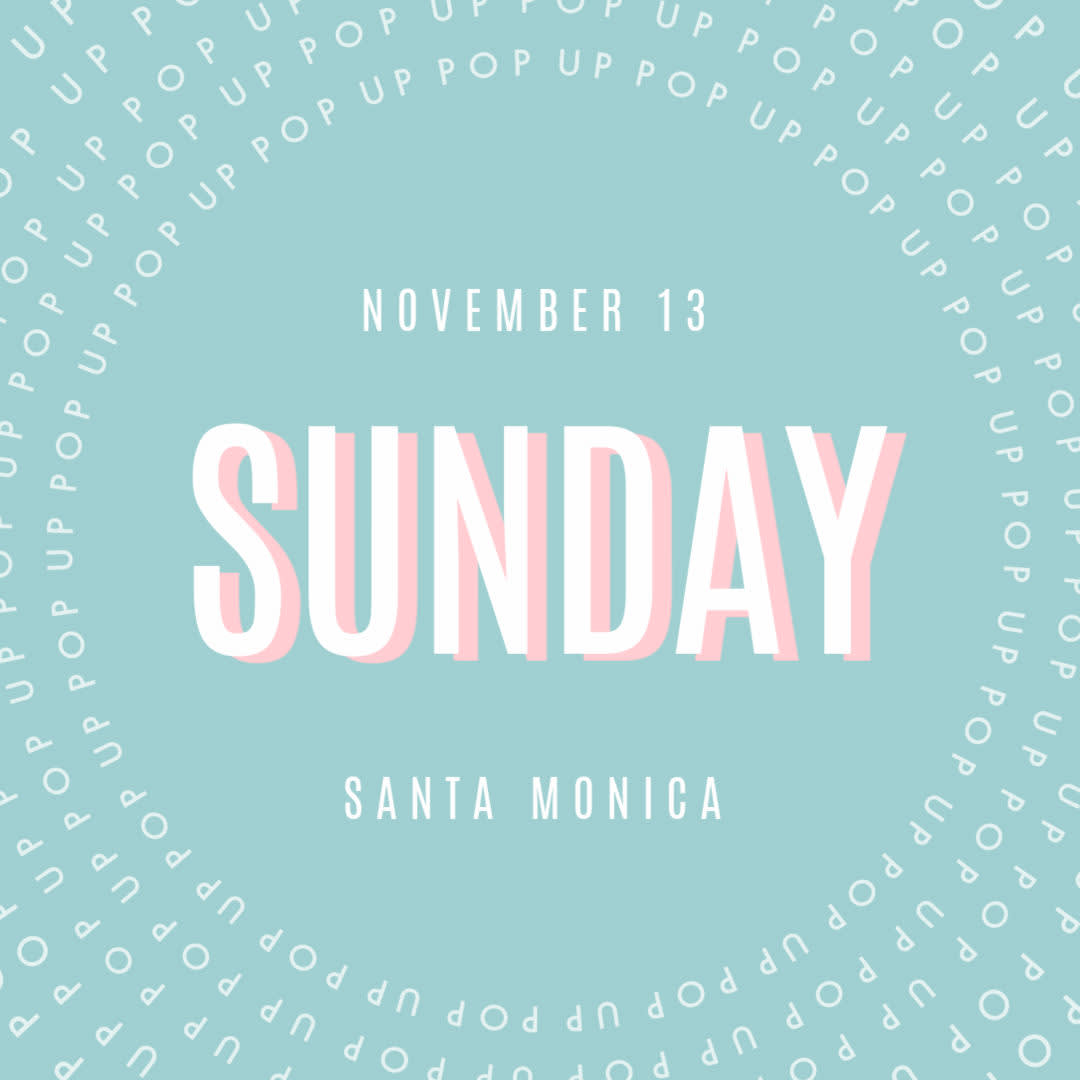
Customize this template in PicMonkey.
If you prefer absolute curve inception, go for it! Put text inside of text inside of text inside of...you get it. This look is easier to achieve than it seems:
Click the T for the Text tab on the left menu. Add text, select your font, and type away.
Click Curved text and select "Circular."
Use the text bounding box to make this first circle B-I-G.
Right-click and copy (or use these shortcuts). Then right-click paste onto your canvas. Use your new circle text's bounding box to make it smaller. Repeat this process until you have a hypnotic overload of circle text. AKA: circle-ception.
Why curve text?
Alright, so you've got the tools down pat, but you might be wondering why curve text at all? Besides the fact that it's just straight-up nice-looking, we'll clue you in on a few answers.
Curve text photo frames
If you're a circle photo enthusiast, why not pair an already circular shape with curve writing to match? Whether you're adding a border to a LinkedIn profile pic or adding text to an circle pfp on Insta, curve it with complementary colors for a standout shot.
Curved text is a perfect way to express yourself in a small-but-mighty social media icon.
Circle symbolism
Did you know circles represent perfection, wholeness, and timelessness? Whether or not your audience knows that too, elegant curve letters unconsciously influence folks positively for that reason.
Infinite functions
There are a ton of applications for curved text. You can use it on:
Wedding announcements, save-the-dates, bachelorette parties, RSVPs, and more
New baby announcements and baby showers
Graduation announcements and invites
Any kind of party (retirement, birthday, work, etc.)
If you're looking for an excuse to use curve letters, you've got a million! And remember, adjusting the curvature can make it as nuanced or bold as you like.
No design experience necessary
For those who believe you don't have a creative bone in your body (we know you do, but that's for another time), why not use our quick-click curve text effects? It's almost too easy. Impress yourself (and your audience) with simple and effective ways to amp up your designs — no design skills required.
Social media moments
Billions of people engage with social media these days, so the need for top-notch content is greater than ever before. Whether you've never established a vibe online (you can easily start with a brand color palette), or you're ready to switch it up, two words: curve text. You won't be sorry.
Your turn — get to it!
