Planning a birthday party to celebrate a loved one or friend on their special day is an exciting and fun-filled process. You’ve got streamers, balloons, and party favors ready to go, but what about birthday invitation ideas?
Fret not, we’re about to get this party started on the right foot! From location to dress attire to times and dates, discover all of the elements you need to include in a birthday invitation, PLUS 10 expert tips on how to elevate your invitation design (whether for your own party or someone else's) using PicMonkey’s customizable birthday invitation templates.
What to include in a birthday invitation
There are many things any invitation—especially a birthday invitation—simply can’t go without. Here��’s what to include so that your guests have all of the information they need to attend.
Birthday guest’s name and age
This should go without saying, but always include the celebrant’s name and their age. Go big and bold with a sans serif or eye-catching script font and feature them front and center—we’re talking 300+ font size and placed in a way that’s impossible to miss.

Don’t be afraid to crank up the font size for your birthday invitation. Customize this template in PicMonkey.
Capture your special person with invigorating energy and give them the spotlight with fonts like Chivo Black, Arial Black, or Code Pro Black. On the other hand, a delicate yet large sized script or handwritten font, such as Bombshell Pro or Bloomishly, can offer an elegant look to your invite.
Date, time, and location of birthday party
There’s simply no proper party without a specified date, time, and location. Including these key elements of a birthday invitation enables guests to know exactly where and when to attend your celebration.
RSVP and extra details
You’ve almost gotten all of the birthday invitation fundamentals squared away, but there is another important component to any invitation: the RSVP details. For larger or formal gatherings, always include an RSVP request and contact information so that you or the party planner is able to fully anticipate how many people are attending.
Any additional details —such as a dress code or hints to a party theme—is necessary for parties that warrant special attire. Give your party guests the info they need to all be on the same page.
10 inspiring birthday invitation ideas
In addition to providing you all of the necessary elements of any birthday invitation, we’ve got 10 expert tips to help you master invitation making—and beyond!
1. Stick to an invitation theme
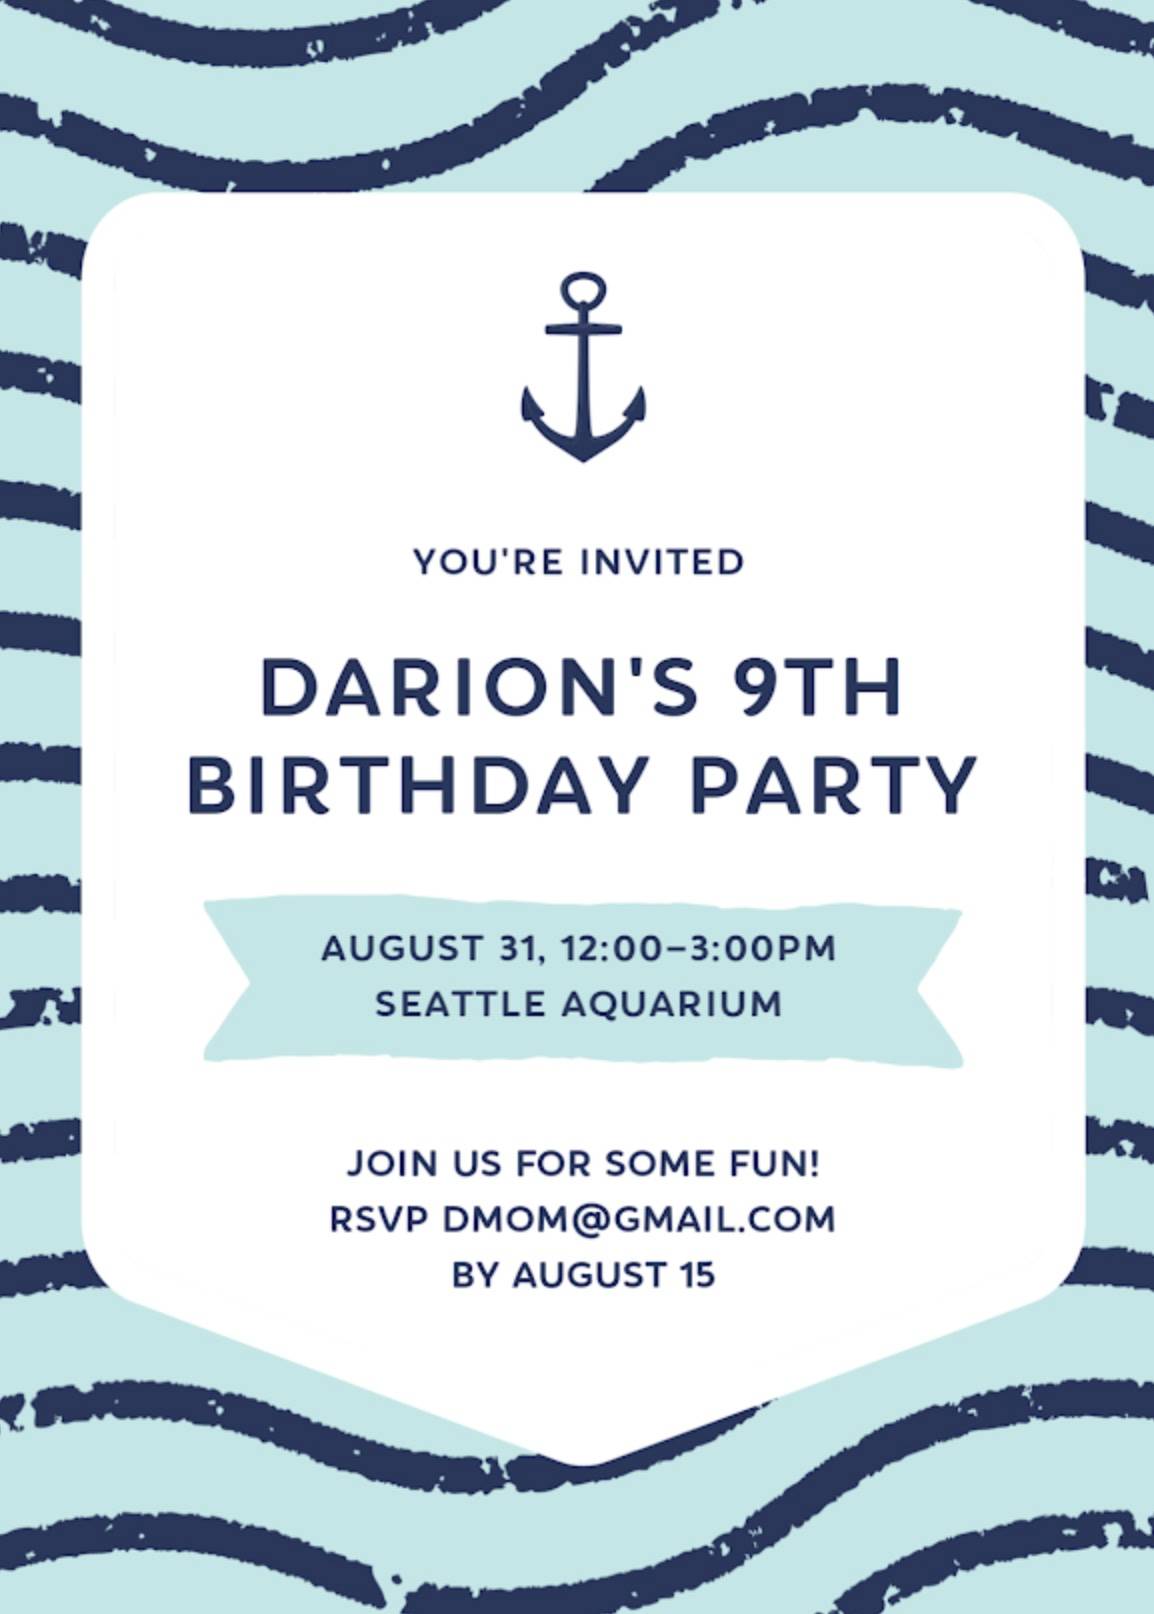
Customize this invitation design in PicMonkey.
Birthday themes are a great way to make a party more cohesive and entertaining. PicMonkey has you covered for every birthday theme, taking the guesswork out of finding individual design elements for your invitation.
When you open a project in PicMonkey, simply click Themes on the top toolbar, then select from curated text, textures, effects, and graphic options.
2. Customize with designer-created illustrations
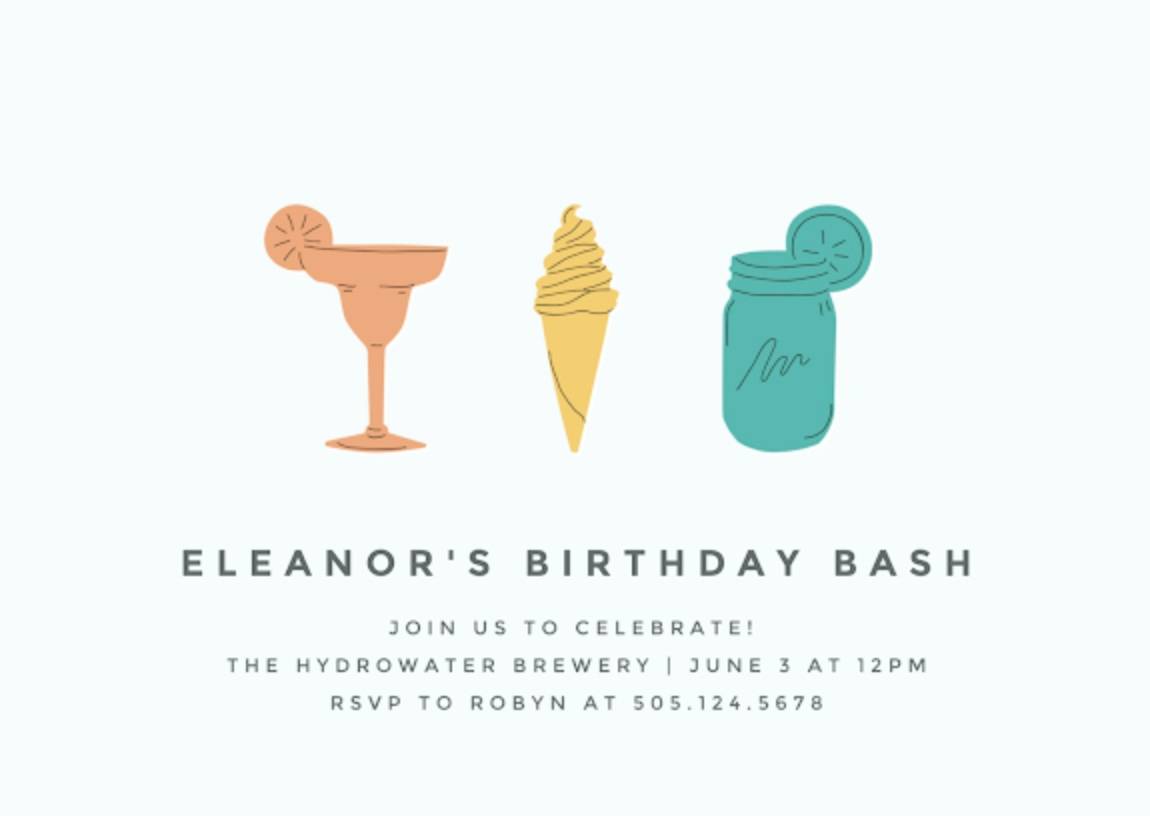
Get graphical with this birthday invitation template.
What’s a birthday party invitation without fun and whimsical graphics? Incorporate illustrations that hint to your party’s theme and plans, such as food and drink graphics or playful bunny imagery for a toddler’s birthday party.
PicMonkey’s graphics library is filled to the brim with editable vectors that can be recolored to suit your birthday invitation’s color scheme.
3. Create a visually interesting collage
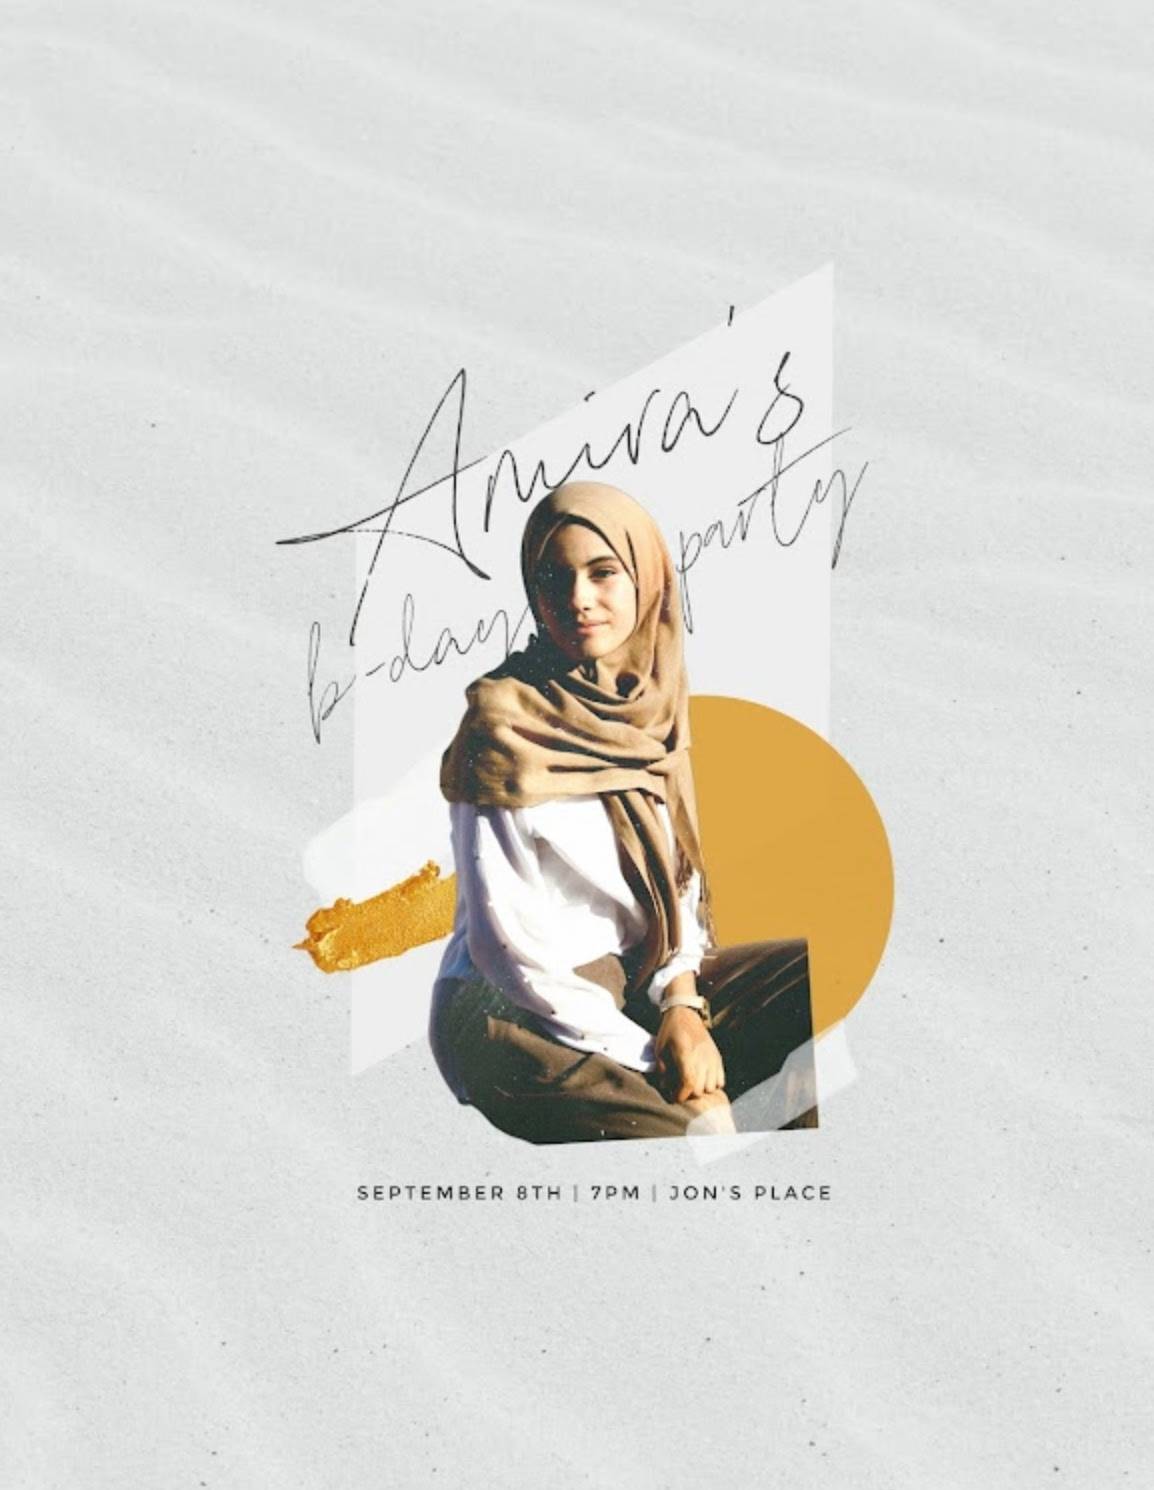
Make this birthday collage invite your own in PicMonkey.
A collage of different textures, photographs, and graphics can truly make a stunning party invitation. Put the birthday guest of honor front and center and surround them with accent graphics.
To get this look on your own in PicMonkey, select your image layer. Find Erase or Remove bkgnd (if you’re a Pro subscriber!) on the left menu. Erase away to isolate the focal point and get to collaging! Use the Layers panel to re-arrange design elements as you wish.
4. Use layers to your advantage
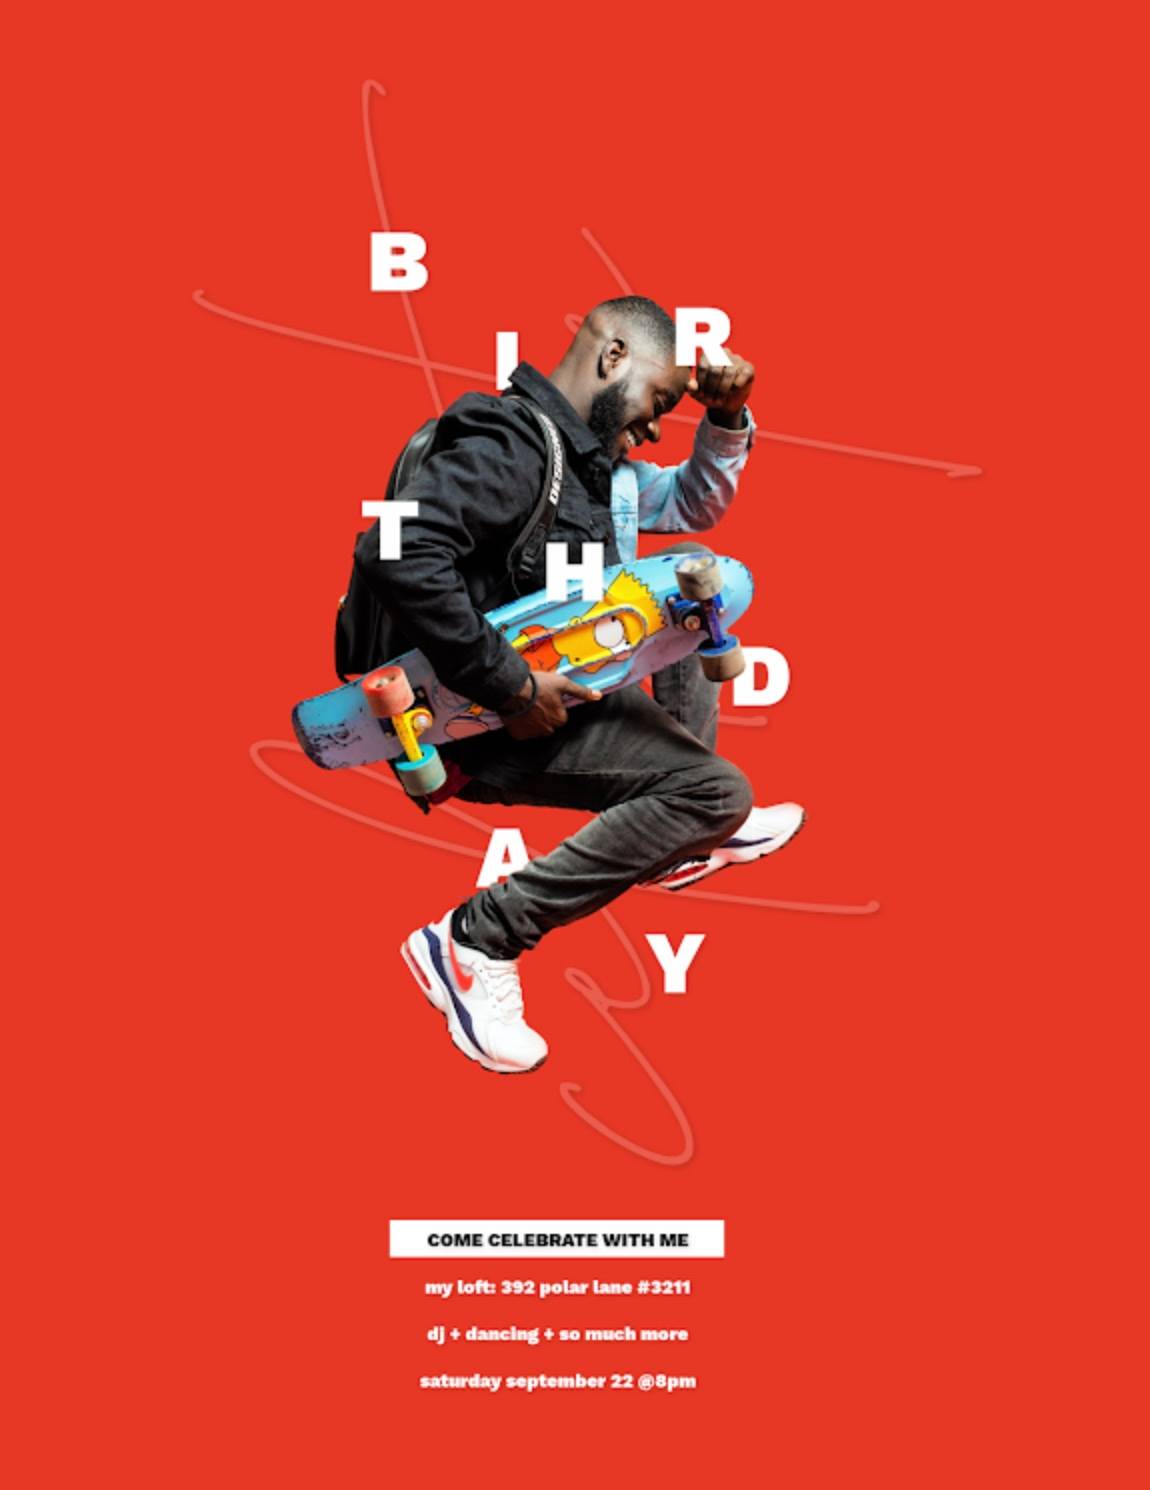
Layer individual text layers over a graphic or photograph for a stunning birthday party invitation.
While it is tempting to simply type in your birthday invitation details and share it with your guest list, you can go above and beyond by manipulating design layers—such as text, graphics, shapes, and textures.
Layering design elements over one another elevates your invitation and gives it dimension and much-needed pizzazz.
To do so, simply drag and drop individual layers in the Layers panel to re-order them on your canvas. If you want to take your invitation a step further, use the Eraser tool to erase portions of a layer for a truly awe-inspiring design.
5. Choose a fun background for color inspiration

Sprinkle in excitement with bold, punchy colors, like in this template.
Birthday parties are fun and exciting; convey excitement and get groovy with it by using bright, punchy colors. Try a texture pattern as your background, or upload a photo (or, or: grab one from our stock library).
6. Gravitate towards gradients

Get groovy with attention-grabbing gradients. Turn this birthday-themed template into your next party invite.
Gradients combine transitions in colors, creating a far-out and on-trend look to any background, graphic, or text. To add a gradient to your background in PicMonkey, just select the background layer and click Change color on the left tools menu.
Choose from premade gradients or make your own groovy gradients (you can use up to 3 colors!).
7. Jazz up your digital invitation with animations
Learn more about using animation effects in your designs.
Birthday invitations don’t always have to be static designs. Add some pizzazz and movement to your design—all with the click of a button. Simply select the element you’d like to animate, click Animate, and choose from entrance or looping animations. The world is your (animated) oyster!
With animations like Pop and Jiggle, you’re guaranteed to garner some oohs and ahhs.
8. Curve-ify your invitation text

Get curvy with this birthday invitation template.
Who’s to say that all text has to be straight across? Incorporating curved text adds emphasis to invitation details while breaking up the monotony of horizontal text.
To do so in PicMonkey, simply select your text layer, click Curved text on the left Text Tools menu, and choose either "circle" or "arc." Goodbye regular text; hello creativity!
9. Add your own doodles and scribbles
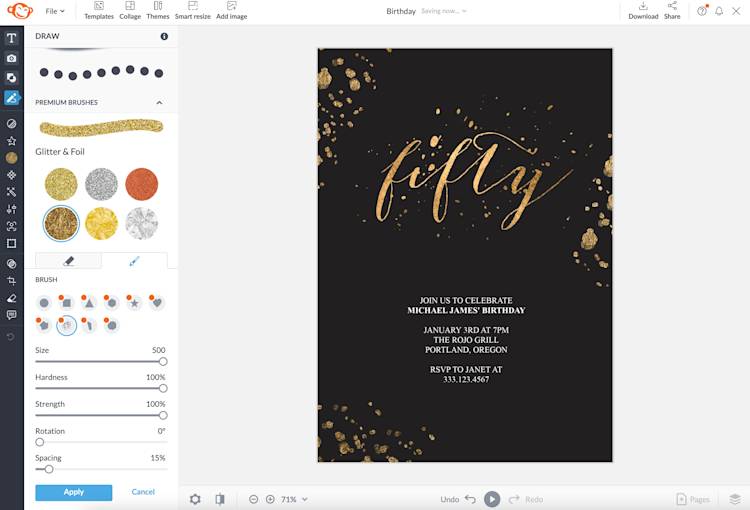
Add in accents and doodles with the Draw tool.
There’s nothing quite like going the ole paint route and doodling to your heart’s content.
To make your own digital drawing masterpiece:
Open the Draw tool from the tool tabs menu on the left (the pencil icon).
Select the drawing tool you wish to use: Pencil, Paint Brush, or Spray Paint. If you're a Pro subscriber, you can also use one of several Premium Brush types.
Use the Size, Hardness, and Strength sliders to adjust your stroke appearance.
Choose colors from the color picker.
Draw away! When finished, click Apply.
10. Experiment with image masks
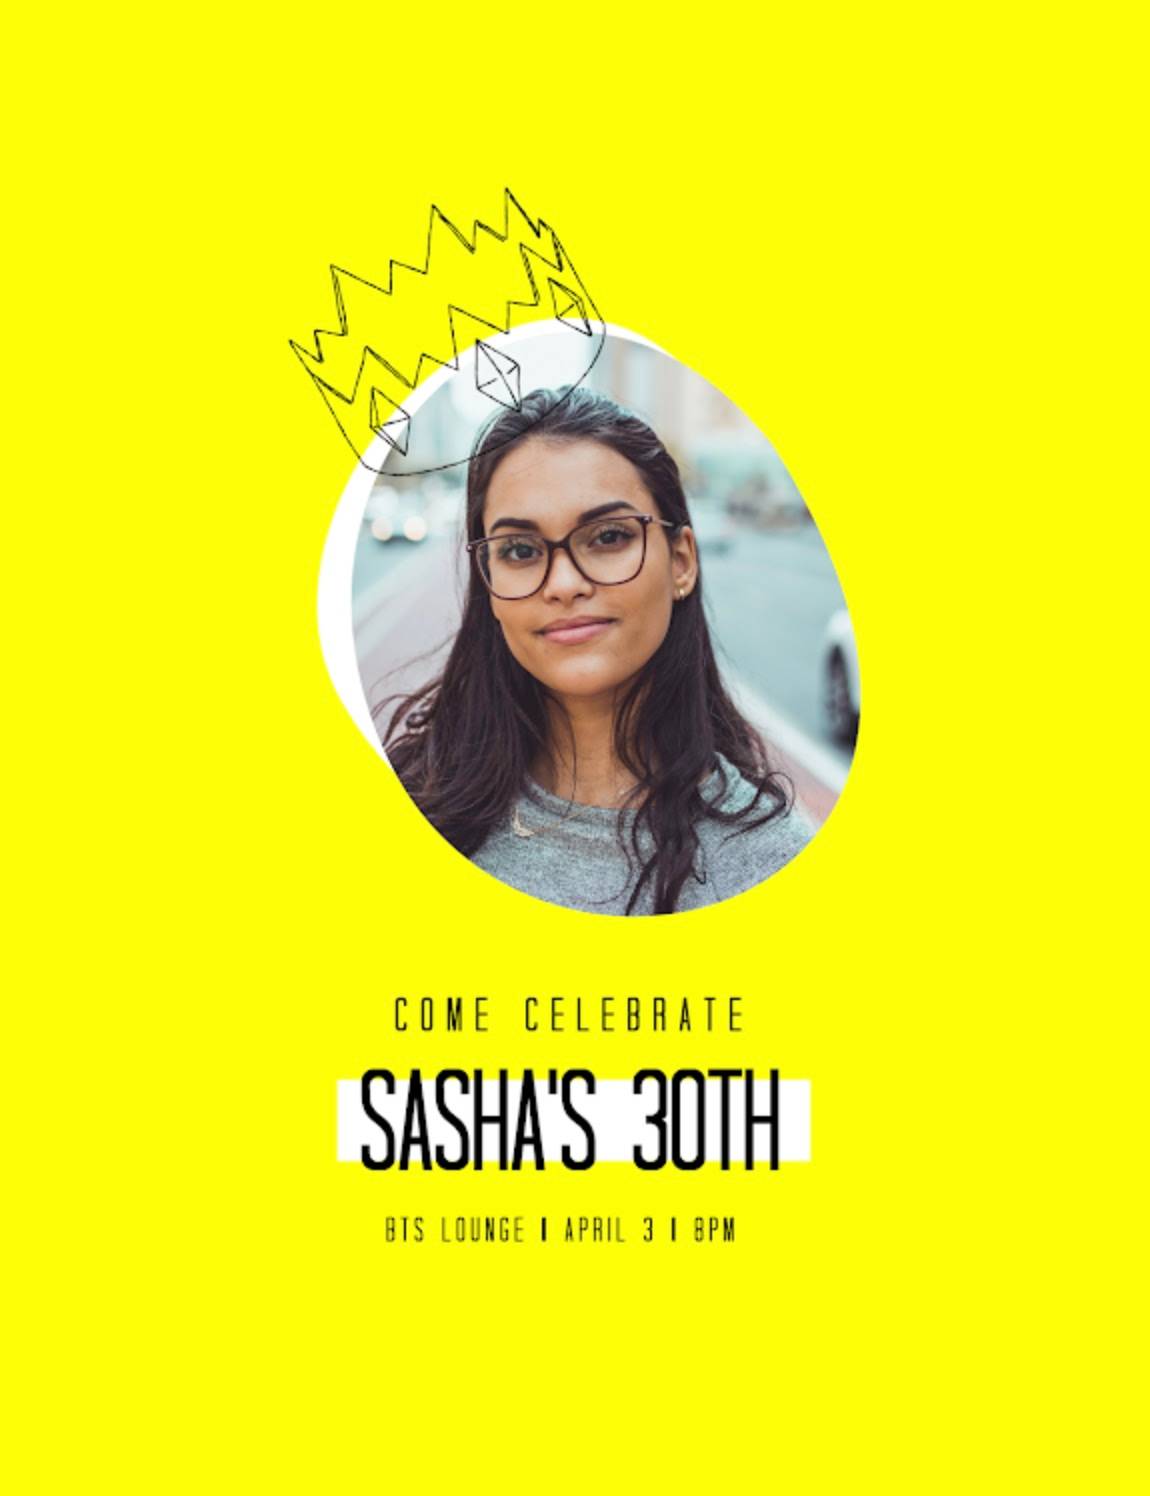
Go beyond a typical image crop and use abstract shapes, graphics, or text instead, like in this birthday invite template.
Ever wanted to apply a gold foil effect to a font? Or, create a picture inside of an object with just a click? Image masks enable you to combine two elements in a single layer to create an effect that’s bound to make your guests excited for the upcoming celebration.
To place a photo inside, say, a graphic, select your graphic layer and click Fill with image on the left Graphic Tools menu. Choose your image and then edit its look as you wish.
Making your birthday invitation design in PicMonkey
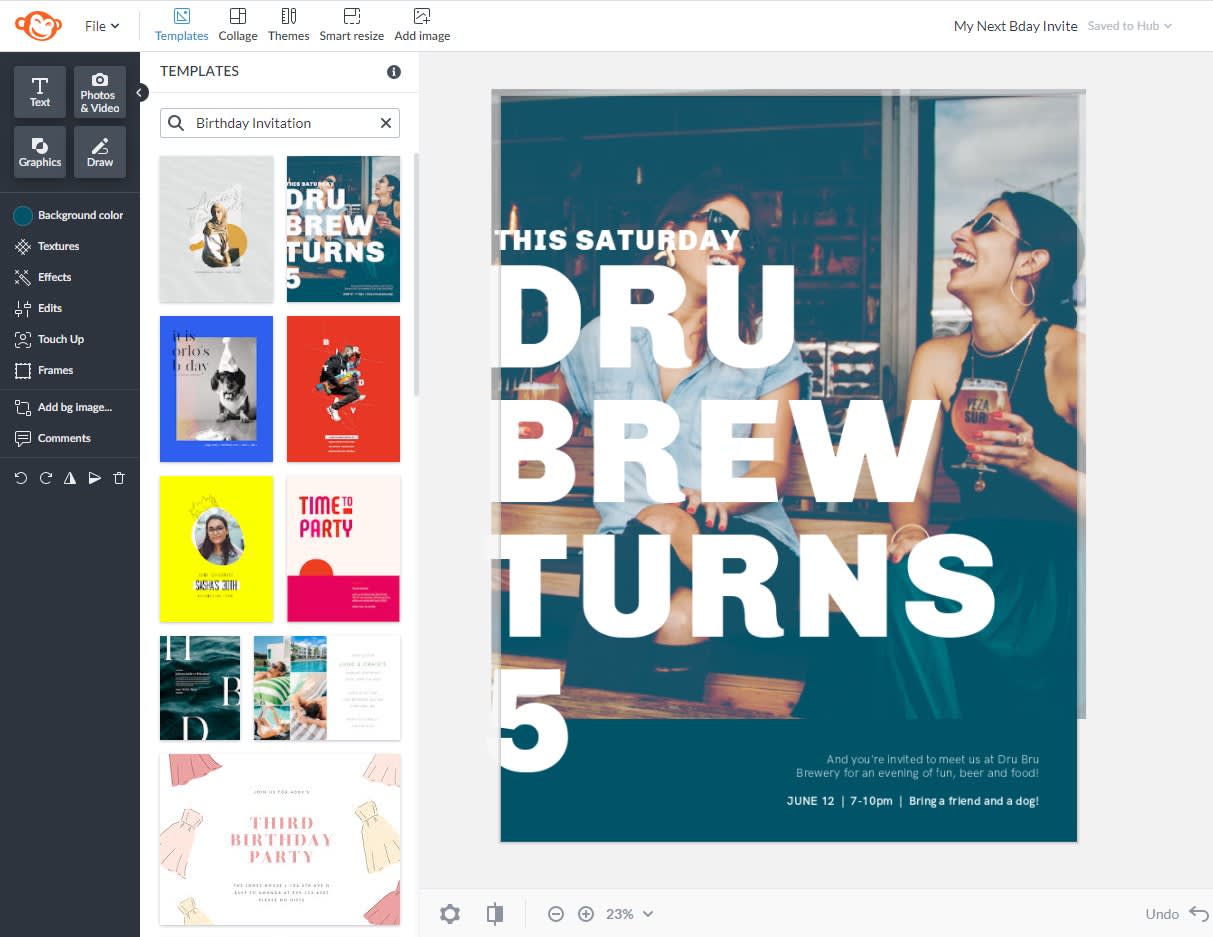
See more birthday invitation templates.
Now that you’re armed with the tips you need to make a dazzling birthday invitation, here’s a quick how-to in PicMonkey:
On the PicMonkey homepage, click Create new > Templates, then type “birthday invitation” in the search box. Pick one that speaks to you (or just click on one of the templates above!).
Use the tabs on the left to customize images, graphics, text, and effects. This is the part where all of your newfound birthday invitation ideas will come in handy.
When your design is finished, click Download on the top toolbar and export as a JPG, PNG, or PDF (a PicMonkey Pro feature). You can also share via email or to a social channel.
To make a birthday invitation from scratch, click Create New > Blank Canvas. Choose your size, or set your own dimensions and then click Make it! The same tools apply as if you were using a pre-designed template, so have fun!
