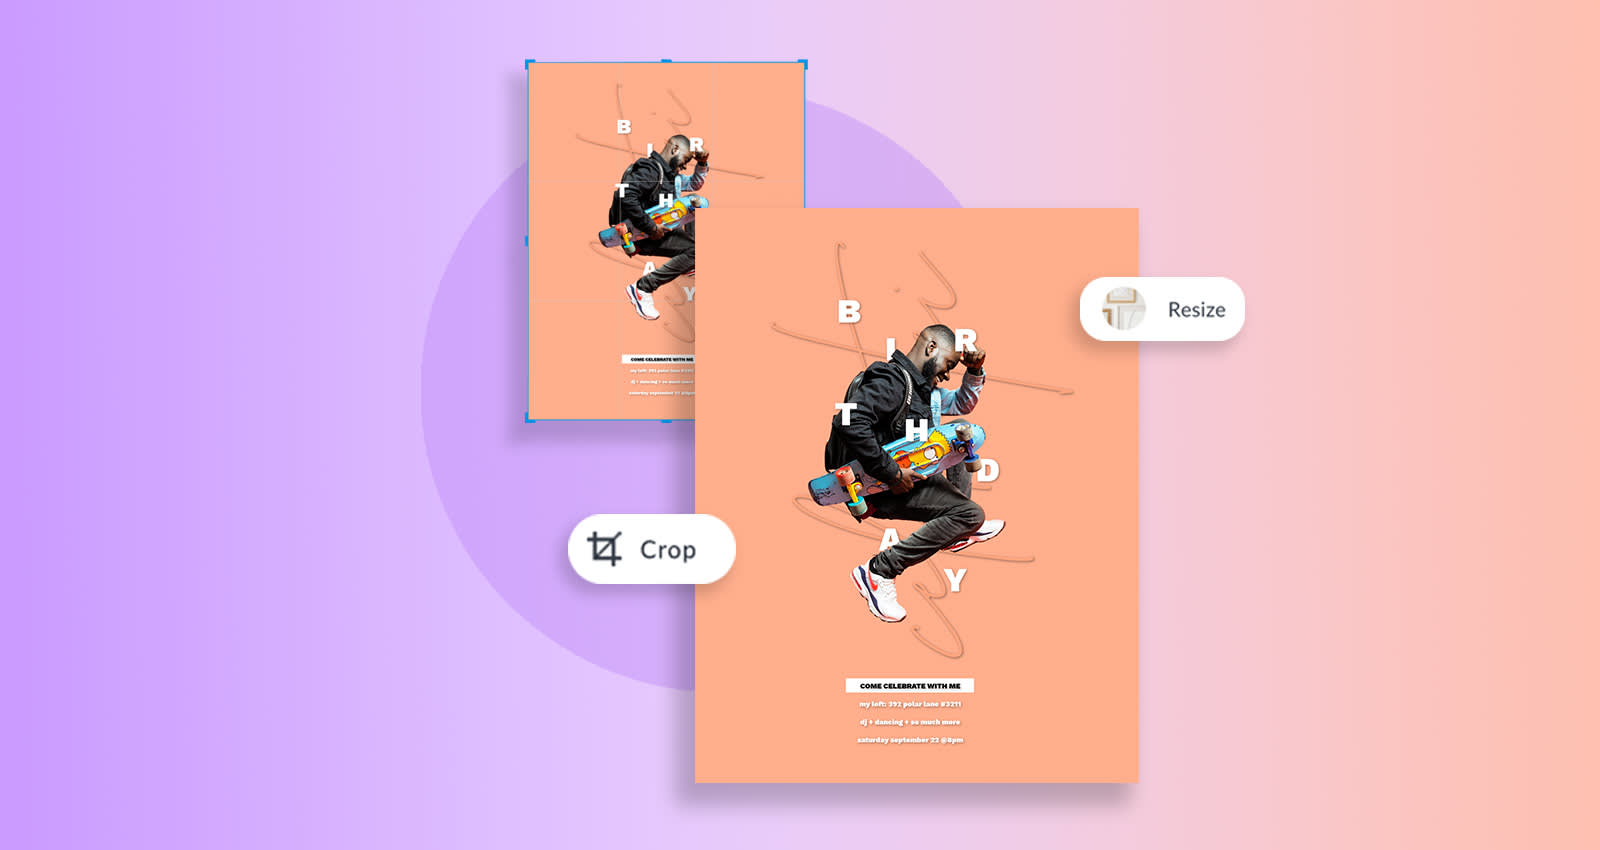
It's near impossible to design with images and not think about pixels. Converting inches to pixels is critical if you want to size both your canvases and images right. But how is it done? And why?
We get it. You might be thinking, I'm not a math-enthusiast. I don't do the numbers. Luckily, thanks to this tutorial, you don't have to math too hard. In fact, we're help you not just learn, but fully geek out on all things pixels, inches, and converting from one to the other.
Let’s jump in.
What is an inch?
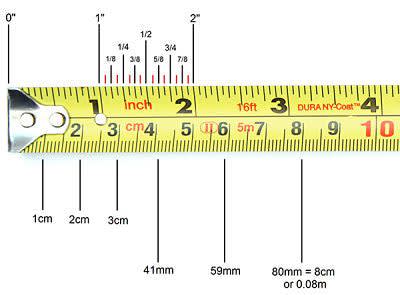
Image via StartWoodWorkingProjects.
Silly question, right? We all use inches for measuring, but what exactly is an inch?
An inch is a unit of length measurement, popularly used in the British imperial and the United States. An inch is equal to 1/36 of a yard, 1/12 of a foot, or 25.4 mm.
At first, the standard for the exact length of an inch was variable. After the adoption of the international yard in the 1950s and 60s, the inch is now defined exactly as 25.4mm.
What is a pixel?
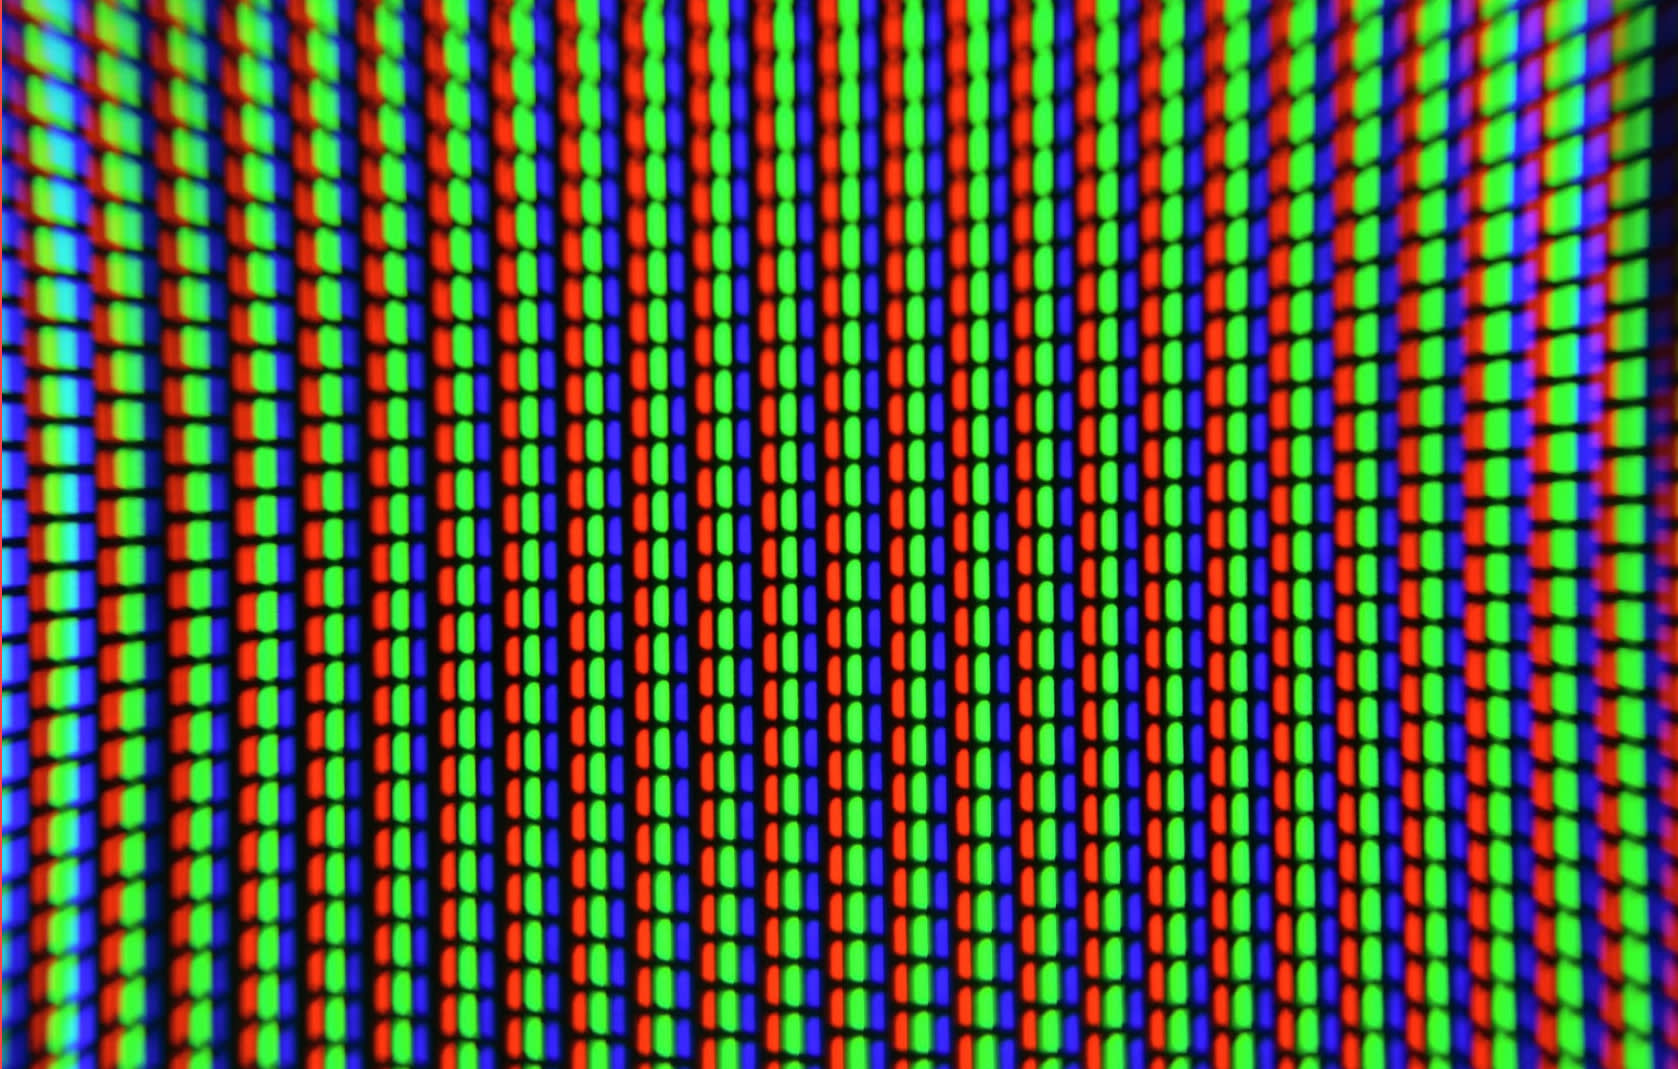
When you look at an image on your phone or computer, you can classify it as either grainy or clear. This is because the image is built on digital properties that influence its outcome. These digital components are referred to as pixels.
In simple terms, a pixel is one among the many small dots or squares that make up an image. It’s considered the smallest single constituent of a digital image. The term Pixel was coined in 1969 from the words picture and element.
Size-wise, a pixel is approximately 1/96 of an inch which translates to 0.26 mm. This fixed length is mostly used in graphic design, web design, and user interfaces to ensure that an element displays as the same size regardless of the screen resolution used to view it.
Nonetheless, it is often viewed that there is no one fixed, standardized, and defined physical size of a pixel. You can calculate the size of a pixel for any display device. This is done by dividing the size of the display screen by the resolution.
It helps to also know that when resolution reduces, the size of a pixel increases, and when you increase resolution, the size reduces. The relationship between resolution and pixel size explains why switching to a lower resolution on your computer screen makes everything appear bigger and less detailed.
When an image has a low resolution, it has fewer pixels at a bigger size. This is why some images can appear to be stretched (because they are!). As a result, the image becomes grainy and blurry.
Simply, every digital image is composed of pixels. So the next time you hear someone talking about the resolution of a computer screen, you'll be able to chime right in. Okay, well, maybe not just yet.
But you'll know that they're referring to the number of pixels on the monitor. The higher the number of pixels, the more accurate an image appears.
That’s why high-definition TVs can have more than two million pixels. The more pixels, the clearer the image. Of course, the higher the resolution of a device, the more expensive it is. The clarity of an image determined by the number of pixels directly affects the cost of the product.
The counts of pixels can also be expressed in a singular number such as a “three megapixel” digital camera, which is a nominal three million pixels.
A megapixel is simply a million pixels. The count can also be expressed as a pair of numbers such as 640 x 480 pixels. This implies that there are 640 pixels side to side and 480 pixels top to bottom, with a total number of 640 x 480 = 307, 200 pixels or in a single number, 0.3 megapixels.
Okay, okay. That's enough math-ing for now.
Why convert inches to pixels?

Convert inches to pixels for a stellar YouTube banner like this one!
Pixels are the standard unit measurement for screens because they function as the building blocks of graphic information. Essentially, whatever you see on a screen is made up of pixels. So?
Converting inches to pixels is necessary because it keeps your images high res, compatible with your canvas size, and in tip-top shape for any digital platform or print needs.
Here are a few reasons to convert inches to pixels.
1. Boosts the presentation experience

Convert inches to pixels for a slick presentation slide like this one!
Quality presentations require quality images. Without them, you'll have an audience full of puzzled faces. There's no need to make folks work harder than they have to. In fact, presentations are intended for people to better understand your message.
Images are designed to clarify, validate, and emphasize talking points. Without a quick understanding of inches to pixels conversions, it's just too easy to lose your audience.
PicMonkey's presentation templates are auto-sized at 1920 x 1080 pixels (px) for your audience's viewing pleasure. Once you know the canvas's pixels size, you can size your images to match the canvas or fit within it.
2. Increases print quality
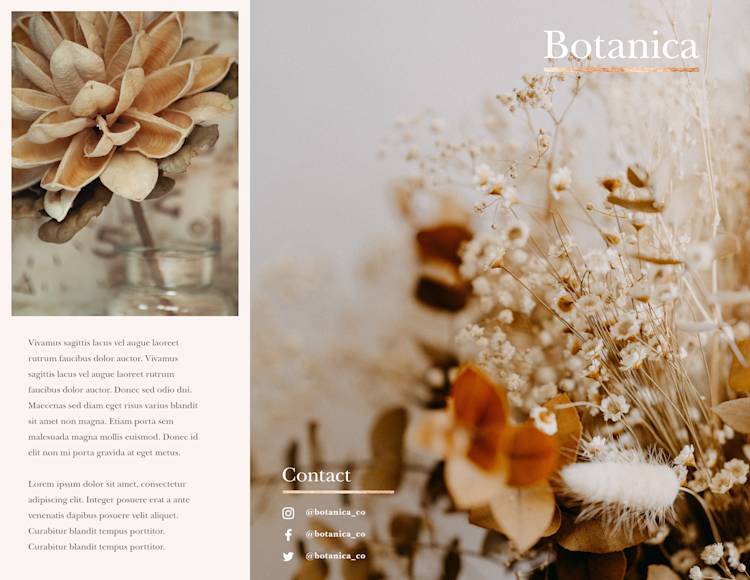
Convert inches to pixels for a beautiful botanical brochure like this one!
It's too easy to have a design idea and not know how to bring your vision to life. Of course, digital images are often printed, published, or edited across different platforms.
Graphic designs are easily transferable to paper, banners, and t-shirts. Knowing the specs for your intended outcome will save you a whole lotta time.
In the printing world, a high-resolution image is mostly 300 dots per inch (DPI) or larger (which is the standard resolution for most printers).
DPI is a printing measure used to calculate the total dots that can fit into a line with one-inch width on an image printed by a printer. Think about it this way. The dots per inch of an image is the exact number of printed dots that would appear in one inch of a printed image.
DPI is associated with the resolution of a screen and the resolution is an integral part in converting inches to pixels. Hence you’ll want to know the final printed size of your image in inches to determine the resolution you need.
This is super helpful info in the event you seek printing support from a local print shop. No deer in the headlights here! It's also important to note that while we're speaking on inches to pixels conversions, you can also reverse this method and go the opposite way: inches to pixels.
We'll chat more about how to do that in PicMonkey shortly.
3. Expedites the resize process
Got the wrong image size? Don't stress! PicMonkey's resizing process couldn't be easier.
Resizing is often confused with cropping. Cropping cuts out parts of an image, whereas resizing changes its pixel information. To do this without compromising the image quality, you'll want to add a couple of tools in your belt.
1. Resize canvas
Your image dimensions determine how big it will appear on the canvas. If you start designing, only to realize you need to swap dimensions, PicMonkey's Resize asset is your new BFF.
To get there, click Edits > Resize to insert your new dimensions. Adjust the width and height boxes while keeping that chain icon as is. If you click it, it'll unlock the chain and no longer keep the proportions of your design. You can also use the Use percentages option if you prefer mathing that way.

Resizing your canvas will adjust your images accordingly.
Note that you can make an image smaller without losing quality but you can’t make an image bigger without losing quality. When enlarging an image, the image will become blurry or highly pixelated. When done correctly, you'll create a top-quality image. Ta-da!
2. Smart Resize
Smart Resize is a fantastic option for those needing quick designs suited to multiple platforms. Available to Pros, simply click Smart resize, select your needed platforms, click Copy & resize, and done!
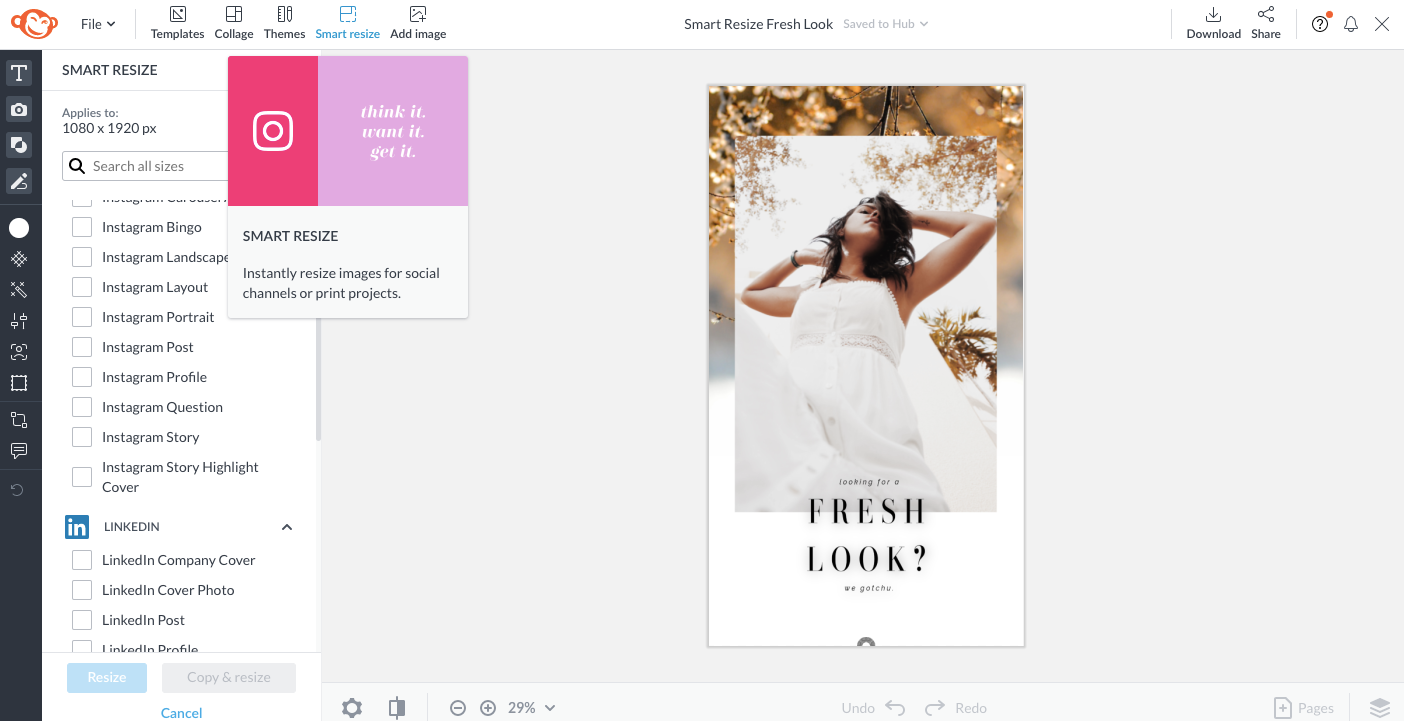
Use Smart Resize for multiple digital outputs.
Your new assets will be saved in our handy cloud storage, Hub, all without exiting your screen. So convenient!
3. Crop canvas
We know we're talking about all things image conversion, but we want to give you allll the resizing options available in PicMonkey. Plus, cropping your canvas, which does eliminate elements from your image—blemishes, photo-bombers, and orbs—will also change the image size.
To get there, click Edits > Crop Canvas and select your preferred aspect ratio. Then, hit Apply.

Crop canvas is the simplest way to adjust aspect ratio—all in one click.
Easy, right?!
All in all, once you go ahead and download your template, you'll see options to select your file type—PNG or JPG (or PDF for Pros)—then you can select High quality. From here, Download again to desktop or upload straight to your social platforms using the Share button.
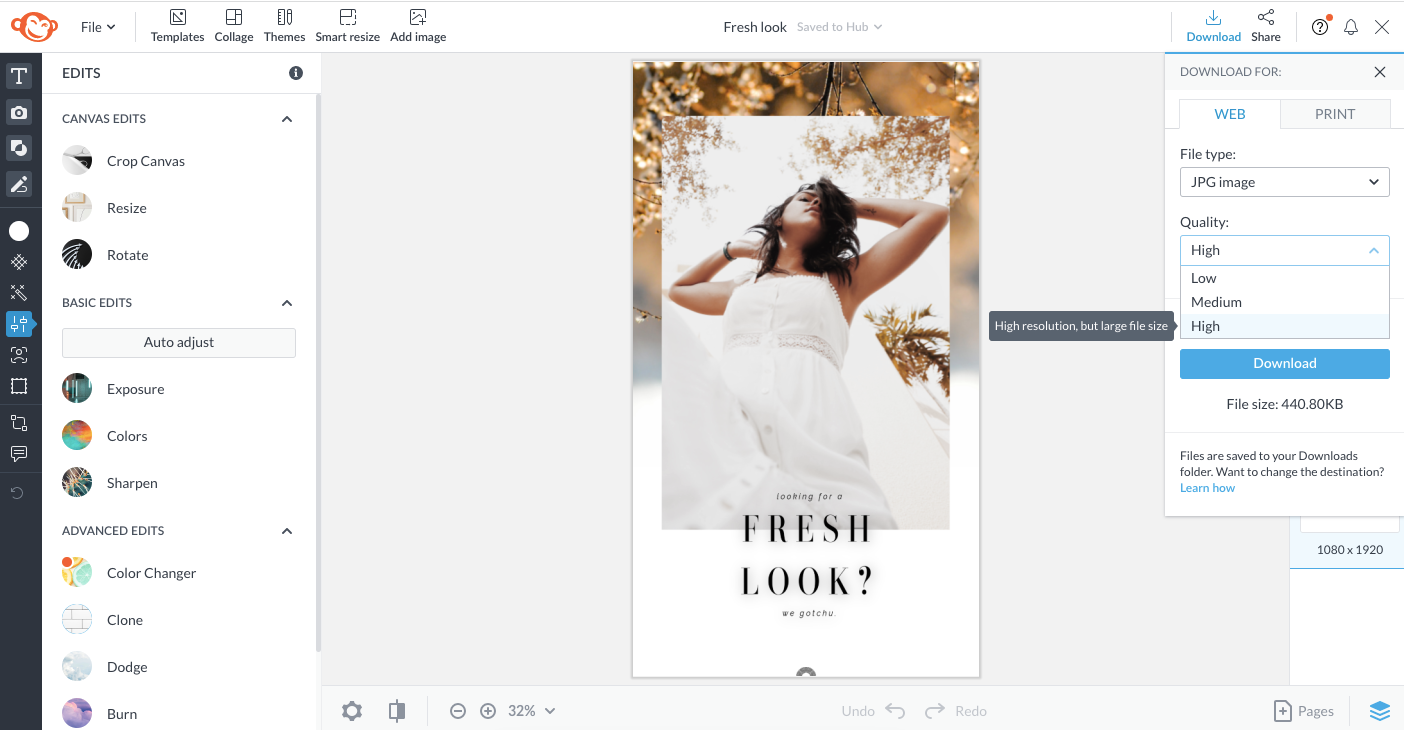
Downloading in High quality ensures your best image.
Well done!
4. Standardizes pixels across screens
Knowing your general inches to pixels conversions can essentially streamline your images across multiple screens—mobile, tablet, desktop, or TV. No way. Yes way!
Every device has different dimensions, image quality, and ratios, which affects how designs are shared across them. Using pixels will ensure images display consistently, no matter a device's screen resolution. Then, when you go to print off-screen, the image quality remains.
Inches to pixels conversion chart and applications
Math whiz or not, you'll benefit from knowing these conversions off-hand, which brings us to this. Can we get a drumroll please?!
(Waiting.)
Our nifty inches to pixels conversion chart! Keep this nearby as you go for a quick reference. You're welcome.
Pixels to Inches Conversion Chart
| SIZE IN INCHES | SIZE IN PIXELS |
|---|---|
| 3 X 5 | 900 X 1500 |
| 4 X 6 | 1200 X 1800 |
| 5 X 7 | 1500 X 2100 |
| 8 X 8 | 2400 X 2400 |
| 8 X 10 | 2400 X 3000 |
| 8.5 X 11 | 2550 X 3300 |
| 9 X 16 | 2700 X 4800 |
| 11 X 14 | 3300 X 4200 |
| 11 X 16 | 3300 X 4800 |
Once you've got these popular photo sizes in mind, you'll wanna know how to apply them inside the tool.
As always, you can take the blank canvas route or start with a ready-made and super snazzy template.
1. Start with a blank canvas
If you want to start from scratch, your best bet for inches to pixels conversions are:
1. Using the Create custom toolbar. If you already know your conversion or got it from our nifty chart above, simply type those specs into the toolbar and click Make it!

2. Using Print Sizes. Scroll to the Print Sizes category and select the canvas that equates to your needed specs. Click to open.
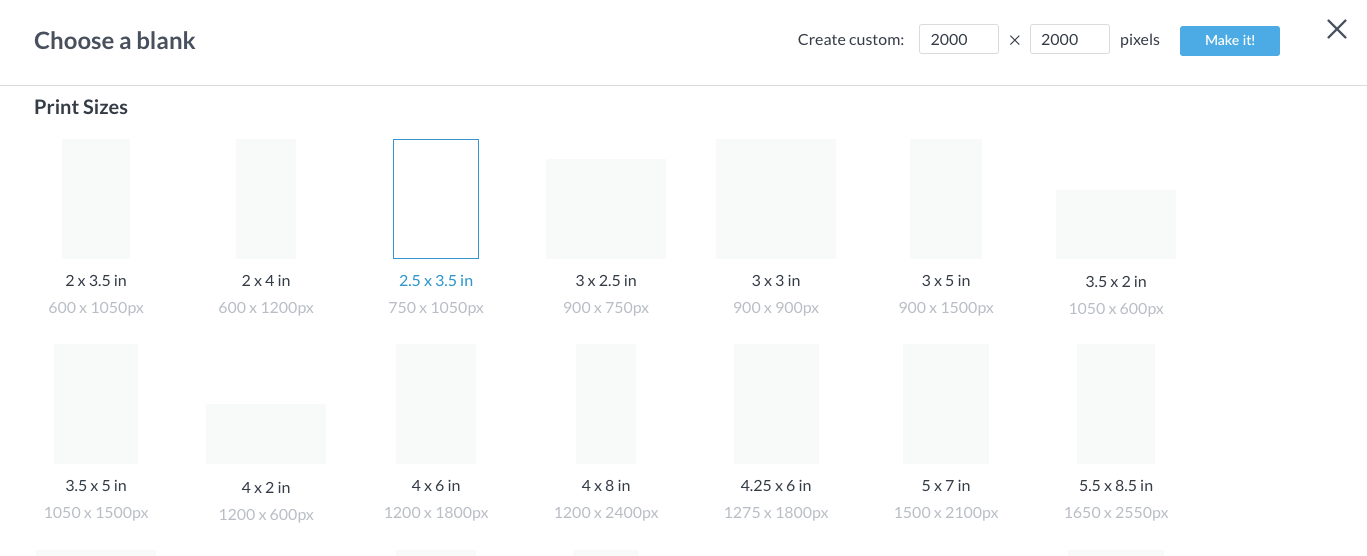
As you can see, the Print Sizes section shows you the exact canvas size needed for your inches to pixels conversion. No brainpower necessary.
2. Start with a template
If you choose to start with a template instead, know that your canvas will be automatically converted to pixels for you. In this case, you'll want to keep that chart handy to see that your pixels and inches match up.
To find the dimensions for your template, simply click Edits > Resize once again and you'll see what the canvas is currently set to. From here, you can adjust as needed or start with a different template that has the exact size you need.
Keep the blank canvas options nearby alongside the templates so you can peep the print sizes as well. That way, you can compare those inches to pixels with the pixels of your current canvas.
Converting inches to pixels has truly never been easier. We're fully convinced you're more than ready to give it a go for yourself. So go and prove us right! Happy creating.
