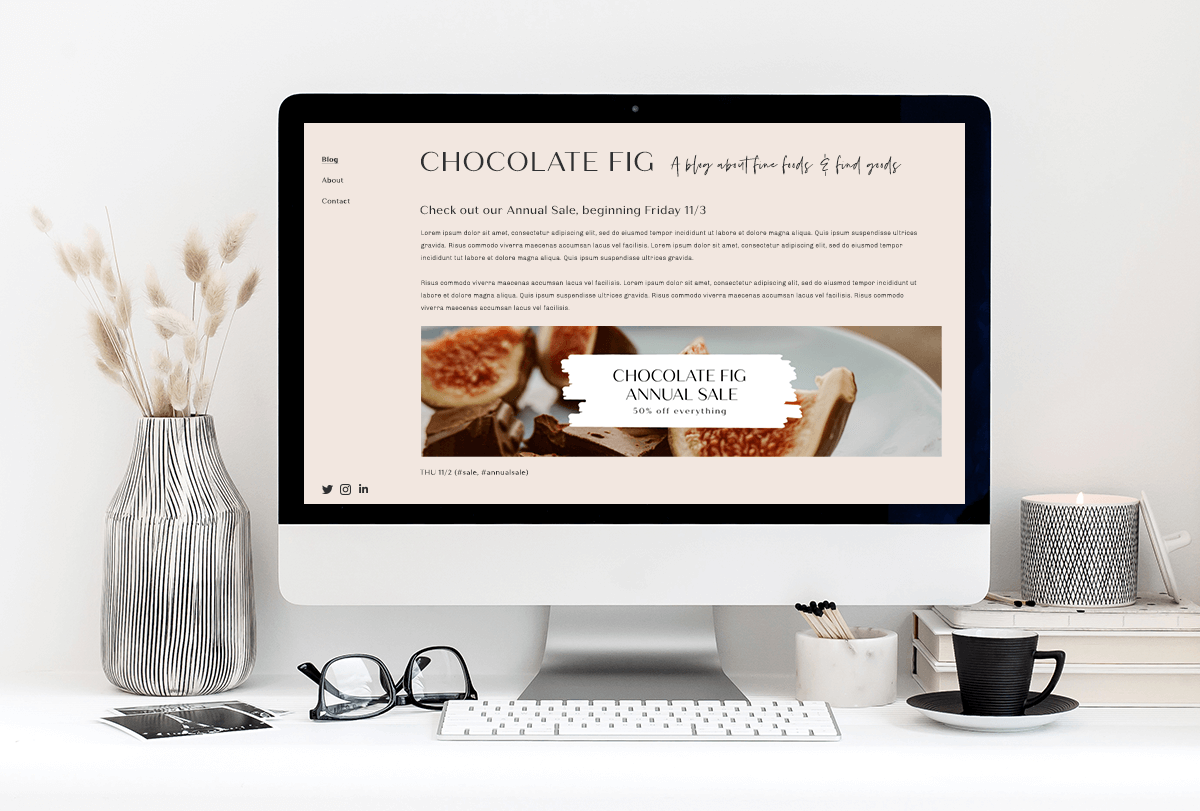
Designing a banner for your website, ad, or social media page is hard, right? No way! We'll show you how to make a banner in just a few steps. You don't need to spend the next few hours (see: days) trying to make a banner with Microsoft Word or another program's complex process. Instead, you can make one quickly and stylishly with one of PicMonkey's professionally designed (and pre-sized) banner templates, or DIY with a blank canvas and put your own unique mark on the design. You do you.
Here's how.
How to make a banner in 4 steps
Choose a pre-sized banner template that fits your needs, or open a blank canvas.
Add graphics or images to your banner to give it a stylish background.
Type a message on your banner with easy-to-use text tools.
Share the finished product to social, or download to your computer.
Now that you’ve gotten the basic gist, let’s take a deep dive with in-depth tips and steps.
1. Open a banner template or blank canvas in PicMonkey

To make a banner from a design template, simply open templates in PicMonkey and browse or search for the banner type you want to customize.
Once you find the design you want to use, select it to add to your canvas and customize. Replace our pics with yours (or with our free stock photos), and change the words or graphics.
PicMonkey has all sorts of banners to choose from, including:
Twitter headers (1500 x 500 pixels)
Etsy shop big banners (3360 x 840 px)
Etsy shop mini banners (1200 x 160 px)
Facebook event covers (1200 x 628 px)
Facebook ads (1200 x 628 px)
Facebook page covers (1640 x 924 px)
Leaderboard ads (728 x 90 px)
Large leadboard ads (for mobile; 320 x 100 px)
YouTube banners (2560 x 1440 px)

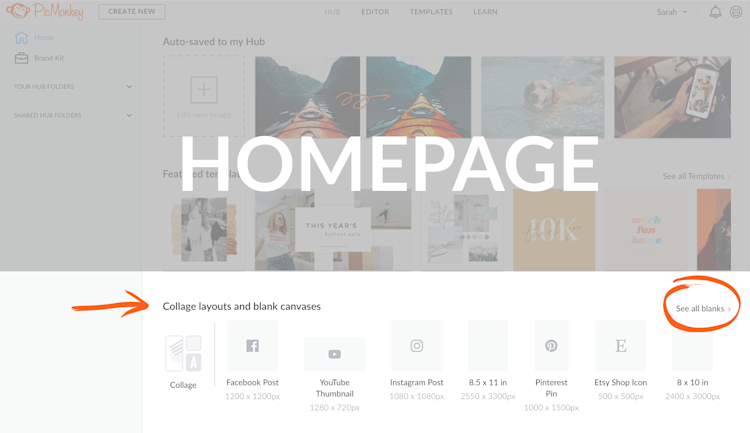
To make a banner from scratch, just click See all blanks on the PicMonkey homepage. Select your canvas size, or use the dimension boxes to create your own.
After you’ve opened your canvas, click Background color on the left tools menu to choose your canvas color. This will open the color picker, which lets you choose from primary or gradient swatches, plus input specific hex codes. This is especially helpful if your brand has specific colors and you want to keep your look consistent across all your designs.
2. Add graphics or images to your banner

Add graphics to your banner design to create undeniable visual interest. Our graphics (a.k.a.“overlays”) are vectors, which means that they’ll look crisp and pretty, no matter how small or large you resize them.
You can customize the size, color, aspect ratio, and even erase parts of a graphic or add a drop shadow to get a completely custom look.
Wanna add or replace photos? Just click the Photos & Video tab on the left. Upload your own photos, or call in a favor from our stock collection.
3. Add design fonts and text to your banner message

PicMonkey has hundreds of hand-picked designer fonts, plus you can use your own fonts by uploading them to PicMonkey. Once you add words to your banner, customize them by changing the color, size, or font. Take it further by adding an outline, shadow, or even curving text for a truly unique look.
Pro tip: Pairing different fonts makes your banner dynamic, but using too many can be distracting, cause confusion, and result in a lack of clarity. Choose two (never more than three) fonts and stick with them.
4. Download & share your brand new banner

When your banner design is complete, you can share the image file directly to outside sources like social media or to email by selecting Share from the top toolbar and choosing the destination.
Alternatively, export the design directly to your computer by selecting Download and choosing the file type. Your banner design will always stay auto-saved in your cloud storage folders for future access. Just look in the Unsorted folder if you haven’t already saved your work in a specific folder.
Create a banner with these design tips

1. Keep your message brief
Words are your frenemy on a banner. You need them, but you don't need a lot of them. Banners are all about concise messaging. Say only what you need to say. This boils down to the intention behind your banner. Why did you make one to begin with?
Also, if you're making a print banner to display somewhere, make sure it's readable! We cover readability in our how to make a flyer tutorial — give it a look to ensure you're adding a message that can be seen by those looking.
2. Create visual hierarchy
Visual hierarchy is the order in which your design elements appear, seamlessly directing viewers' eyes and creating a "hierarchy" of importance within your design. Font size, colors, contrast, alignment, and other style choices can all be used to create hierarchy.
For example, when choosing fonts, pick a bold sans serif font for your headings and a light, easy-to-read serif font for secondary headings and body text. Using additional typefaces from within your chosen font set (such as thins, lights, bolds, italics, etc), as well as different font sizes and colors can not only give you variety, but help guide eyes.
3. Understand how colors affect perception
With visual hierarchy in mind, think about the colors you want to use, how they play off each other, and what feelings they evoke. Opt for colors that match your branding and contribute to an eye-catching final design.
4. Try out different looks
Experiment! It's okay to try out different banner styles and see what connects the most with your audience. We talk about this a bit in our guide to making Facebook banners. No two designs are the same, and if you start with one of our banner templates, you'll have endless options to choose from, customize, and try out on your site or social media accounts.
5. Resize your banner for different purposes
About trying out different banners — our Smart Resize tool makes resizing your designs insanely easy. Use it to see how a design looks as a Facebook, Etsy, and YouTube banner, if you want. Unlike a standard resize tool, the "smart" part about this feature is that it's able to realign your design elements so that nothing is distorted when sizing up or down.
So there you have it. The rundown on banner'ing down. What's in store for the future? More banners? More social media making? If you're diving into digital marketing for your business, be sure to take a peek at our Business Subscription. It'll leave you with all the tools you need to check off business to-dos like they're items on a grocery list!
