Good news, party and event planners — PicMonkey’s Halloween templates are here to help you create monsterrific invites faster than you can say “Double, double, toil and trouble.” Sure, you could send a just-the-facts text or completely boring email about your party, but doing that is like giving toothbrushes or raisins to trick-or-treaters. That’s not who you want to be, trust us. So get ready to scare this place up.
Our Halloween templates are ready-made and waiting for you, so you can spread the word about your shindig in style. Take them as-is or customize away; all of our templates work with our editing tools, so you can change everything from fonts to colors to graphics wicked fast.
Quick steps for making Halloween invitations:
In PicMonkey, click Create new > Templates on the top navigation bar.
Type “Halloween” in the Search all templates bar, find a template that speaks to your inner ghoul, and click on it to preview in the Editor.
Swap out colors, add photos and graphics, change fonts, etc.
Your changes are automatically saved to Hub so you can come back anytime and edit your design.
Now that you’ve got the skinny, let’s take a closer look at how to make Halloween party invitations by customizing one of our templates. And, spoiler alert: if the DIY blood is just oozing out of you (gross), you can always grab a pre-sized blank canvas and design from scratch!
Change the font
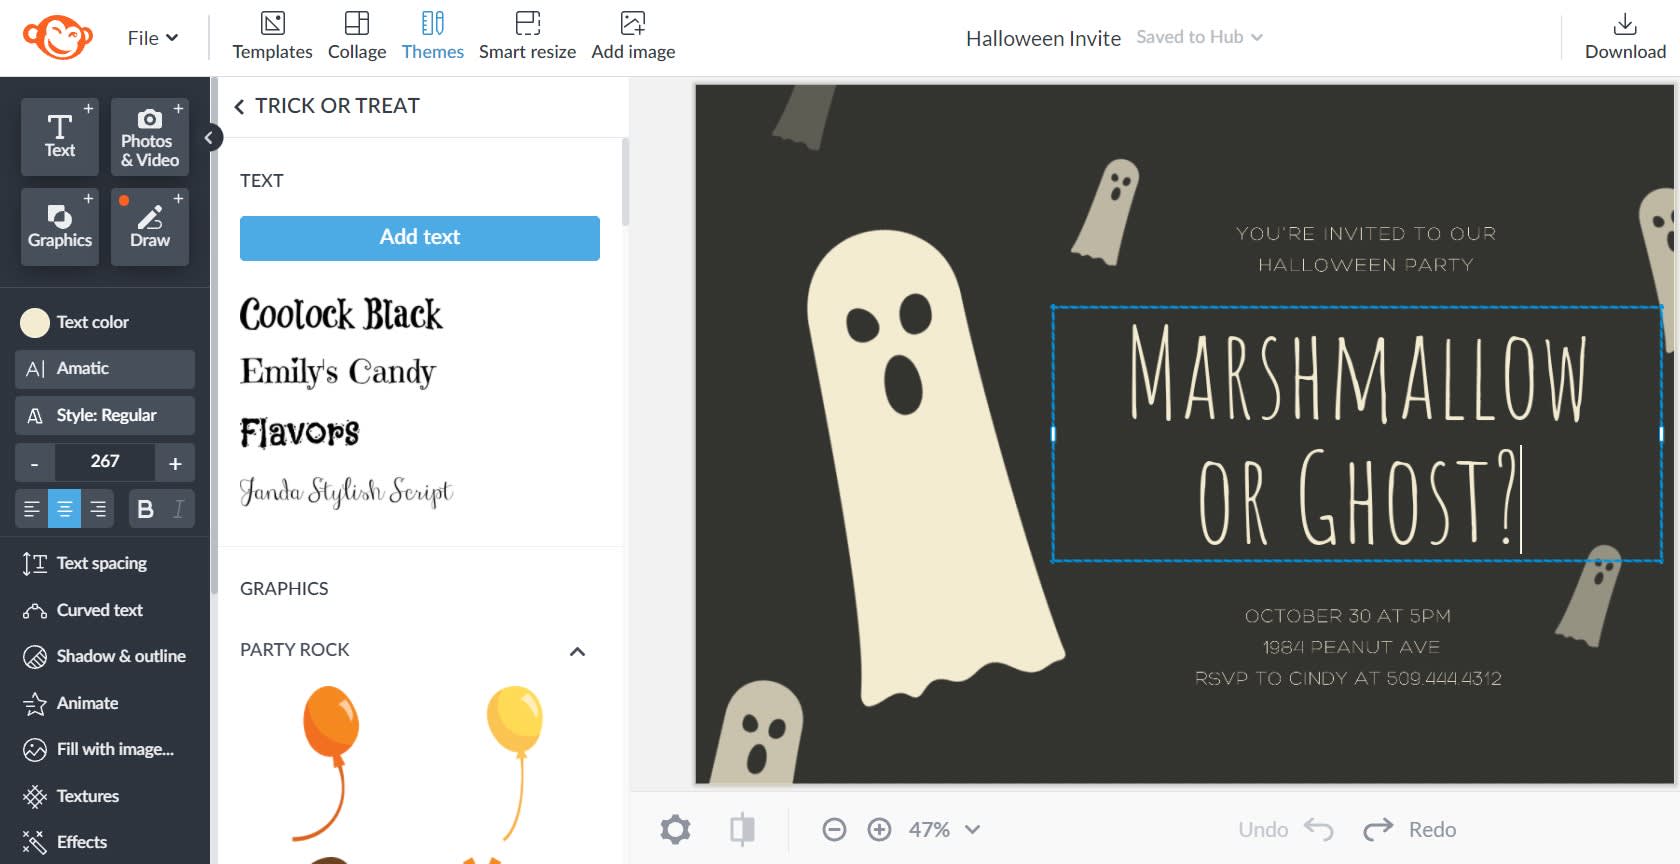
Customize a Halloween template in PicMonkey.
An easy way to change the vibe of a Halloween party invitation template is to swap out the font. You’ll find seasonal fonts that range from scary to sweet-as-Halloween-candy in the Text tab. To change up your font, highlight the text, then click the fonts you want to try out.
Font pairing? Get some tips for pairing fonts like a pro, or use a few of PicMonkey's Halloween theme sets for fast access to Hallow-tastic font choices.
Pro tip: You can also snazzify your words even more with the controls on the Text Tools menu, which is where you’ll find text effects like drop shadow and curved text. And if you want to create unusual or subtle looks, experiment with game-changers like Glitter (Textures tab), Sculpt (Touch Up tab), and Pixelate (Effects tab) — depending on the font and the effect, you can get some distinctive results.
Choose a new background color
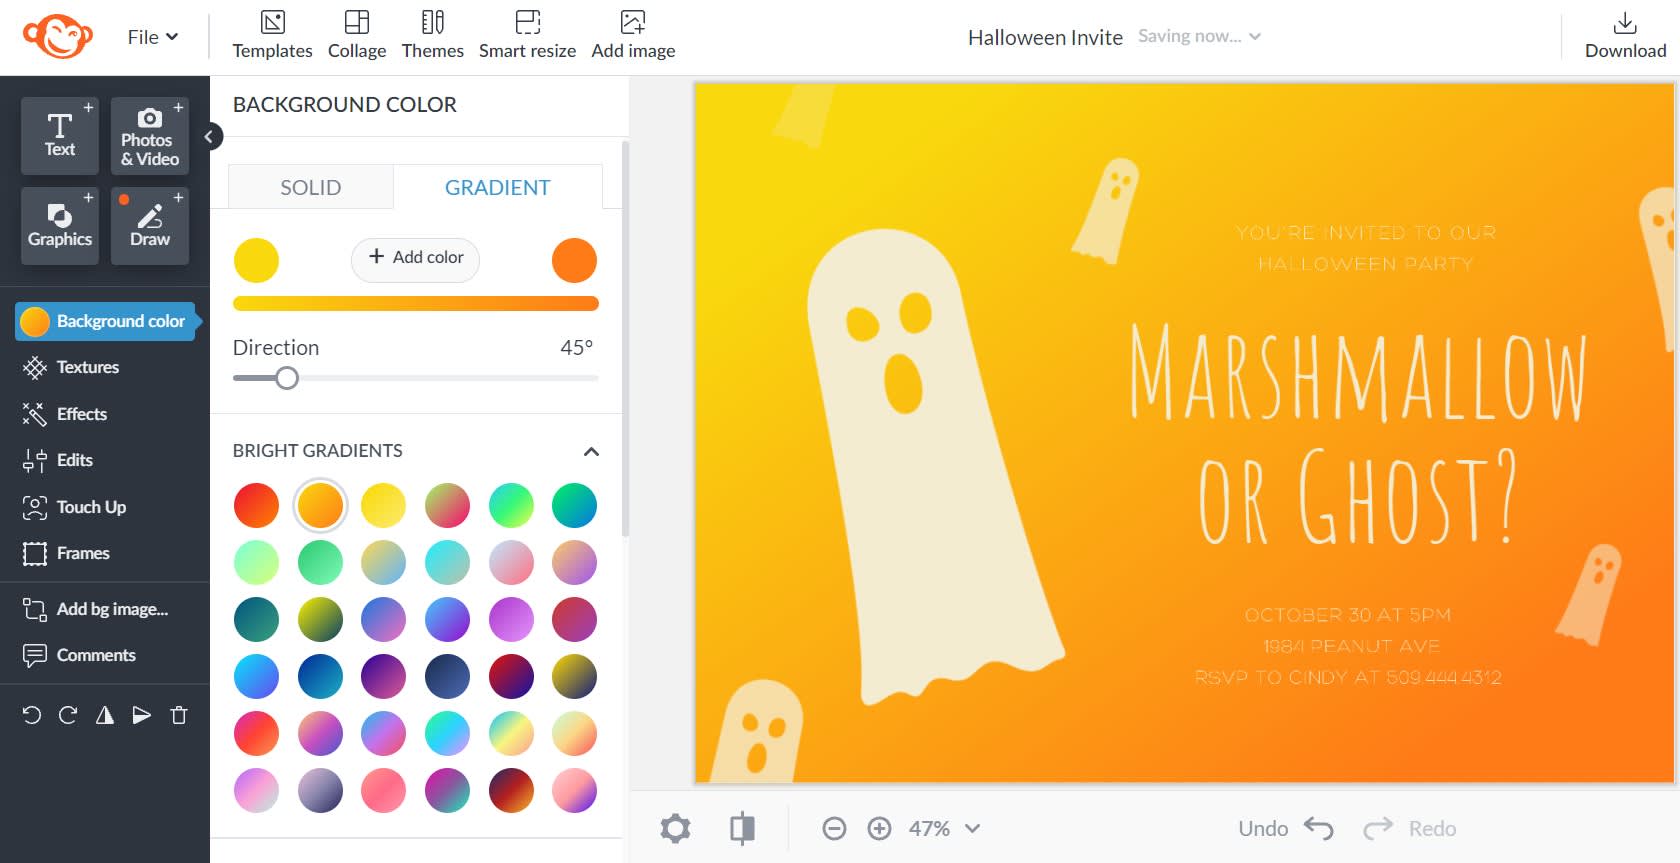
To make a big change with minimal effort, swap out the background color on your template. To change the background color, just click your background layer on the Layers panel. Then click Background color on the left tools menu.
Use the color picker to choose a new hue, or type in the hex code for a color you already know you adore. Choose from standard color swatches, or opt for a uniquely gradient look.
Pro tip: The Eyedropper takes the guesswork out of color matching — no more looking up hex values or crossing your fingers and hoping that those reds actually match. Just click the graphic, then click one of the color dots at the top of the Graphic Tools menu that opens on the left. Click the eyedropper icon and click the area of your image that has the color you want — boom! Color matching complete.
Go nuts with graphics
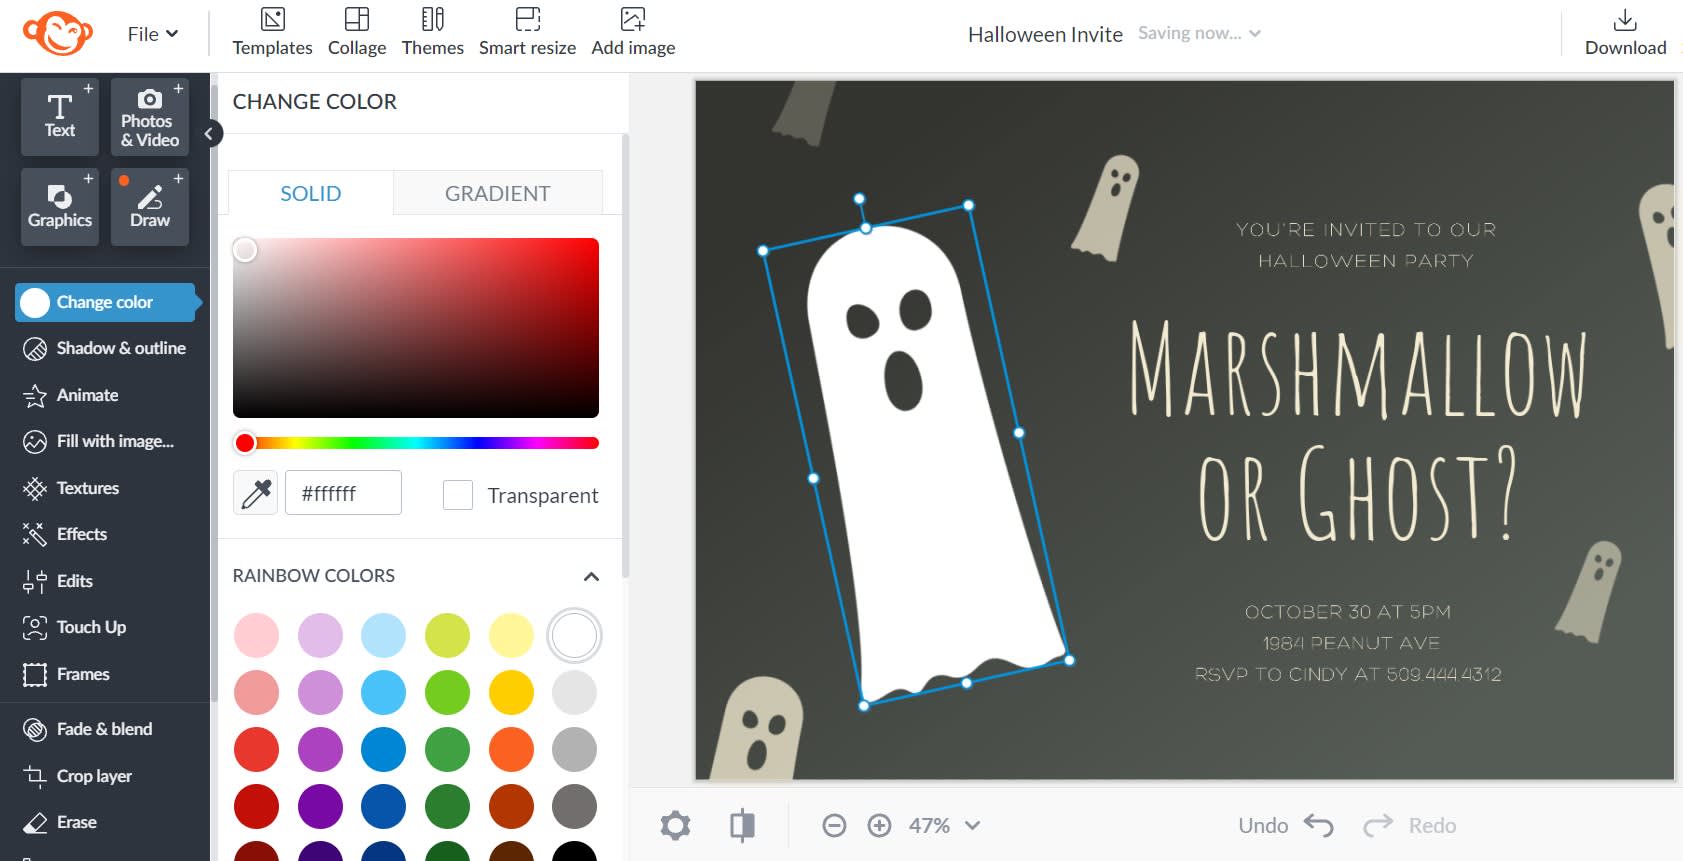
Our templates include tons of appropriately spooky graphics to monster up your Halloween party invitations. If you want to add more or change them up, click the Graphics tab (geometric shapes icon), and scroll down to the Holidays section. Or click Themes on the top toolbar and choose some from any of the Halloween themes. Plus, you can easily add your own graphics by clicking Add your own at the top of the Graphics tab menu.
Pro tip: If you have a graphic you love and want more copies of it on your canvas, right-click it and choose Duplicate layer.
Use your own photos
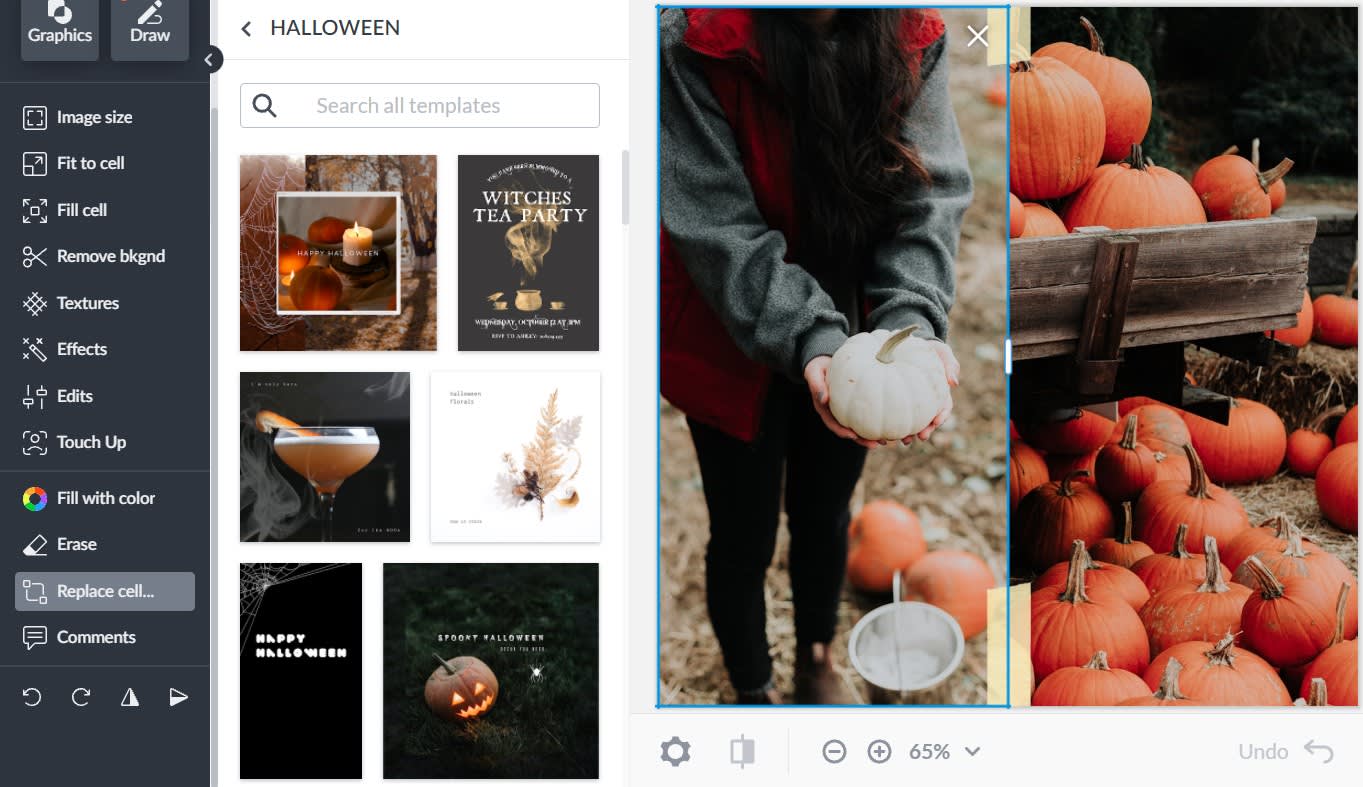
To swap an image on a template with one of your own, click the image, then click Replace on the respective tools menu (it'll open on the left). You can open images from your computer, Hub, or select a stock photo from our massive Shutterstock collection.
Printing Halloween party invitations
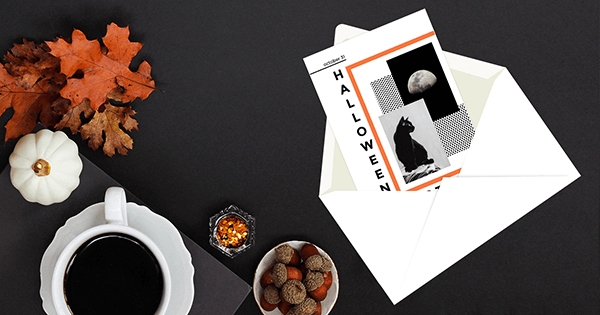
Wanna go old school and make an invitation you can actually hand someone, or maybe even put a stamp on? Before you send your design out for printing or fire up that inkjet, get the lowdown on everything from how pixels affect print size to monitor calibration in our photo printing article. You can also make sure your dimensions are on point with our handy pixels/inches conversion chart and resize tool before printing your invitations on high-quality flat cards.
Beyond invitations
Complete customizability means that our party invitation templates can be changed up however you want — in fact, they don’t even have to be party invitations at all. Here are a few ideas on how to shapeshift these invites into other Halloween ephemera (along with a few solid template starting points):
1. Make menu cards
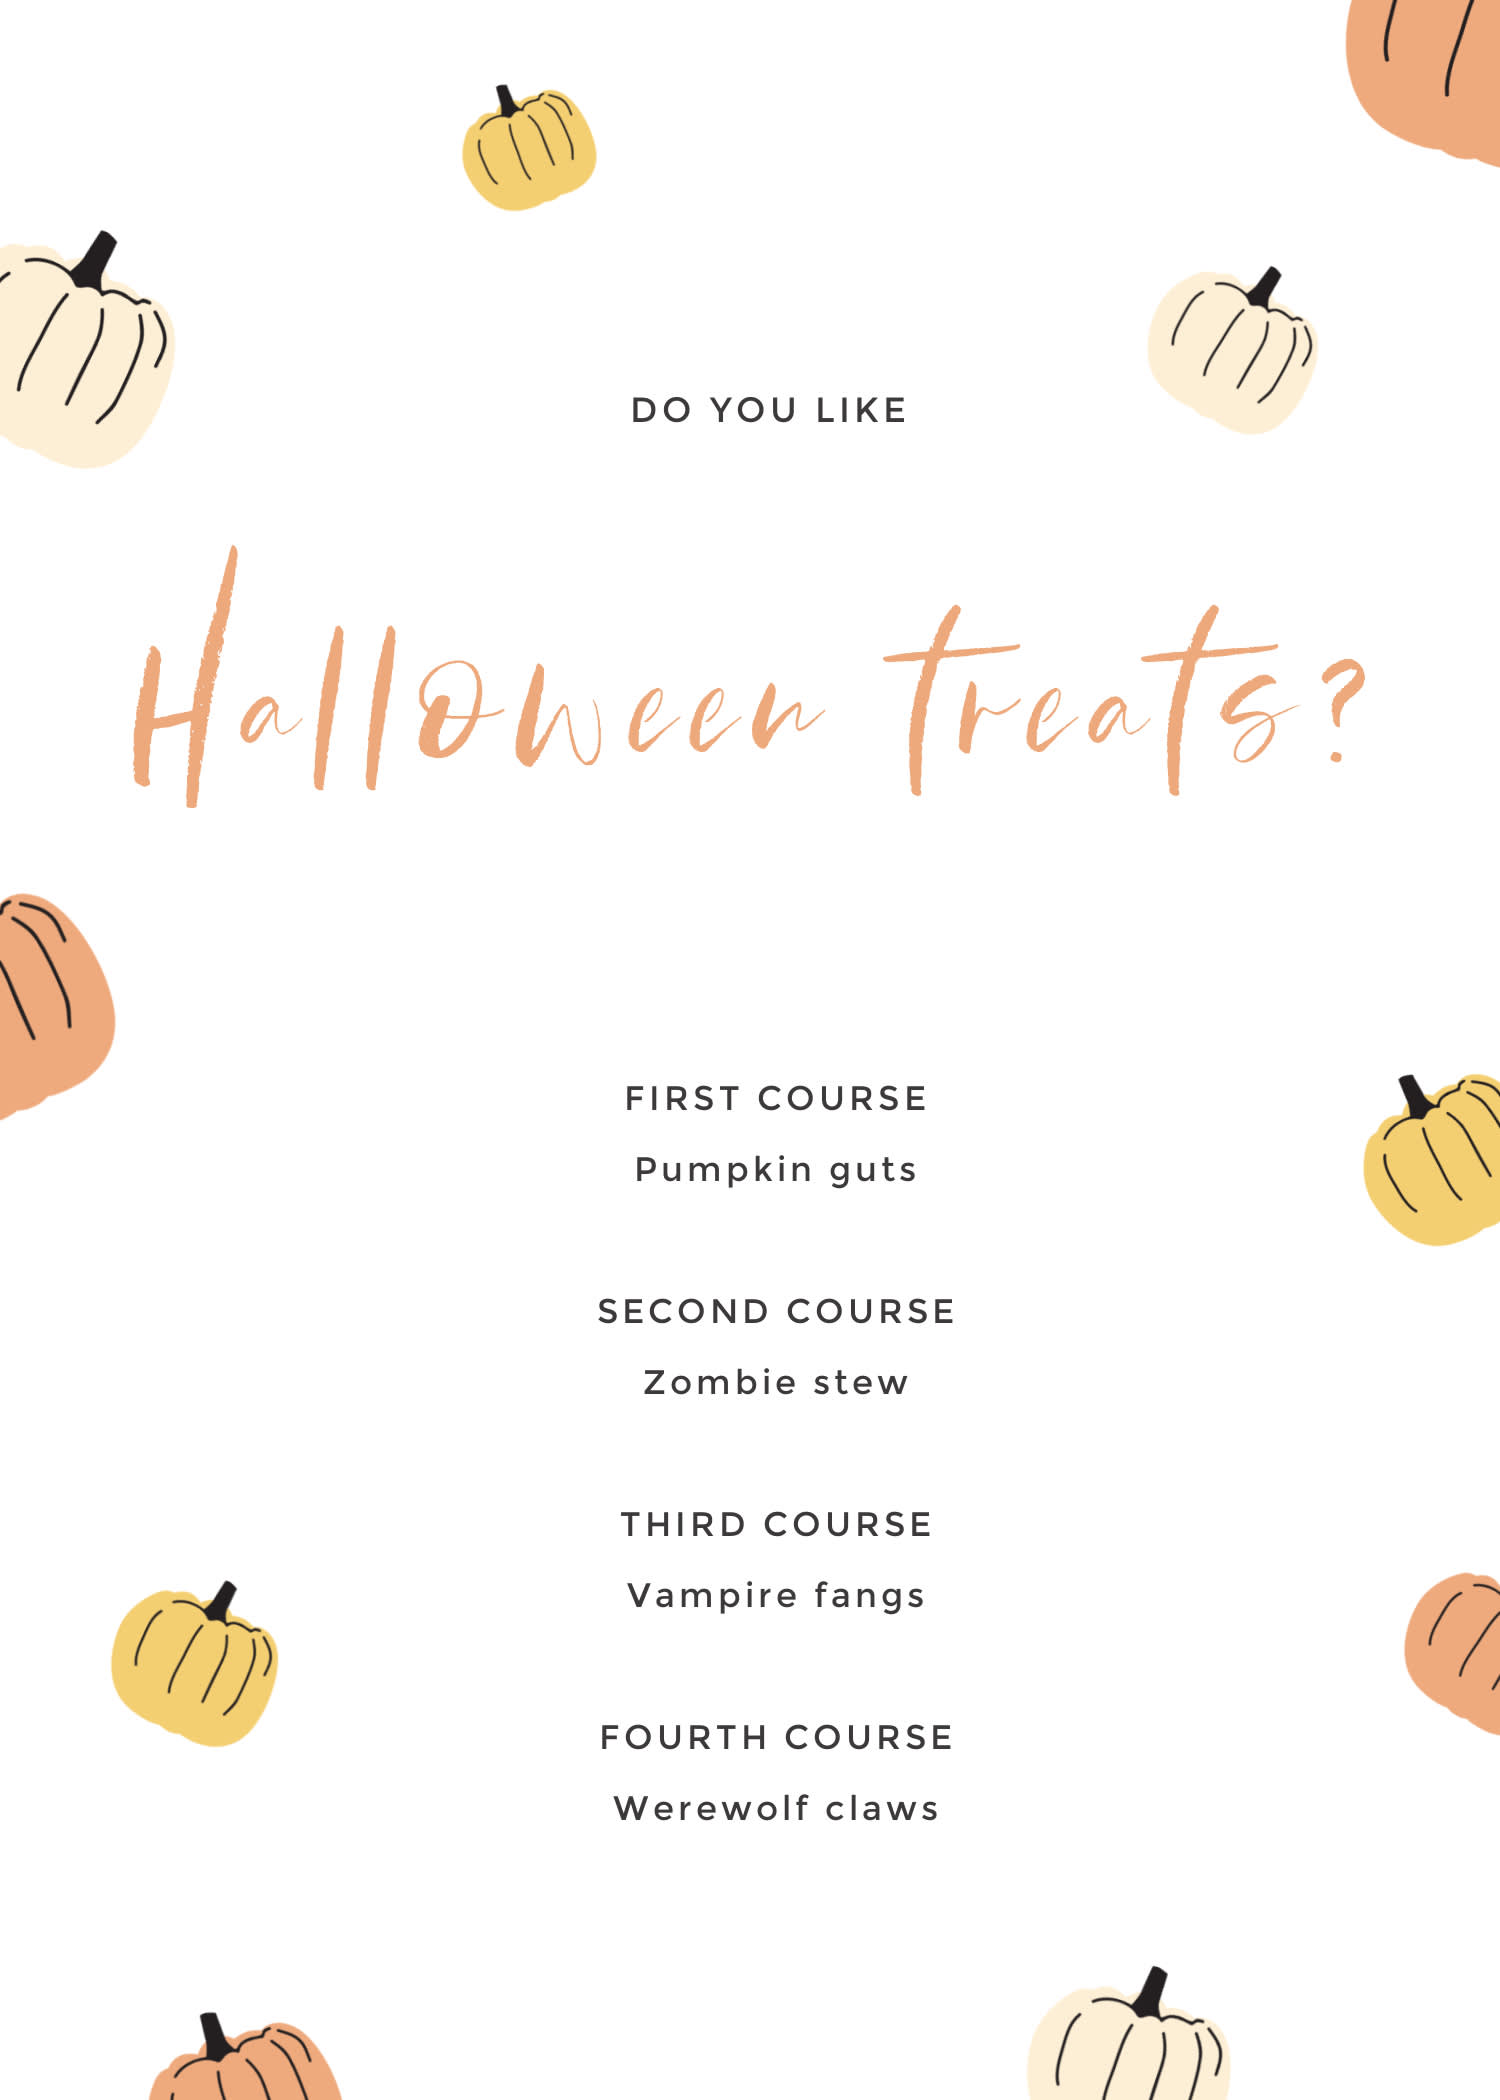
Customize this Halloween invitation template in PicMonkey.
Your guests are probably gonna want to know if there’s any gluten, dairy, eye of newt, or meat in those chafing dishes. Display buffet info in a fun way by transforming our Halloween party invitation templates into menu cards. Or, hey, start WITH a menu template and spruce it up for all the Halloween fun.
2. Dress up goodie bags
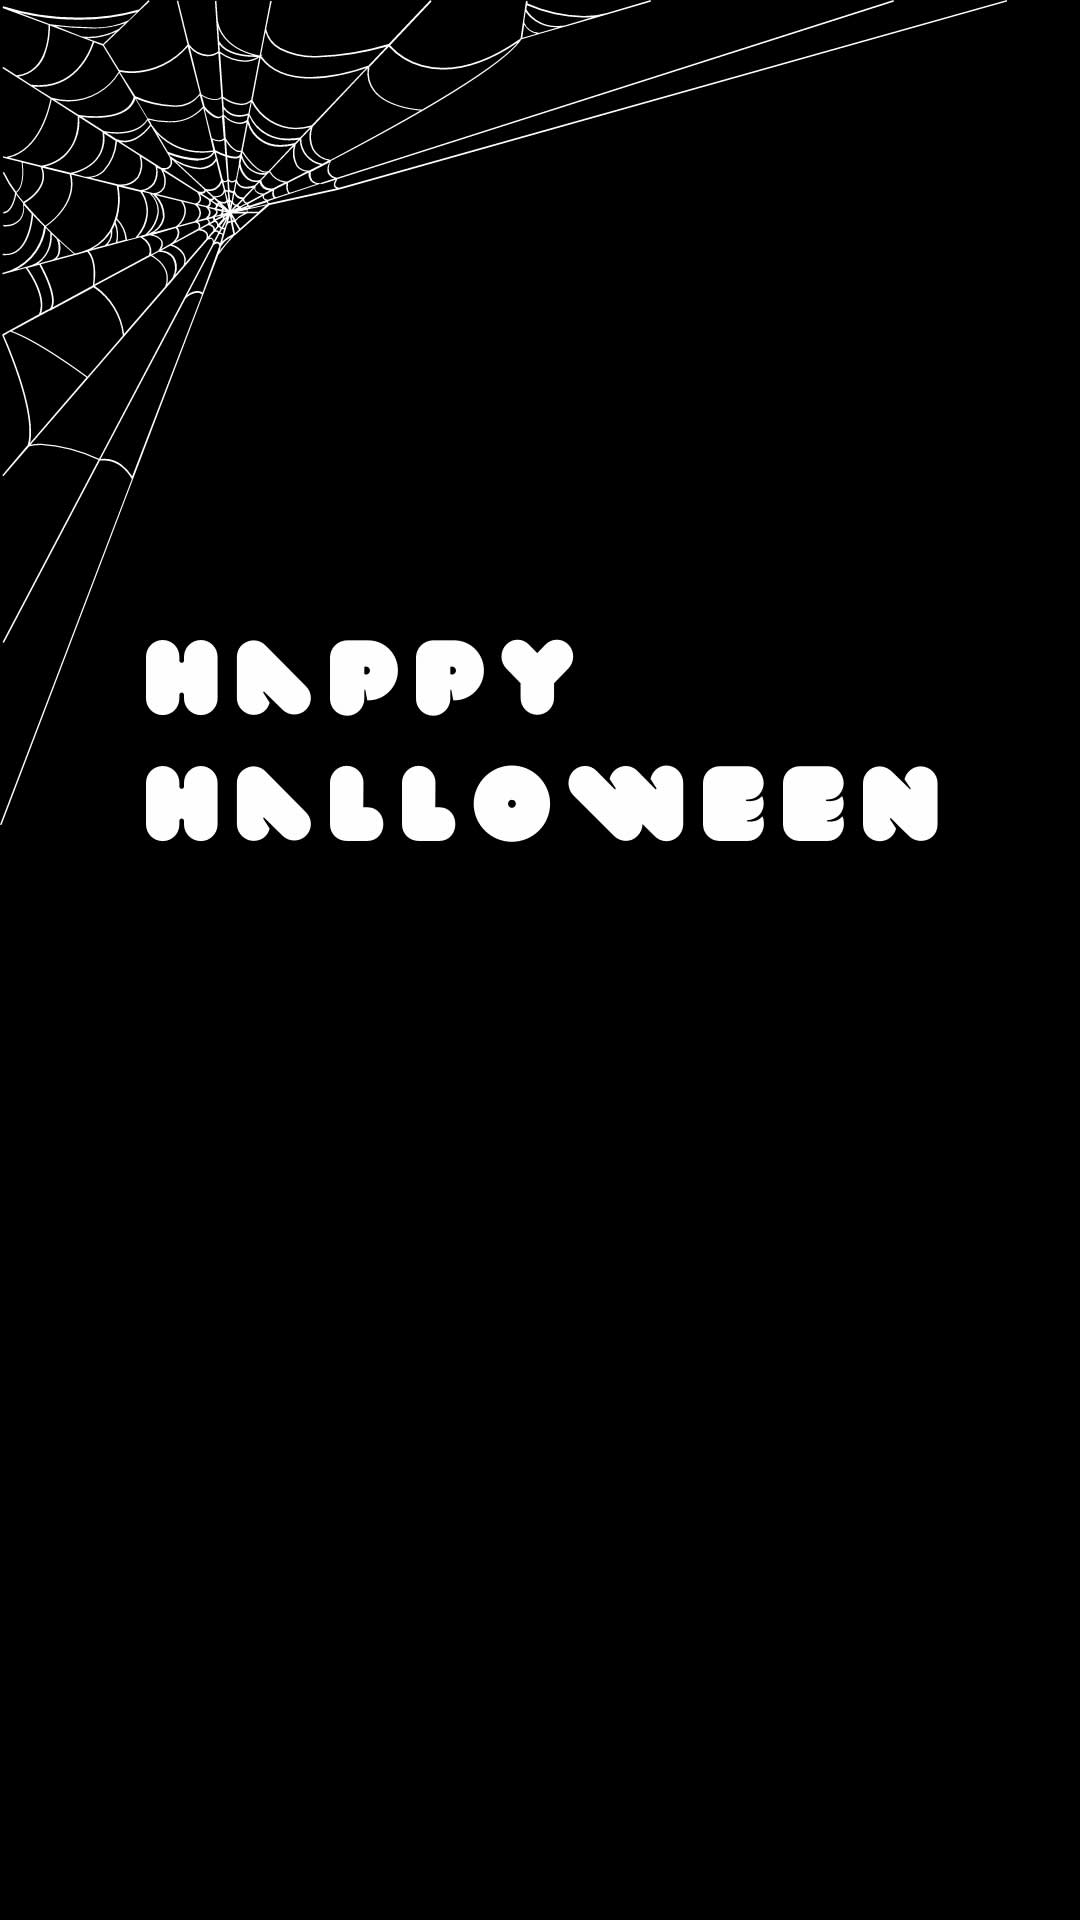
Customize this Halloween Instagram Story template in PicMonkey (to use without video, just download as a JPG or PNG).
Pick a template and switch out party info for a cute Halloween message or goody bag recipients’ names. Print ‘em up, grab some paper lunch sacks and a glue stick, and your festive bags are ready to be filled with treats.
3. Boo others
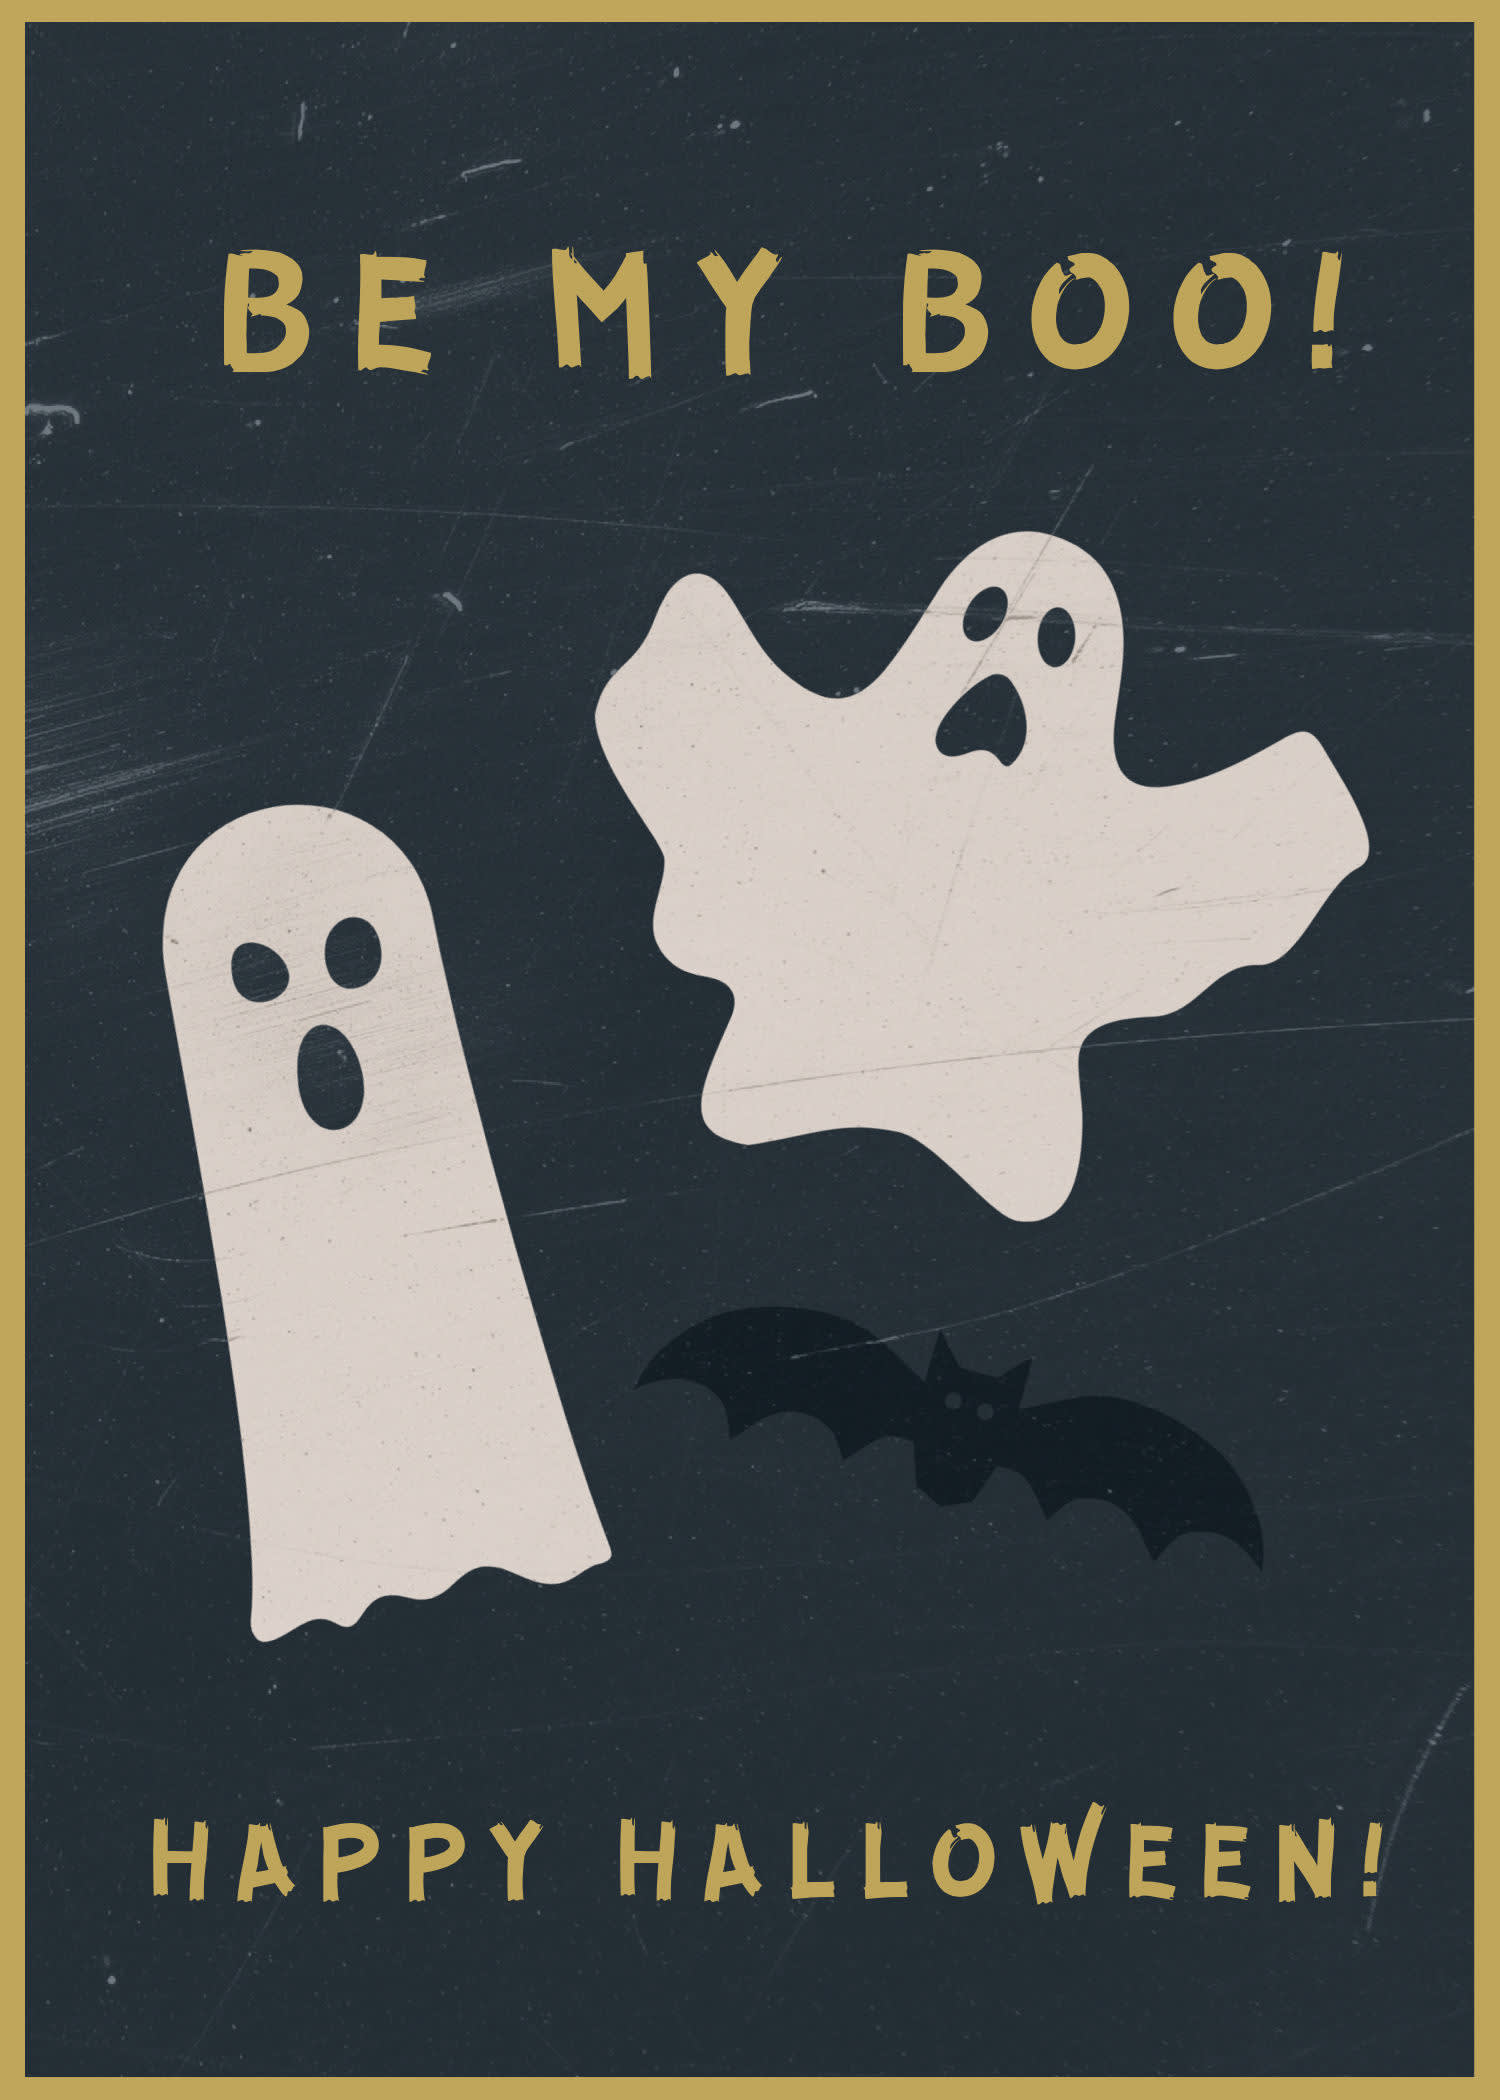
Customize this Halloween card template in PicMonkey.
If your coworkers or neighbors are into the You’ve Been Booed treat-trading tradition, our templates can be used as adorable party pack additions, or signs to let others know you’ve already been hit.
4. Jazz up your doors
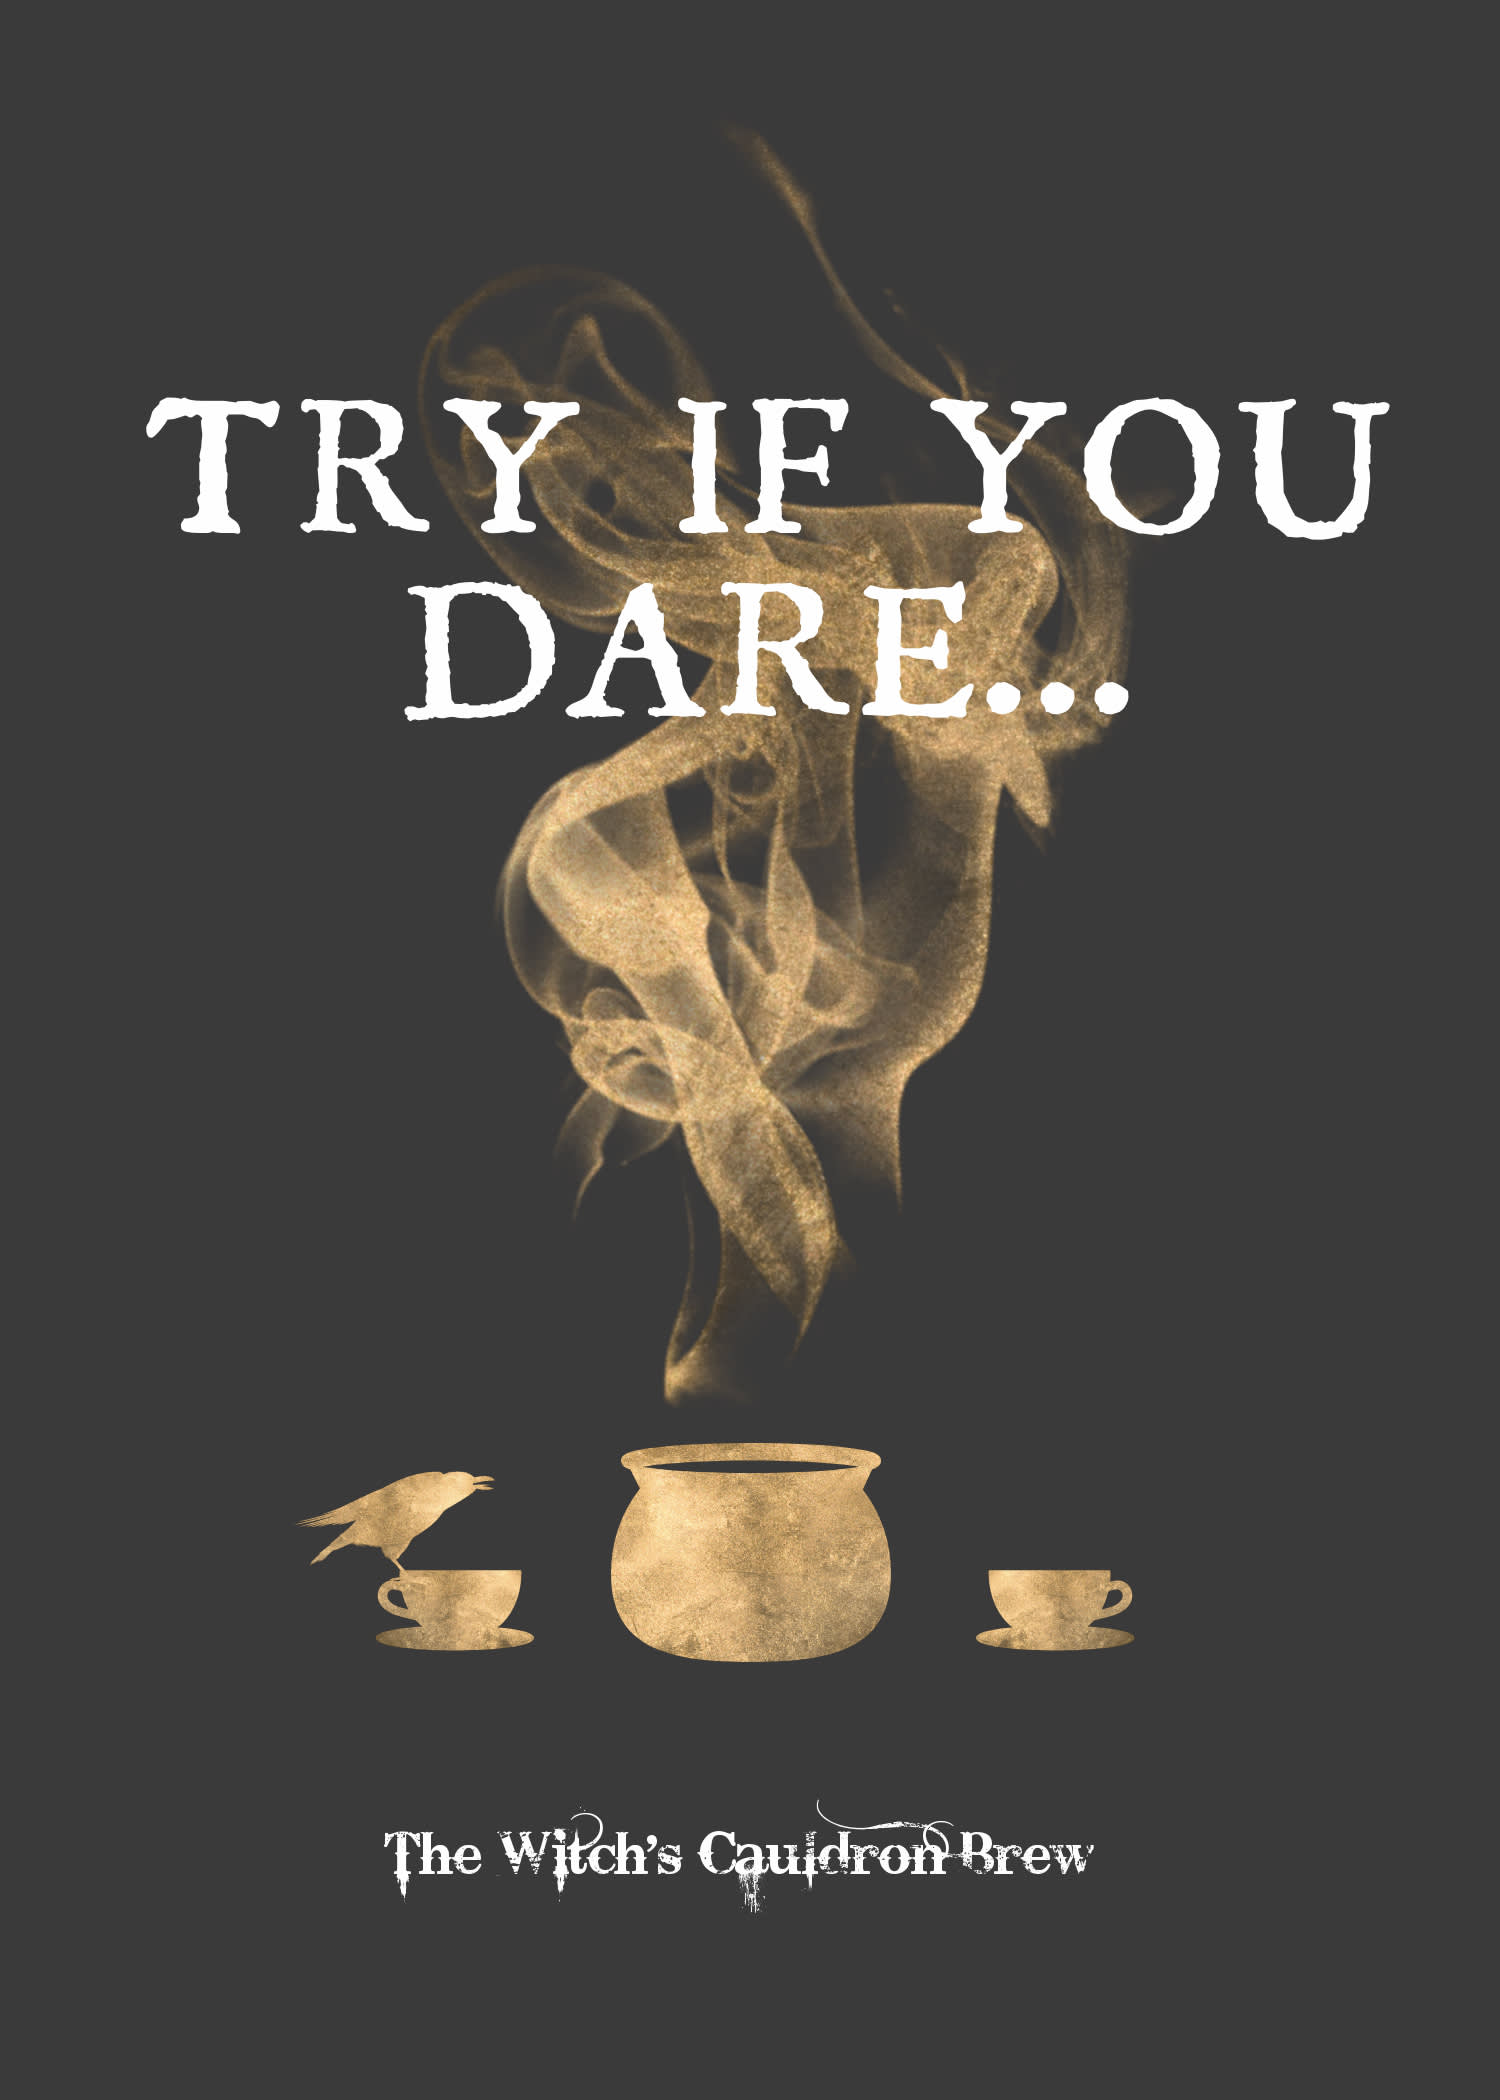
Customize this Halloween invitation template in PicMonkey.
Make your party theme match your invitations by turning these templates into signage. Quickly give guests need-to-know info — like where to find the bathroom, whether or not to knock on the front door, or where the grub is — by hanging a few well-designed signs on your walls and/or doors.
