If you think that too-dark concert selfie’s fate is sealed, boy, do we have news for you! The PicMonkey mobile app is loaded with tools to help that could-be-fab photo escape the clutches of underexposure-dom. Your mission, should you choose to accept it, is to try the following four things on your dark photos. So fire up that app and stop throwing memories in the trash(can icon).
Now, let's learn how to brighten photos on your phone or iPad and finally salvage those pics you've near-abandoned.


In a hurry? Follow these quick steps for brightening dark photos:
1. Open your photo in the PicMonkey app.
2. Click Adjust on the bottom toolbar, then click Levels.
3. Use the slider to brighten your image accordingly. That's a wrap!
How to brighten photos with four easy options
For those with a bit more time for some photo TLC, PicMonkey's got several options to choose from. If you're a first-timer going 0-60 on a photo edit, it's easy to make dark pics look washed out. So, here's the full rundown on Levels and two other adjustments (plus one photo effect) so that you never have to sacrifice glorious color in your pics!
1. How to brighten a picture with levels

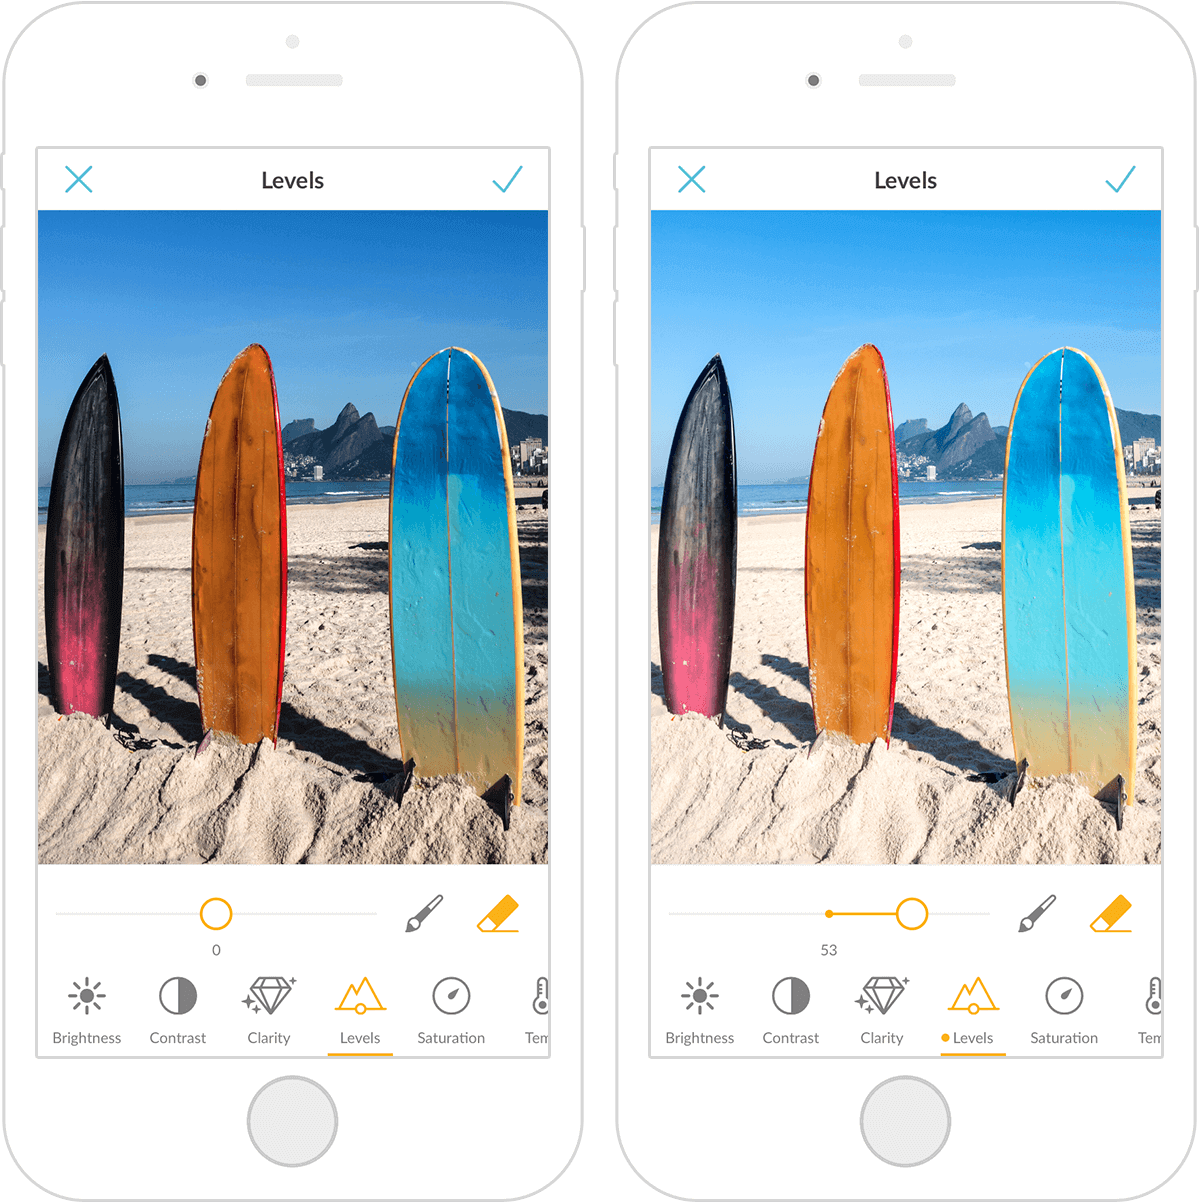
Level up your photos with Levels! This is the adjustment to start with, folks, and it could be all you need, depending. The mobile version of this photo editing powerhouse focuses on your midtones, so when you adjust the Levels slider, you’re making the middle greys in your image lighter.
The rest of your colors adjust accordingly, which means Levels magically brightens your image without washing it out. To find it in the mobile app, simply go to Adjust > Levels and slide to your heart's content.
Then, put your gorgeous shot into one of our Instagram post templates, Facebook templates, branding templates, or anything else that floats your boat. You can upload them directly to social and share your creations with the world to drive traffic or whatever your motive may be!
2. How to brighten a photo with...brightness

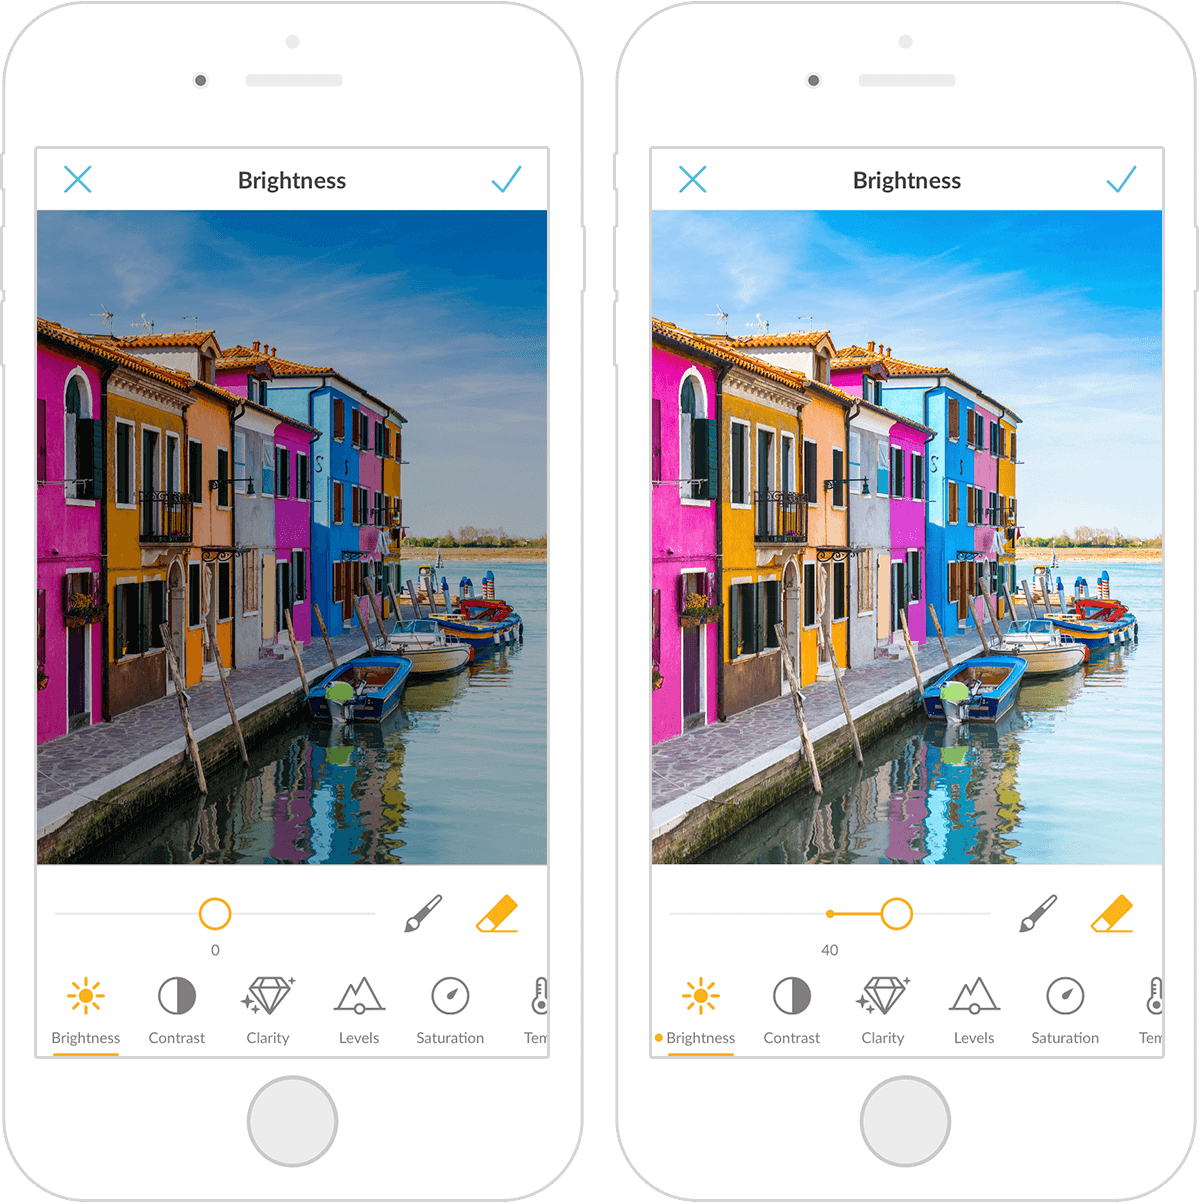
Brightness is the perfect option if you're wondering how to make a dark picture lighter. Not only is it self-explanatory and a quick one-tap fix, but it takes some pressure off you to capture that exact angle at that exact time.
Our Brightness adjustment smacks your image with light. Simply tap the Brightness button and behold! Unlike Levels, it doesn’t cause other tones to adjust, but brightens evenly instead. And once you have your pic just right, why not make it your phone's wallpaper? Or better yet, use your perfected photo as the basis for a Pinterest pin, Facebook cover, or YouTube thumbnail!
Pro Tip: Don't wait for a reason to learn how to brighten photos. Stay proactive so you can make quick adjustments when you're itching to get a social post out, wanna make a vision board, or feel like gifting someone a scrapbook for a special life milestone. The benefits of learning how to brighten a picture literally last forever.
3. Brighten up your pics with saturation

Alright, back to that life-changing, best-ever, I-can't-stop-looking-at-these-pictures concert you attended last night. Feel like nothing can do those moments justice? We got you. Cue saturation.
Saturation affects the colors in your photo for a whole different energy. It’s useful if your pic is looking a touch washed out after you lighten it, or if you can't decide between the versions of your photo adjustments (keep them both!). You can always make a collage or photo cards to pass along to your fellow concert go-ers.
To achieve the full saturation look, simply tap Saturation and move the slider left to make the hues more muted, and right to make them more vivid — or — to get cooler or warmer. After you've got your colors the way you want them, you can put a watermark on your pic and let the world know that you are the brilliant creator of this masterpiece.
4. How to brighten a picture with lush

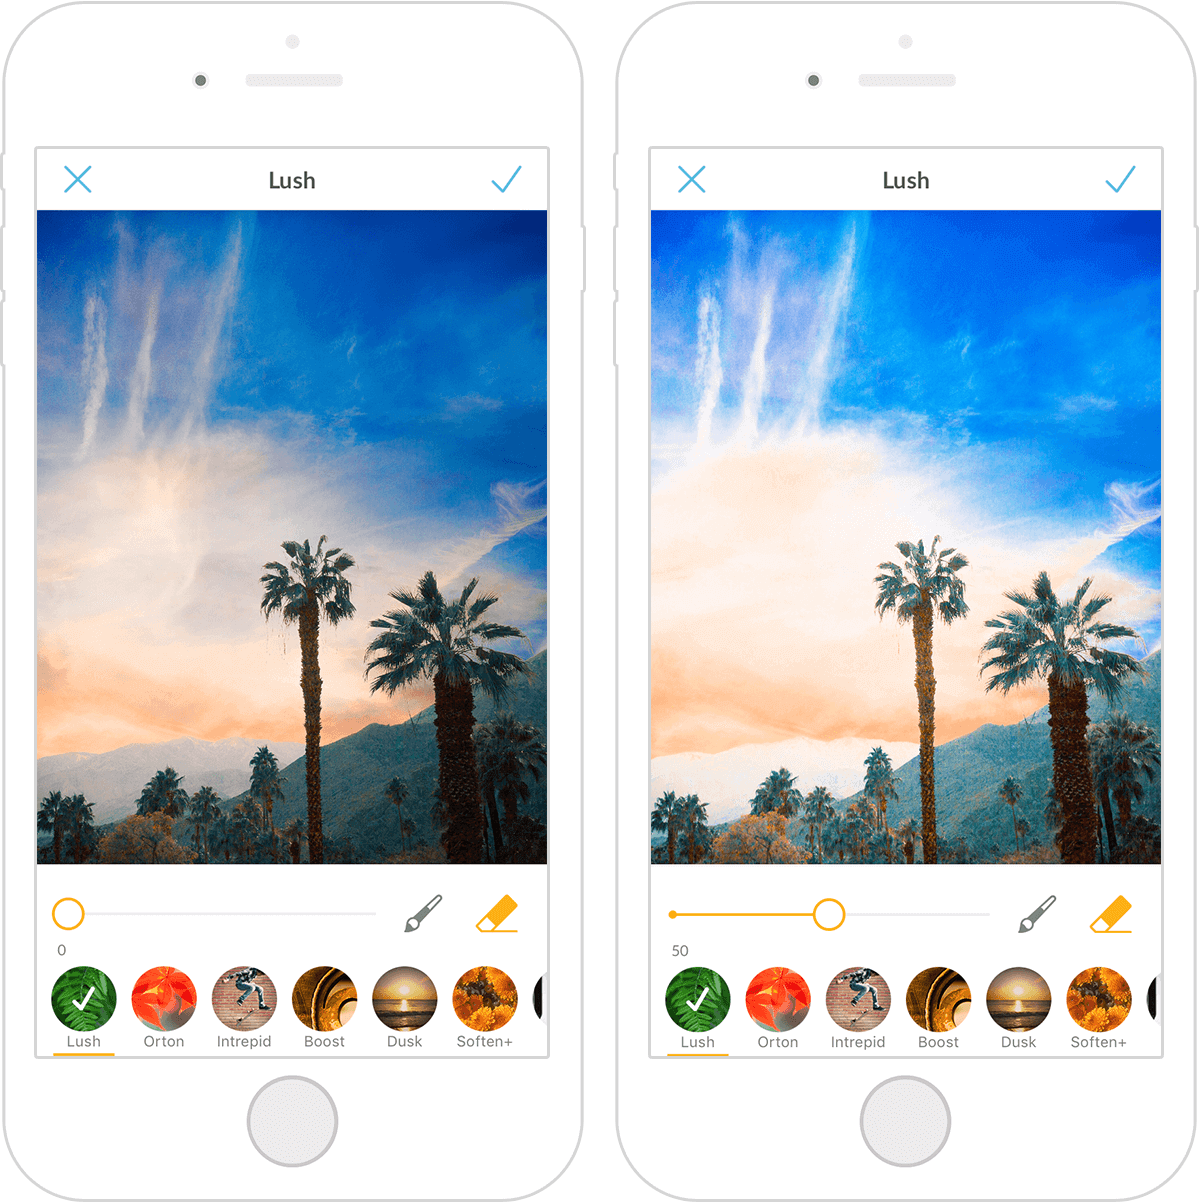
We're all about that lush, 'bout that lush, no trouble. There are a bajillion reasons to love the Lush effect. Not only does it make the richest colors in your image pop, but it’s also an unexpected dark photo fixer.
Since Lush is great at detecting contrast, it works wonders on those tricky dark-in-one-spot-light-in-another photos. The second you tap Effects > Lush, you'll have that ah-ha moment (we love when that happens). It does, in fact, bring a level of unmatched unctuousness to photos — just that extra oomph.
Pro Tip: Even pro photographers need help brightening photos sometimes. In other words, there's no one who can't benefit from learning how to make a dark picture lighter. You, as the creator, are always in the driver's seat. You have full freedom to explore the above assets given that there's no one way — and no right way — to do it.
Secondary ways to lighten things up
While all of the above effects get the job done, no one said you have to stop there! Feel free to couple your chosen edits with the classics like contrast, shadows, and highlights as well. If you've got the time, take the time! The more you learn about PicMonkey's phenomenal photo editing assets, the more of a master you'll become.
While contrast, shadows, and highlights aren't primary ways to lighten photos, they're fantastic secondary options once you've applied the above suggestions.
Contrast
Adjusting contrast determines the number of shades in a photo. When you go to Adjust > Contrast, notice how sections get amped up or down depending on which slider direction you choose.
Shadows
We know what you're thinking. Dear PicMonkey, I'm wondering how to brighten a photo taken at night, so why would shadows help? Shadows are a great option after you've lightened up the whole pic, as they add nuance, dimension, and balance to photos.
It's easy to write dark photos off as bad quality and praise light photos as good, when truthfully, we need both. Adding Shadow in some places can complement the light. Eh?
Highlights
Well, highlight already has the word light in it, so we know this one's a for sure ally. The Highlights effect enhances the lightest parts of the photo. Most often paired with Shadow, simply click Highlights and play with the slider to find the right intensity for you.
How to lighten a photo like a pro
Every dark photo is different, so keep experimenting until you find the right editing combo. If part of your image needs a little extra brightening or some color love, paint on any of our assets right where you want ’em.
Paint onto your pic in a four simple steps:
Tap on whichever brightening method you prefer and use your fingers to zoom into the area you want to paint (or keep the photo as is to paint the whole pic).
Tap the Paintbrush icon, then tap the plus (+) sign to enlarge the paint-on section or the minus (-) to shrink it.
Use your finger to apply the effect or adjustment to the right spot. Voila!
To reverse a paint-on adjustment, tap the Eraser icon to remove it from specific areas, or the X in the upper-left corner to get rid of all edits you haven’t applied yet.
Got a stubborn photo? Try applying an adjustment or effect multiple times. Tap the checkmark to apply your changes, then go back into whichever magic photo fixer you wanna use and apply it again.
Once your pic is looking spectacular, press and hold to see the transformation and relish in your newfound on-the-go photo editing skills.
Get all the on-the-go goodness when you download the PicMonkey mobile app:


