Ahhhhh nostalgia, the feeling that causes children of the ’90s to coo over Gak and Troll dolls. Fortunately, some of the things that make us long for days gone by are still objectively cool. Case in point: the photo strip.
Ever since Anatol Josepho’s curtain-and-camera combo hit the NYC streets in 1925, people have been head over heels for these strips of pics (Andy Warhol included). Modern versions are often taken at weddings or parties, and the look has become uber-popular across social channels and as a creative take on save the dates or birth announcements.
So grab your pics and let's get to work. Here's how to make a classic photo strip in just a few steps, no photo booth required.
Make a photo strip in 4 quick steps
Open a blank canvas in PicMonkey and set custom dimensions (600 x 1500 pixels).
Click Collage on the top toolbar and choose your layout.
Add your images and customize their look.
Download and share to social, or print.
Want something that looks straight from a camera roll? Try one of our photo strip templates.
1. Open a blank canvas in PicMonkey
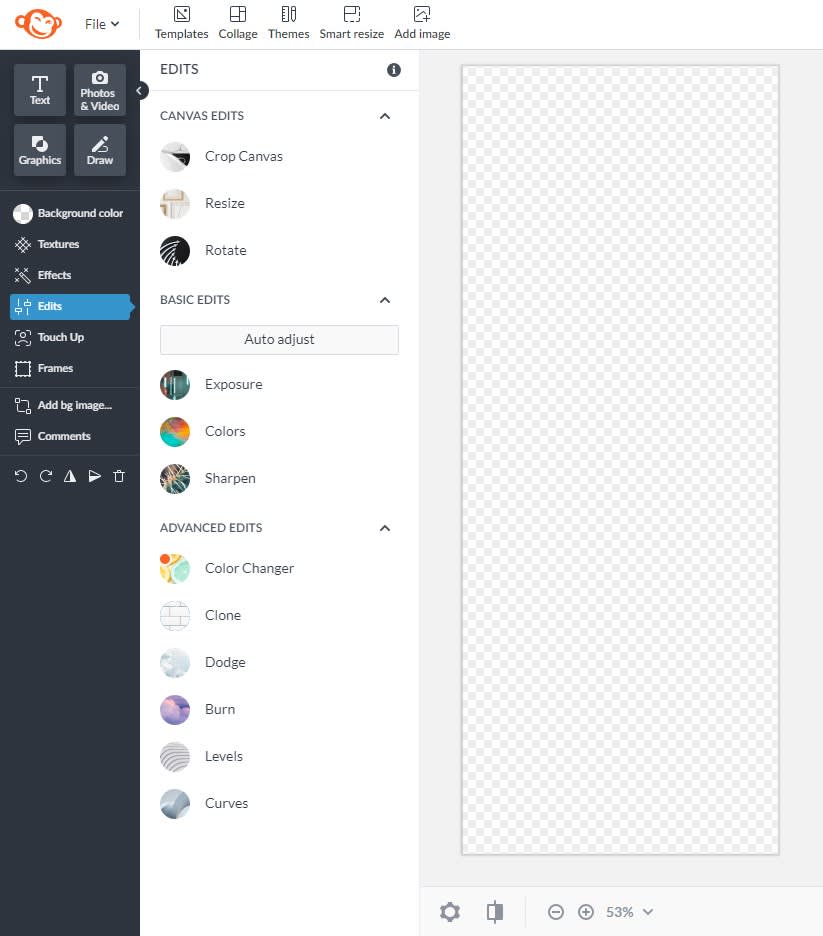
The standard size for a photo booth strip is 2 x 6 inches, or 600 x 1500 pixels. If you're looking for a different size and need help doing the math, check out our nifty conversion chart.
To start your design, open a blank canvas and use the dimension boxes in the top right corner to set a custom size. Click Make it!
If you'd like to change your background color, click Background color in the left tabs menu. Choose from solid or gradient color swatches.
2. Select a collage layout
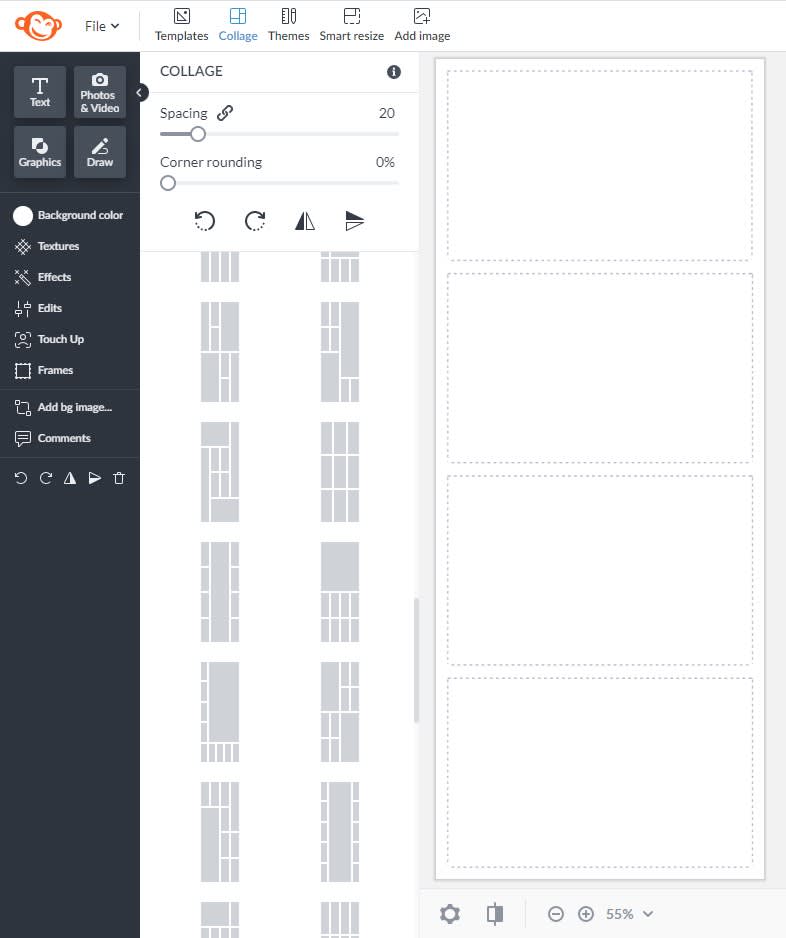
The simplest way to make a photo strip from scratch is with our Collage tool. Just click Collage on the top toolbar, then select a layout.
Our collage layouts put the 'flex' in flexible, meaning you can drag and resize cells in a jiffy, plus delete cells to get the exact layout you want.
The traditional strip has 4 frames stacked on top of each other, but you're free to add or subtract however many you'd like.
3. Add images and customize your design
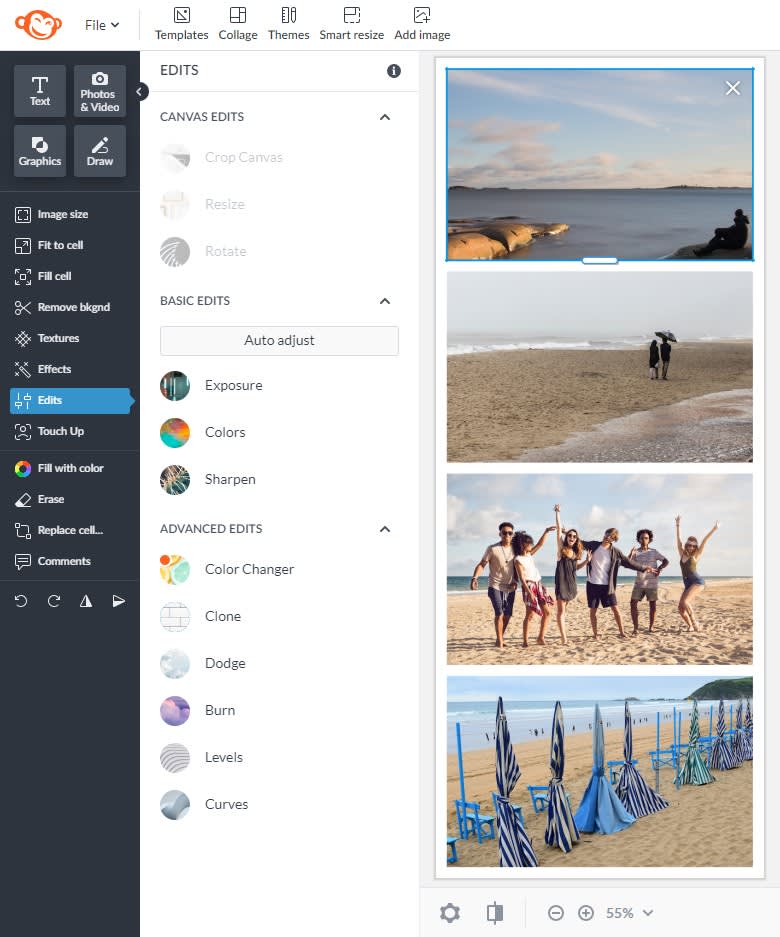
Click the Photos & Videos tab to add your images. If you need any to supplement what you already have, take a peek at our stock photo library. It's [stocked] full of millions of Shutterstock assets.
Select and drag an image from the left panel to fit it into a cell. Repeat until all of your images are snug and framed. Use the Spacing and Corner rounding sliders to customize your borders.
Technically you're all done, but PicMonkey is loaded with photo effects that we suggest trying out. If it’s nostalgia-inducing effects you seek, try Black and White, Cross Process, Dusk, Daguerreotype, Sepia, Polaroid, or Time Machine. Any will add a bit of vintage flair to your final design.
Since this is an online photo booth, you don't have to live with crazy stray hairs that crept into your photos. Use touch-up tools to help you fix flyaways, get rid of that pimple, or add a little eye brighten, if you wanna.
4. Download for print or sharing
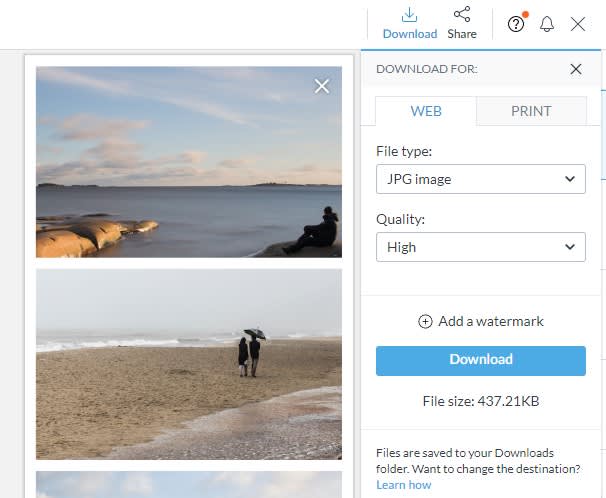
Download your file as a PNG for the best quality print. If sharing digitally, download as a JPG. Or click Share on the top toolbar to send your design directly from PicMonkey to a social media channel.
Printing yourself? Avoid home-printing-gone-wrong with our printing guide.
Using a photo strip template
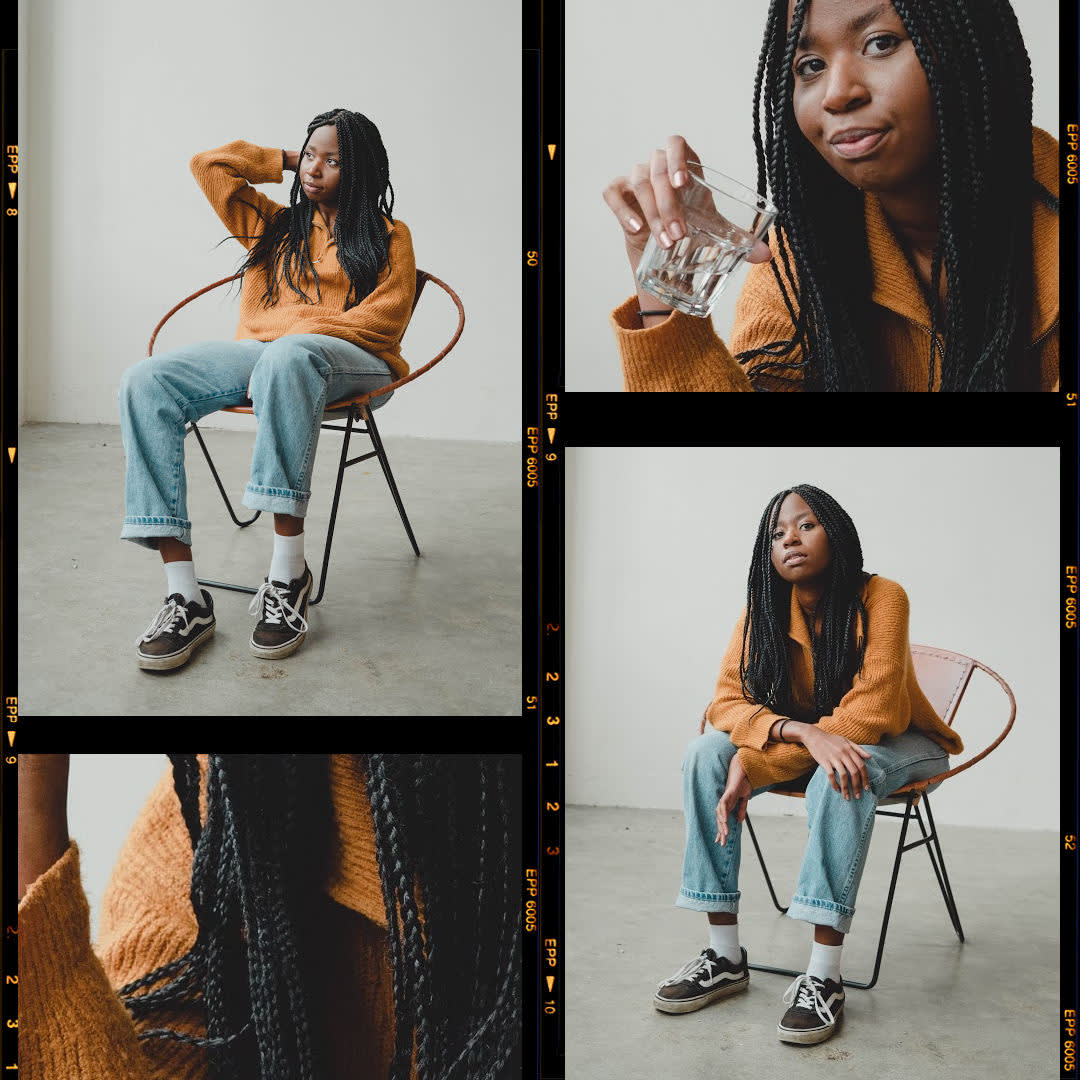
Customize this film strip template in PicMonkey.
PicMonkey's templates come pre-sized for various social channels and other uses. They're professionally designed, too, so that you just have to worry about customizing.
To use a template in PicMonkey:
On the PicMonkey homepage, click Create new > Templates.
Type "film strip" into the search box.
Click on a template to preview it on your canvas.
Swap out our photos with your own and customize to your heart's content.
Bonus! Use the Film Frame effect
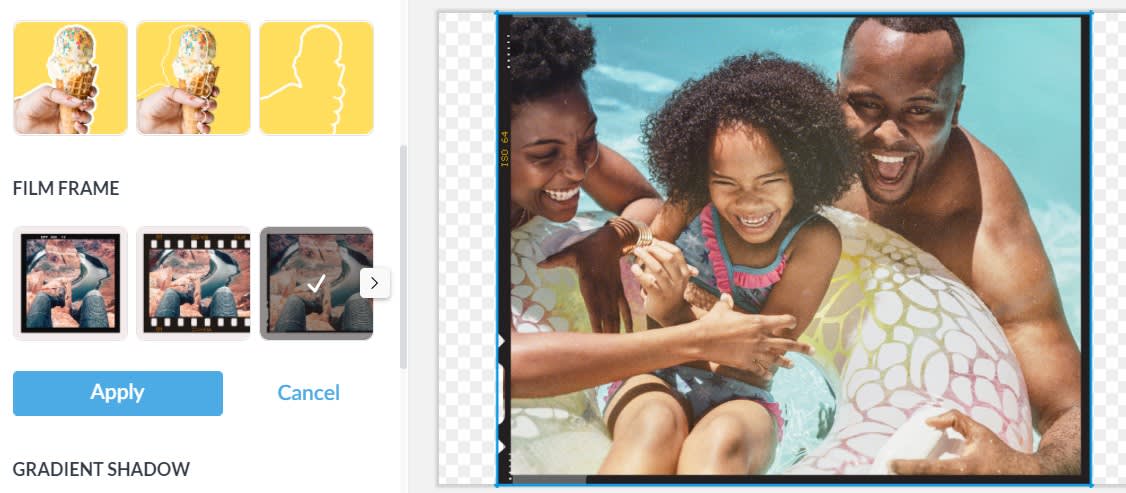
Explore more Pro effects.
PicMonkey Pro subscribers have access to the magic and wonders of our one-click Pro effects, like Film Frame. Add it to multiple photos in a design, and soon enough — you'll have your own photo strip!
To use Film Frame:
Open your image in PicMonkey. If it's the only layer in your design, click the padlock on the Layers panel to separate the image from its background (delete the background layer for a transparent background).
Click Pro effects in the Image Tools menu on the left.
Choose "Film Frame," along with your desired style.
Click Apply. You're all done!
