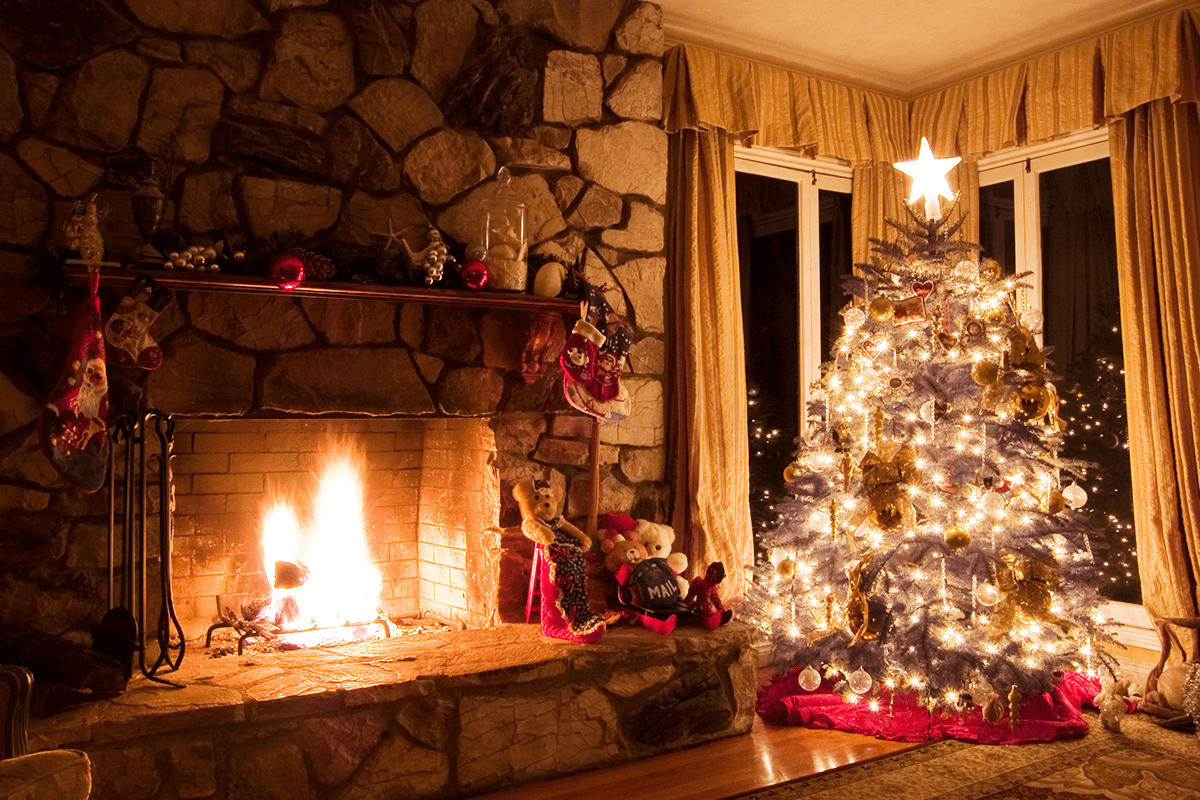
It’s holiday time, which means big meals, a deluge of Christmas and holiday cards, family moments, decorations, gifts, and lots lots lots of photos. We’re here to give you the gift that keeps on giving: knowledge. So make yourself some hot chocolate and snuggle up with our Christmas light background photography tips for both indoor and outdoor scenes.
How to shoot outdoor Christmas light backgrounds
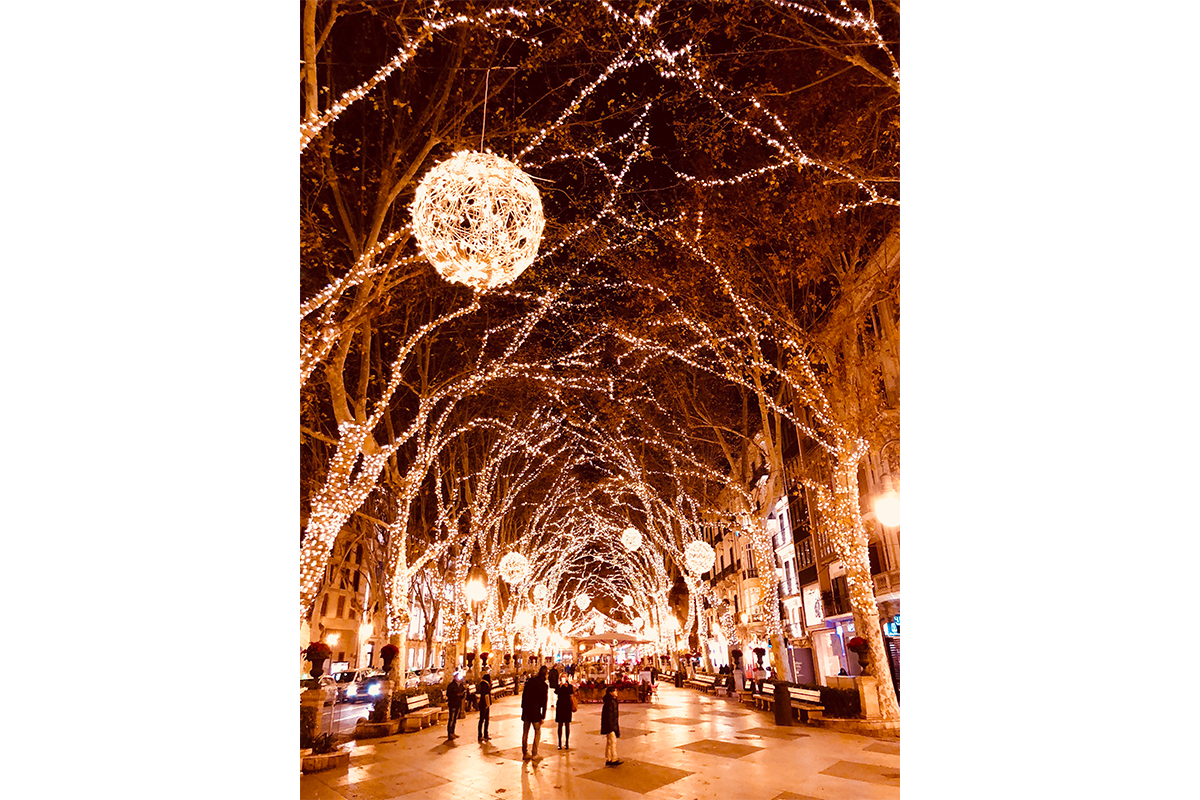
Most Christmas light photos look basically the same. There are the buildings and trees (probably too far away) with their teeny lights against a pitch black background. It sorta makes sense to wait until nightfall — you don’t want the sun hogging all the light, and after all, won’t lights look the best in the dark?
Nope. When it’s pitch black outside, exposure becomes tricky. Your camera can either properly expose for the lights or for the lights’ surroundings. If the camera exposes for the lights, they’ll look like they’re floating in nothingness. If it exposes for the surroundings, the lights will be completely washed out, almost colorless.
1. Photograph around twilight or dusk
For a few minutes, the atmospheric light will perfectly complement the continuous artificial lights. You’ll pick up the beautiful ambient colors of the sky and surroundings and get much more photographic texture than the flat blackness. Expose for the lights, not the sky. That way, the sky’s ambient light will come in to complement the lights, which can remain your focus.
2. Act fast
We’re serious about that few minutes part — if you’ve tried to photograph a sunset, you know how quickly the light changes. Between sunset and nightfall, each minute will bring slightly different lighting conditions. This means that you have plenty of opportunity to capture a variety of scenes, but not a lot of actual time.
3. Use a tripod
Without it, you’ll probably end up sacrificing a lot of image quality because of slow shutter speeds. So unless you’ve got superhuman steadiness, bust out the tripod. It’s the only way to guarantee a crisp shot for your long exposures.
4. Forget flash
You’re trying to capture the color of the lights, and even if they aren’t multi-colored, your flash could interfere with the lights’ color profile. And that’s if your flash even shows up. Unless you have an incredibly powerful flash or are very close to your subject, the flash isn’t likely to contribute much to the exposure anyway. Bottom line: keep the flash off.
5. Start with the ISO at around 400
If your photos are too dark, increase it, but know that any increase to the ISO will degrade image quality. It may not be enough to notice, but you’ll get technical degradation nonetheless. Any time you’re on a tripod, go all out with the lowest ISO possible. Low ISO means higher quality, because if you use a super high ISO, your image will be grainy.
6. Set your aperture for f/8
This is a good starting point if you’re following our previous suggestions. Remember: lower numbers let it more light, and higher numbers let in less.
7. Go for an incandescent white balance
Your camera might call it Tungsten, but they’re the same thing. The lights that you’re photographing are likely incandescent bulbs, so the Incandescent setting will faithfully render the color of your lights.
8. If you need more light, increase the exposure time (slow shutter speed)
Do this instead of increasing the ISO — this prevents the grain that will be introduced by the higher ISO, plus long exposure captures the full glory of the light display. Note, though, that it does leave your photo vulnerable to blurry moving subjects (kids, flying reindeer, trees in the wind).
9. Fill your frame
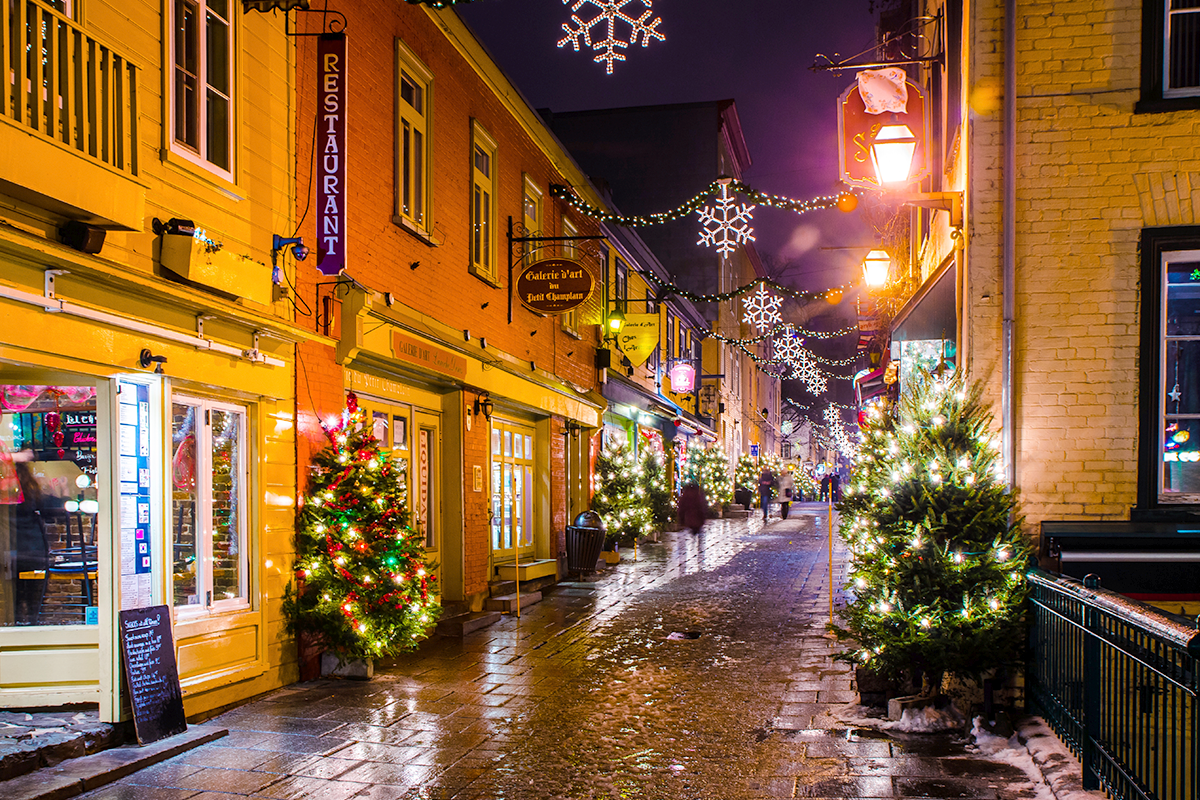
Fill it with everything you’re trying to capture, including some negative space or reflective surfaces. Snow, water, or even wet concrete will take your photos up a notch by softly reflecting your lights.
10. Increase shutter speed for blinking lights
This helps capture the full light cycle (if you’re in Shutter priority mode, you won’t have to worry about adjusting your other exposure settings accordingly).
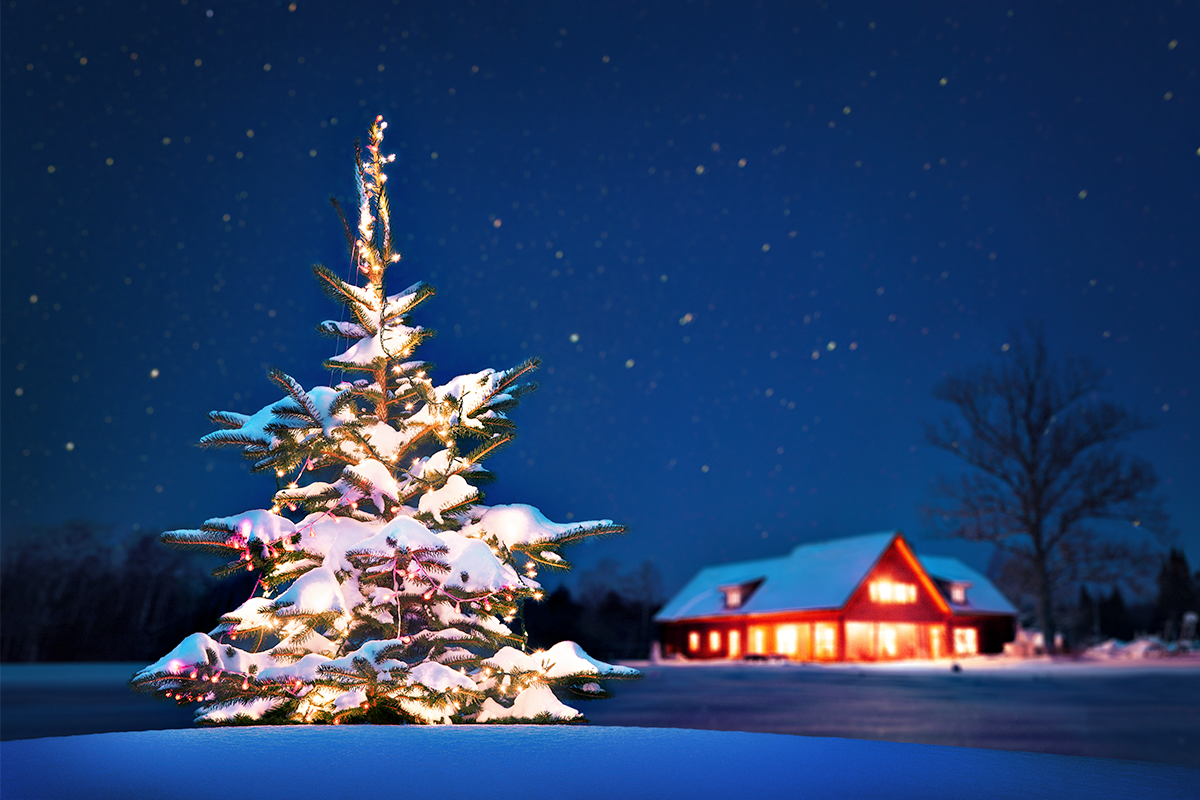
A bonus to the Incandescent setting is that it gives your ambient sky the gorgeous blue tones of the ever-popular blue hour.
11. Adjust your white balance for warmer lights
Want your lights to look warmer? Incandescent lights shot with your white balance set to Daylight will make the lights look more orange. If your holiday lights are LED or full spectrum and you set your white balance to Incandescent, then the lights in the photo will look more blue than your eye perceived them. LEDs can be weird and inconsistent, so we recommend trying the AWB (Auto White Balance) setting.
How to shoot indoor Christmas lights
Photographing Christmas trees, menorahs, or any kind of interior light arrangement can be trickier than shooting outside. Your camera can get stuck between adjusting to the dark background and the actual bulbs, so automatic settings don’t really cut it.
12. Brighten up the scene
Bring extra lamps or any other light source into the room to brighten your shadows and decrease the contrast that might confuse your camera.

13. Set your shutter speed relatively low
You’ll need your tripod (or table, mantle, whatever sturdy surface you have at hand) to compose your shots because the shutter’s open longer. Keep in mind that these are still life shots. Once people are involved, you’ll use different settings to stop the inevitable motion.

14. Use a shallow depth of field for a dreamy holiday look
Shooting with a shallow depth of field is a staple of that warm, dreamy holiday photography we all know and love. Shallow depth of field means that there’s a really narrow range between what’s in focus and what’s blurry.
To get this look, you need to be pretty close to your subject, with a long focal length and the right aperture settings. If your camera has aperture priority mode, as you adjust your aperture throughout your shooting, the camera will automatically update the related settings (shutter speed and ISO) to get the optimal exposure value.
How to get bokeh, in-camera
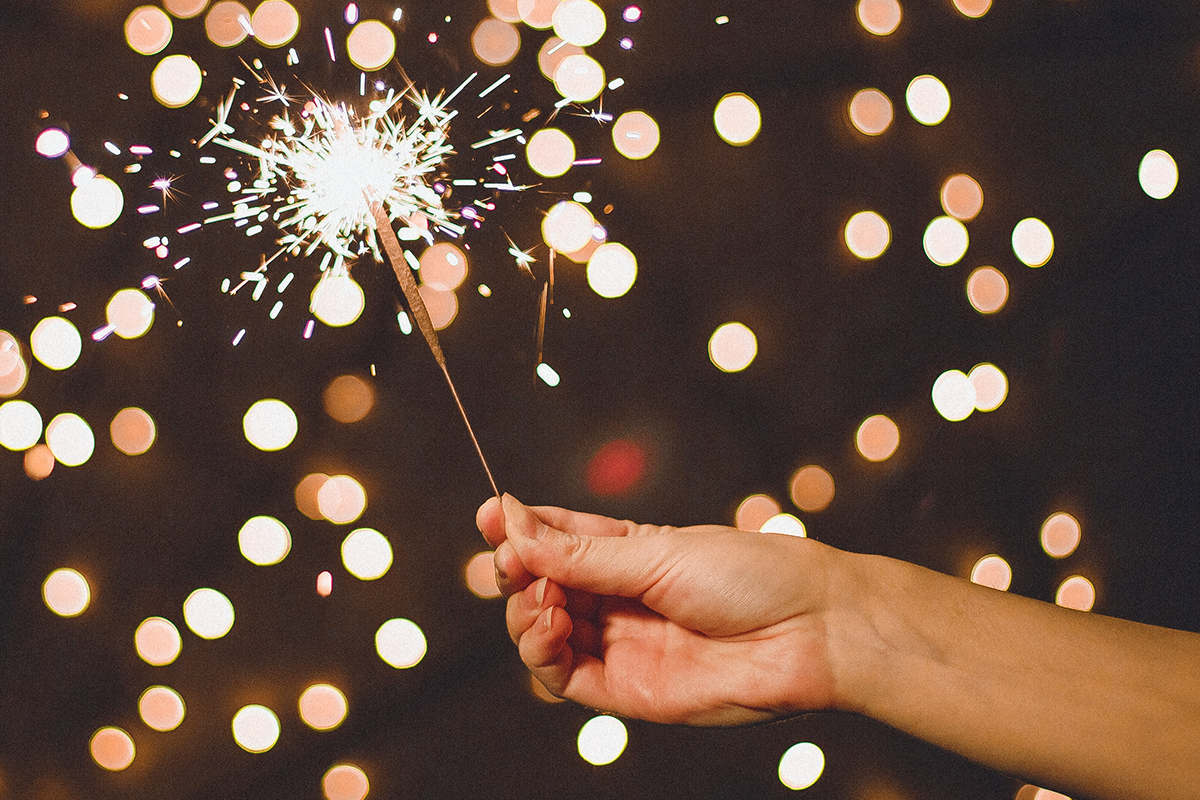
Bokeh is purposeful blur in a photograph, and it is used to describe everything from a gently dappled glow to sparkly, geometric facets of light. Of course, you can apply bokeh as a texture in PicMonkey, but here’s what you need to know to get a bokeh look for your shots, in-camera.
15. A wide open aperture is a must
The low end of your aperture window (aperture settings with larger numbers like f/11) just flat out won’t work because there’s an inverse relationship between the aperture setting and how much light it lets in. You need to let in a lot of light with a setting like f/2.
A wide aperture will throw your background out of focus, and your holiday lights should become little luminous balls. You can make the bokeh balls bigger by increasing the distance between your subject and the lights. Plus, you can make your bokeh balls look like hexagons (or octagons or whatevergons, depending on the number of blades in your lens), by closing the aperture a bit. Play around. You’ll see.
When you're ready to edit your photos, PicMonkey's easy-to-use photo editing tools will help you get the job done right. Perfect your Christmas photography just in time for Jolly Old St. Nicholas. Happy Holidays!
