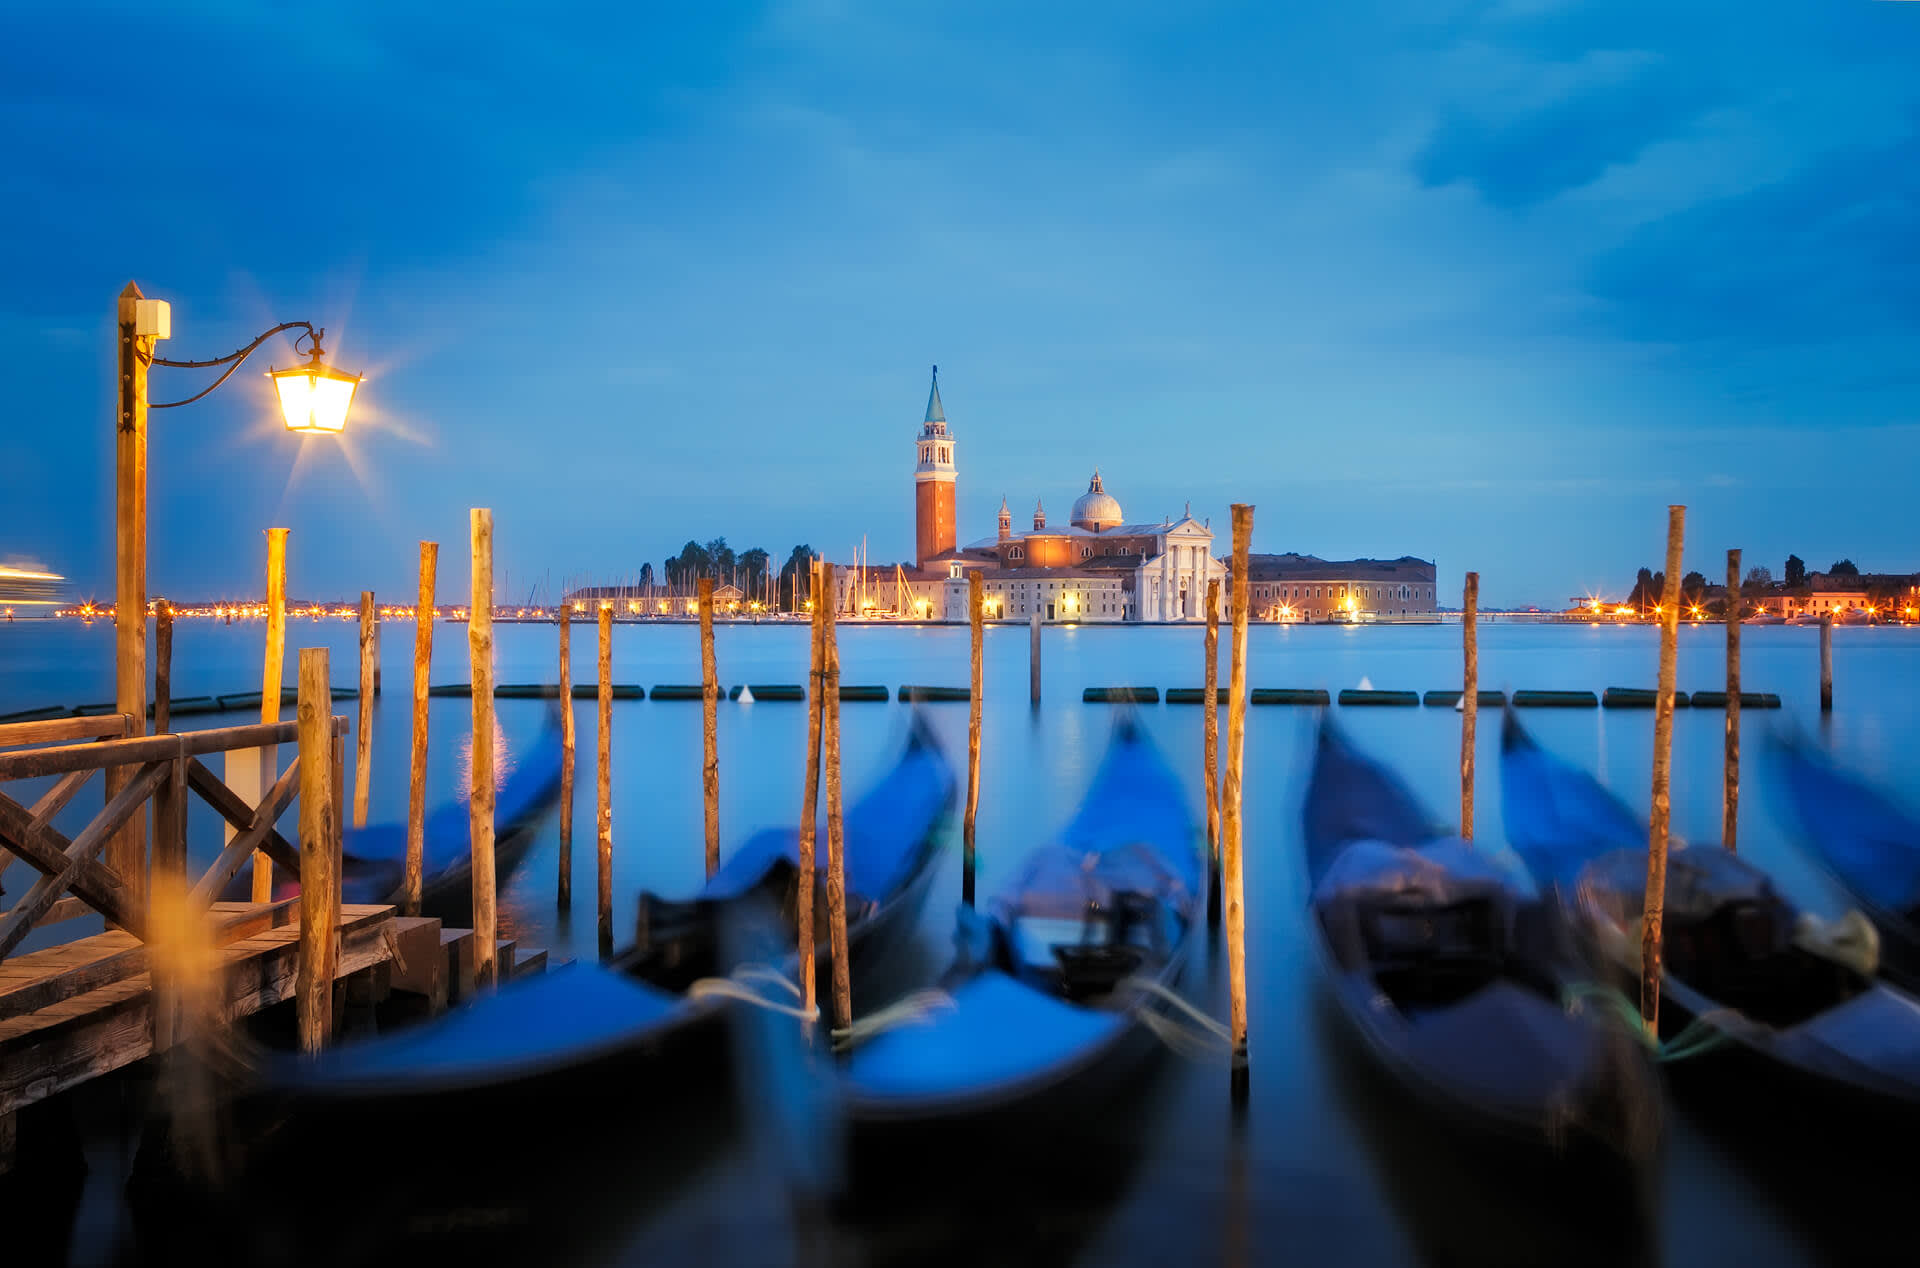
VENICE, ITALY, 20 SECONDS, F18, ISO 400
You may be familiar with the golden hour, the period before, during and after sunrise and sunset. But what about the blue hour? To be more precise, I actually like to refer to it as the “blue 15 minutes” since the window of opportunity for capturing blue hour images is really that short most of the time. The optimum time to create these stunning, long-exposure photos is 30-45 minutes past sunset and 45-30 minutes before sunrise.
Usually when we think of classic blue hour photography, subjects are illuminated by a warm artificial light source like street lights or the floodlights on a building, like the Leaning Tower of Pisa in the photo below. Balance this artificial light with the complimentary color of the darkening sky, and you have the ingredients for an incredible photograph that makes you feel like a superstar photographer. During those 15 minutes, you’re able to capture the magical balance between artificially illuminated subjects and intensely blue sky, all in a single extended exposure.
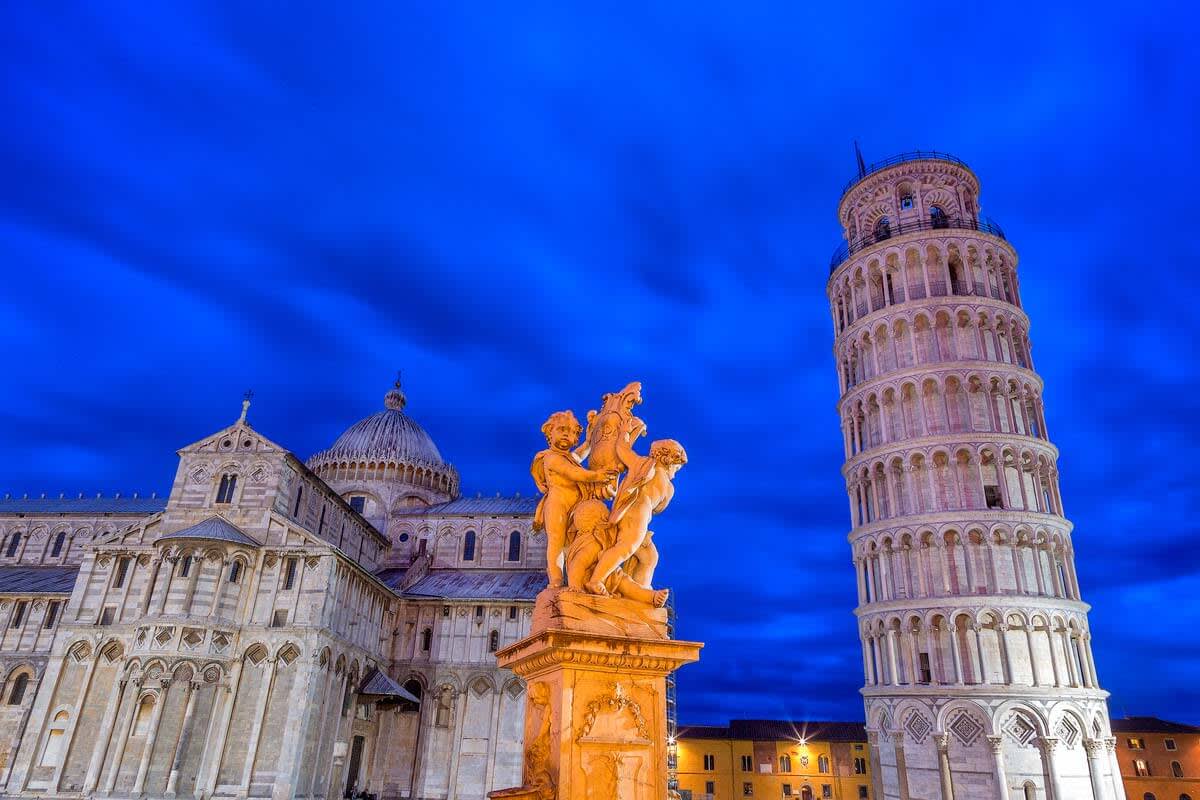
THE LEANING TOWER OF PISA, 2O SECONDS, F16, ISO 400
If you’re new to this type of photography, you may find it difficult to see a potential blue hour photography set-up. To the untrained eye, the scene could look too dark to photograph. You may not even notice that a building is lit by an artificial light, or that the sky is deep dark blue, since it looks almost black to the human eye. However, take your blue hour photograph and review it on your camera display, and you’ll be amazed how wonderful and easy this type of photography is. Once you’ve experienced your first successful blue hour photography session, you’ll know what to look for, and it’ll be much easier to identify and execute future blue hour set-ups.
What are some good blue hour subjects to look for?
Cityscapes: Cities, small towns and villages are the most common subjects for this kind of photography. The main ingredients you need are an artificial light source and a reasonably clear sky (though I’ve made successful blue hour images with cloudy skies). One of the magical aspects of photography is that you often can’t predict what you will get, but go ahead and experiment. You might be pleasantly surprised at the great results.
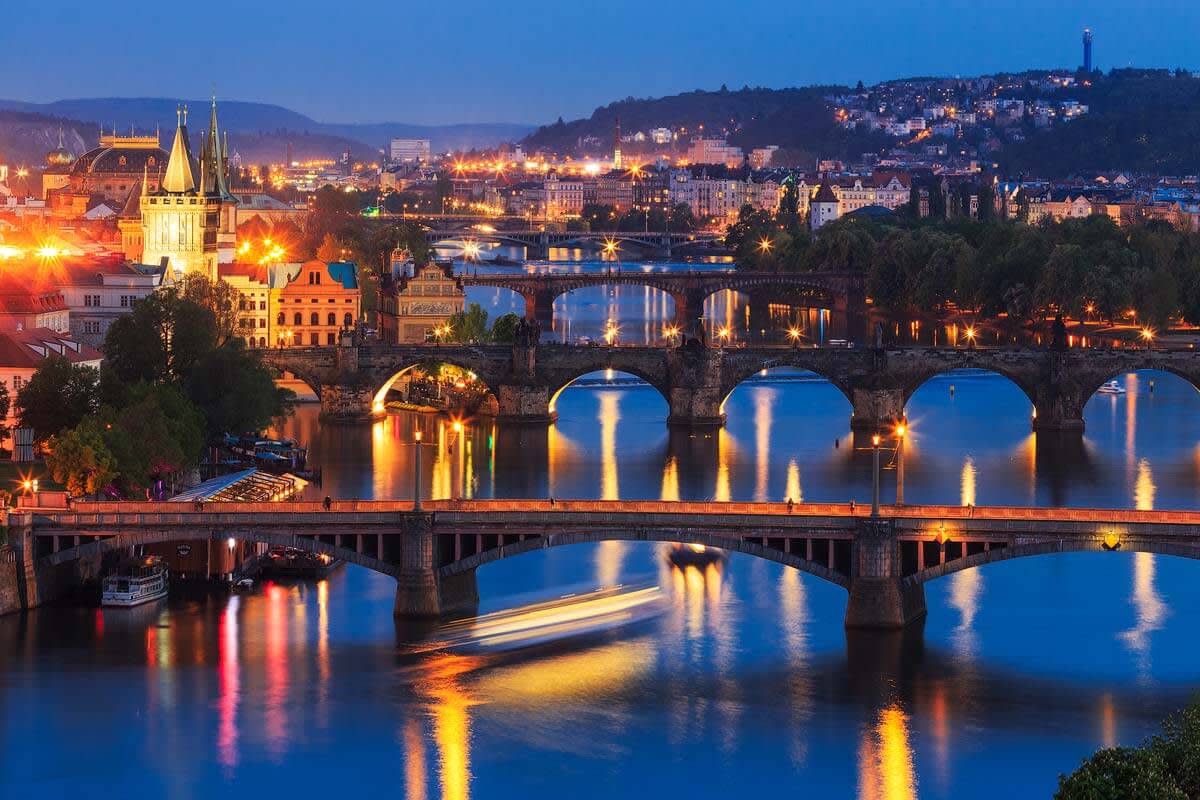
PRAGUE, CZECH REPUBLIC, 20 SECONDS, F16, ISO 200
Prominent, stand-alone buildings such as churches or towers: A town’s important buildings are often illuminated with floodlights. A good example is this small chapel on a hilltop in Slovenia. I did a little bit of research and found out that two floodlights come on about 20 minutes after sunset every day.
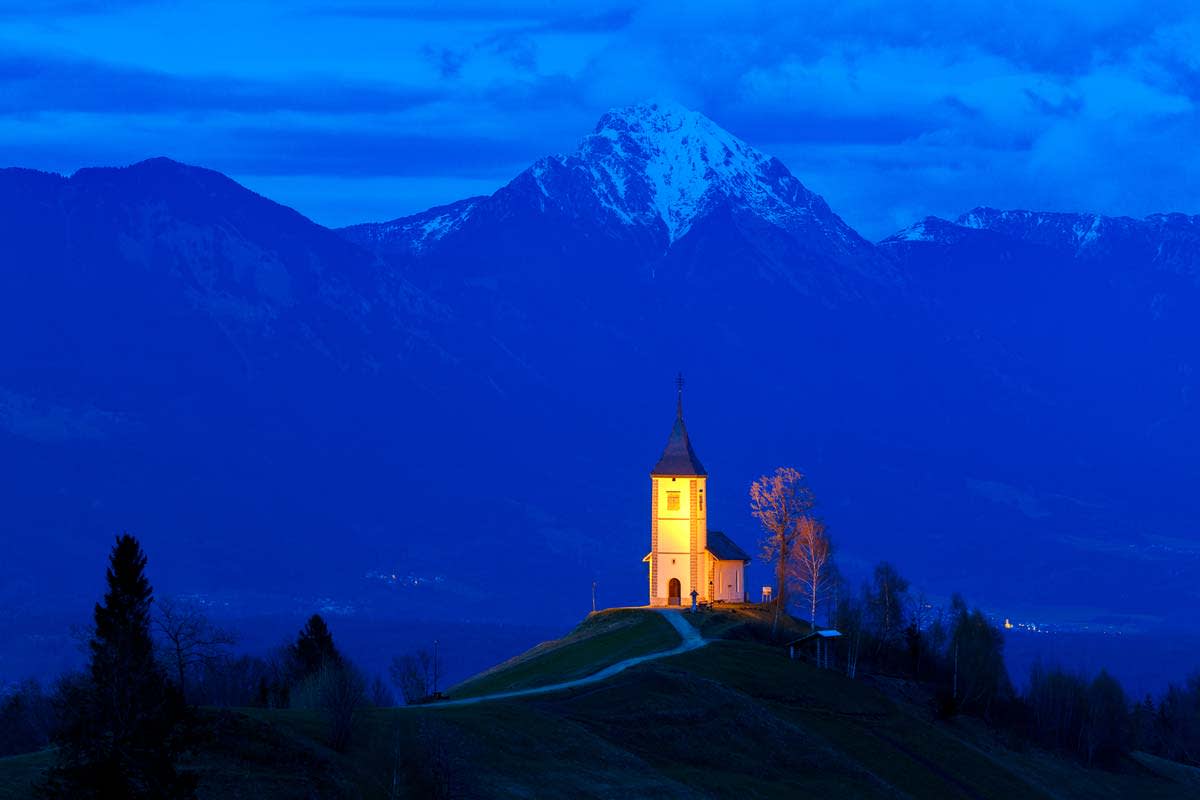
CHAPEL OF ST. PRIMOZ, SLOVENIA, 13 SECONDS, F10, ISO 200
Just about anything can be turned into great blue hour photography. Architectural structures, trees, rocks and cars can all work well, so long as they have some sort of illumination which usually will be provided by an artificial light source.
Use a flashlight to paint the subject during the long 20-30 second exposure. This is known as “painting with light.”
I’ve even had success creating blue hour photos without an artificial light source. In the image below, the light was lingering in the sky after sunset. The moon had actually started to rise above the horizon before the sun had set. This image is a bit out of the 30-45 minute window (it was taken about 20-25 minutes after sunset). But you can see the nice balance of exposure between the sky and the foreground area.

THE CHAPEL OF VITALETA, TUSCANY, ITALY, ½ SECONDS, F4, ISO 100
In the image below, I also relied solely on the sky’s ambient light that illuminated the foreground. This photo was taken about 30 minutes after sunset and was quite difficult to see with the naked eye. Again, taking the photo and reviewing it on the camera’s display revealed amazing results.
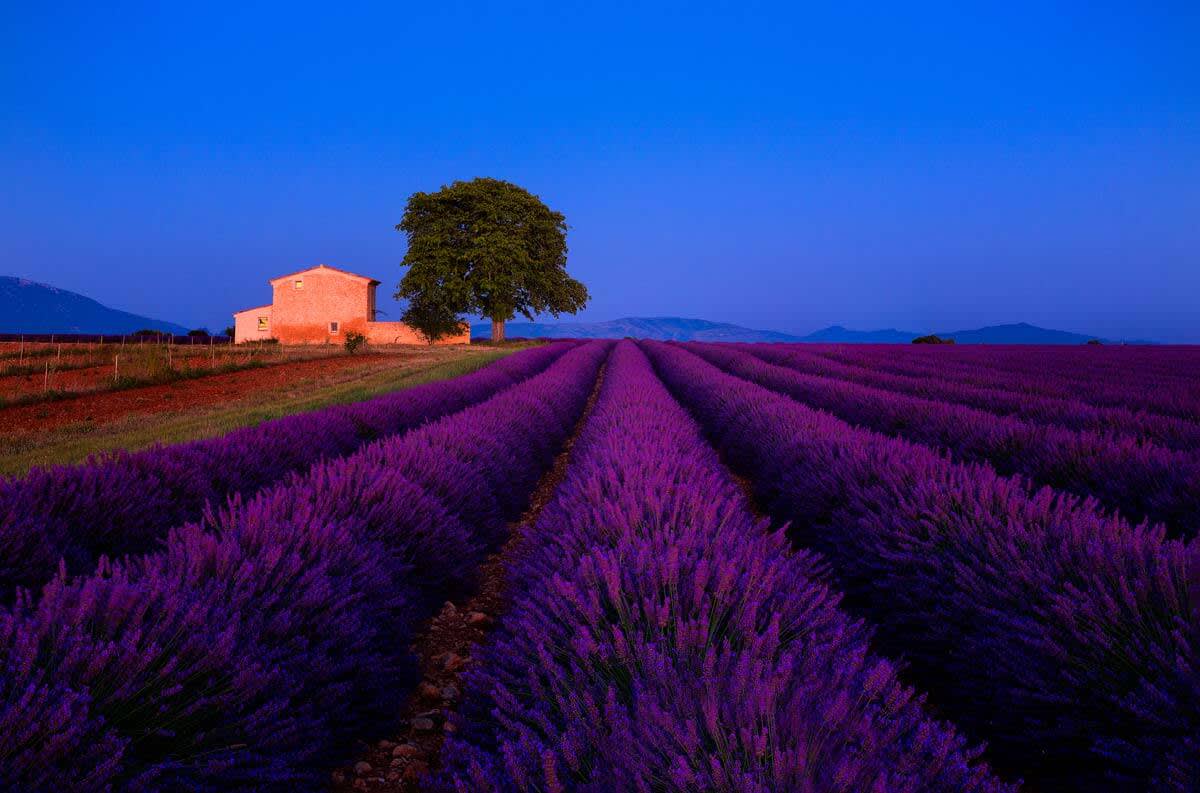
VALENSOLE PLATEAU, PROVENCE, FRANCE, 30 SECONDS, F16, ISO 400
The image below is a good example of an unusual subject and a surprising source of illumination. This sea rock is located in the village of Monterosso, Italy. The rocks and silky waves in the foreground were illuminated by the streetlights on the road just behind where I was standing. When we bring our photography travel tour clients here, most of them don’t recognize right off that this is a good blue hour photography candidate. After taking a few exposures, however, they can see the beautiful results first hand.
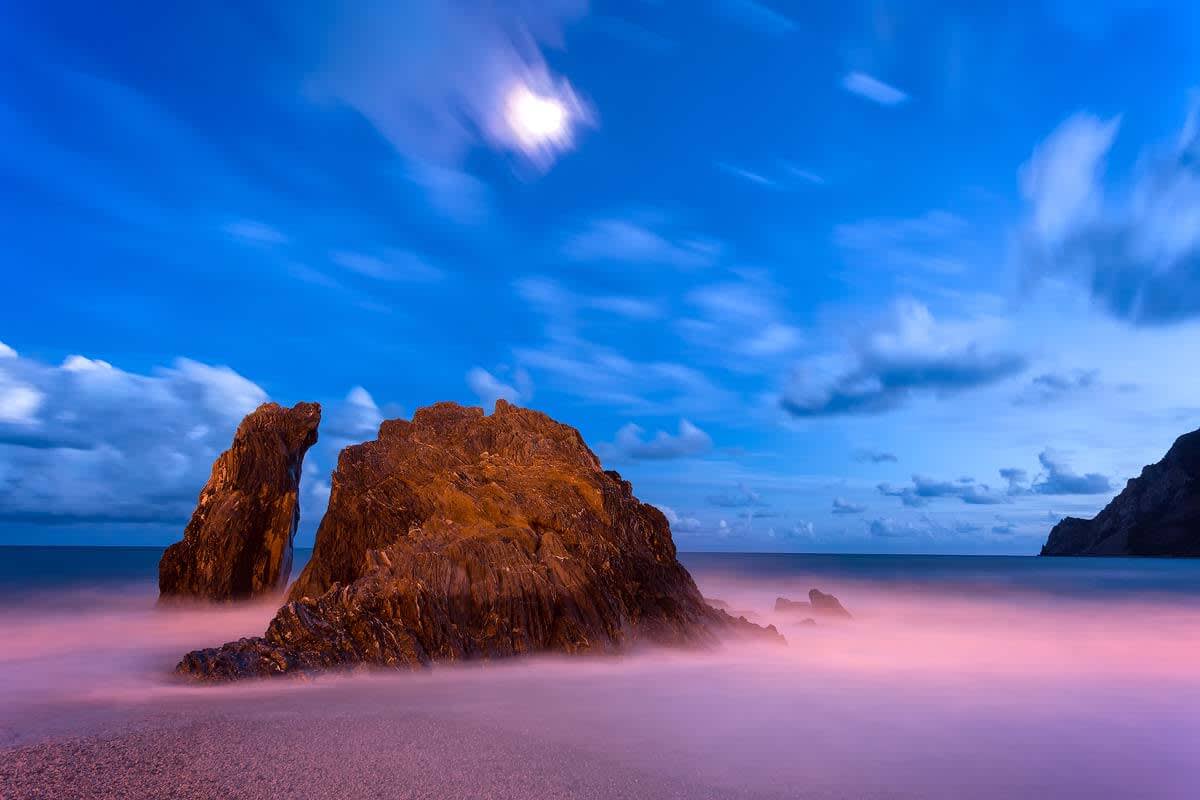
MONTEROSSO, CINQUE TERRE, ITALY, 30 SECONDS, F11, ISO 200
This image taken in the town of Rovinj, Croatia is another good example of an unlikely blue hour candidate, and one that the untrained eye might’ve missed. The tree was being illuminated by floodlights, and since the conditions were very calm, I was able to get the tree sharp during the 30-second exposure.
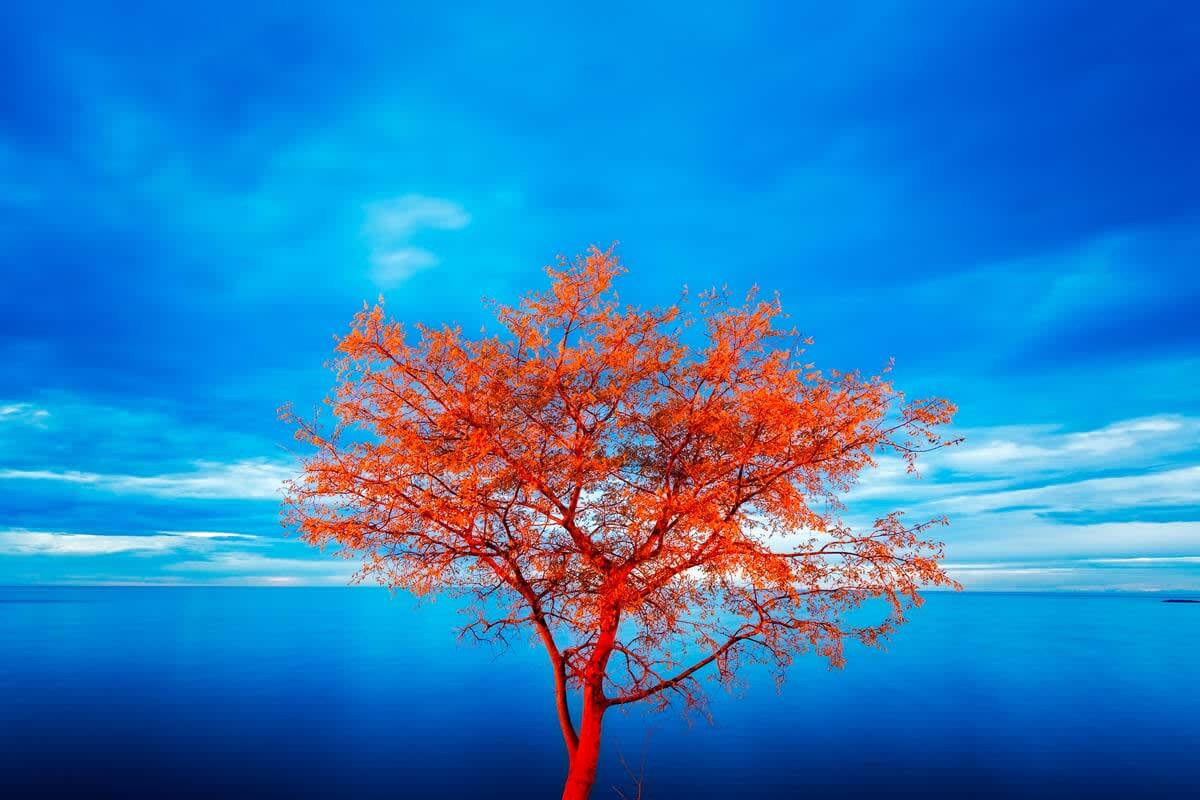
ROVINJ, CROATIA, 30 SECONDS, F16, ISO 200
Jim Nilsen’s recipe for effective blue hour photography.
1. Use a tripod.Obviously with these long exposures you won’t be able to get sharp images by handholding your camera. You’ll need a tripod, gorilla pod or some way of keeping your camera still such as placing it on top of your car, a bench, fence post, the ground, etc.
2. Use a cable release or self-timer.This is necessary when triggering the shutter to avoid any kind of movement in your camera.
3. Set your camera to manual exposure.If you have your camera in the auto mode you run the risk of getting an improper exposure. Auto mode will most likely detect too much bright light or too much shadow and either under- or overexpose.
4. Choose your best time.For balanced exposures it’s 30-45 past sunset or 45-30 before sunrise (this can vary depending on your latitude).
5. Set your ISO to 100 to begin with.As it gets darker during an evening blue hour session, you may have to bump up your ISO to keep your exposure to 30 seconds or below. I usually don’t go above ISO 800, but it depends on how new your camera is.
6. Use a small aperture, f16 or f22 if you want to get good starbursts from streetlights.I often use f16 because I want good starbursts with sharp points. I start with ISO 100 and then move it up to 200 and then 400 as it gets darker. When it gets so dark that I need more than 30 seconds at ISO 400 and f/16, I stop photographing for the session. Occasionally I will push the ISO to 800. The sky is getting too dark at this time for a good balance. The image below taken in Oia, Greece demonstrates some good starbursts.
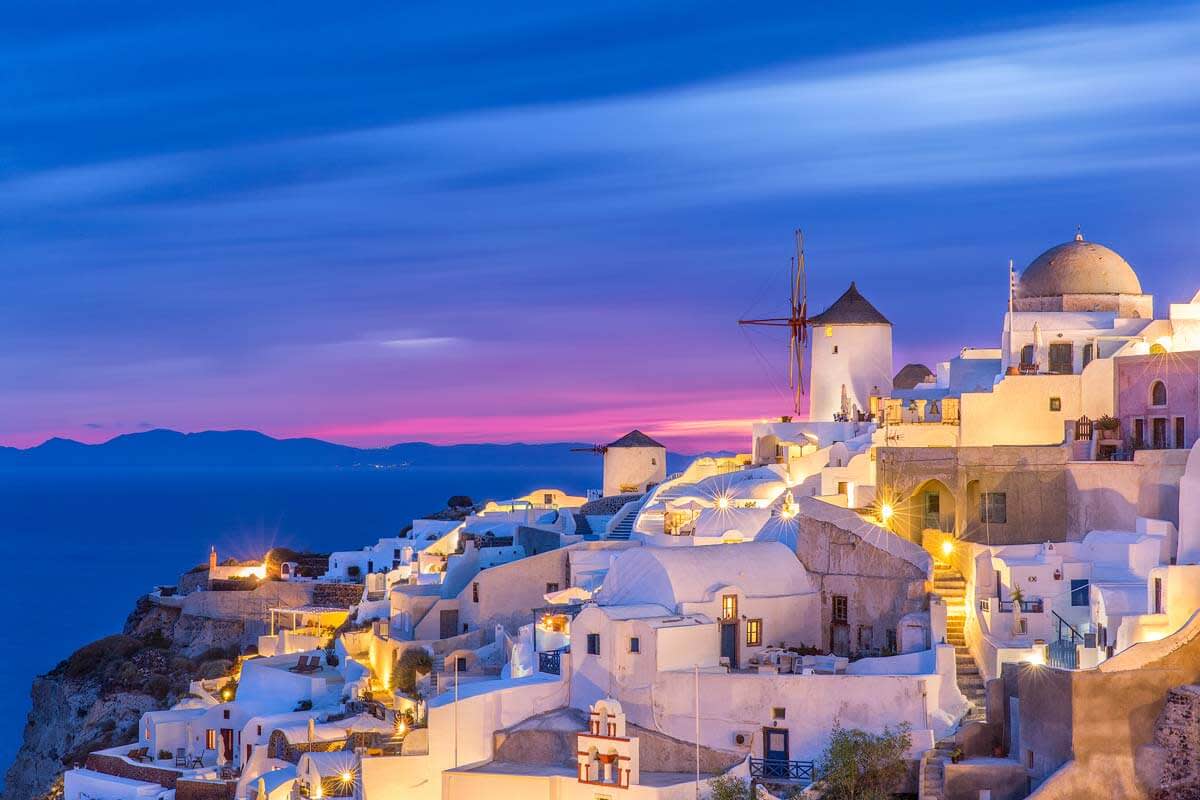
OIA, SANTORINI, GREECE, 30 SECONDS, F16, ISO 400
7. Review the photo and its histogram.Do this after each exposure to make sure you’re getting the correct exposure. Beginners usually under-expose. If you have a lot of bright lights in your scene such as a cityscape, you will have overexposure in those areas. This is difficult to avoid and in my opinion nothing to worry about. You don’t need detail in the streetlights.
The next time you’re traveling or even exploring your hometown, take the time to scope out some blue hour photography set-ups. Get your tripod out, set your camera to manual exposure, and have fun creating your own blue hour masterpieces.
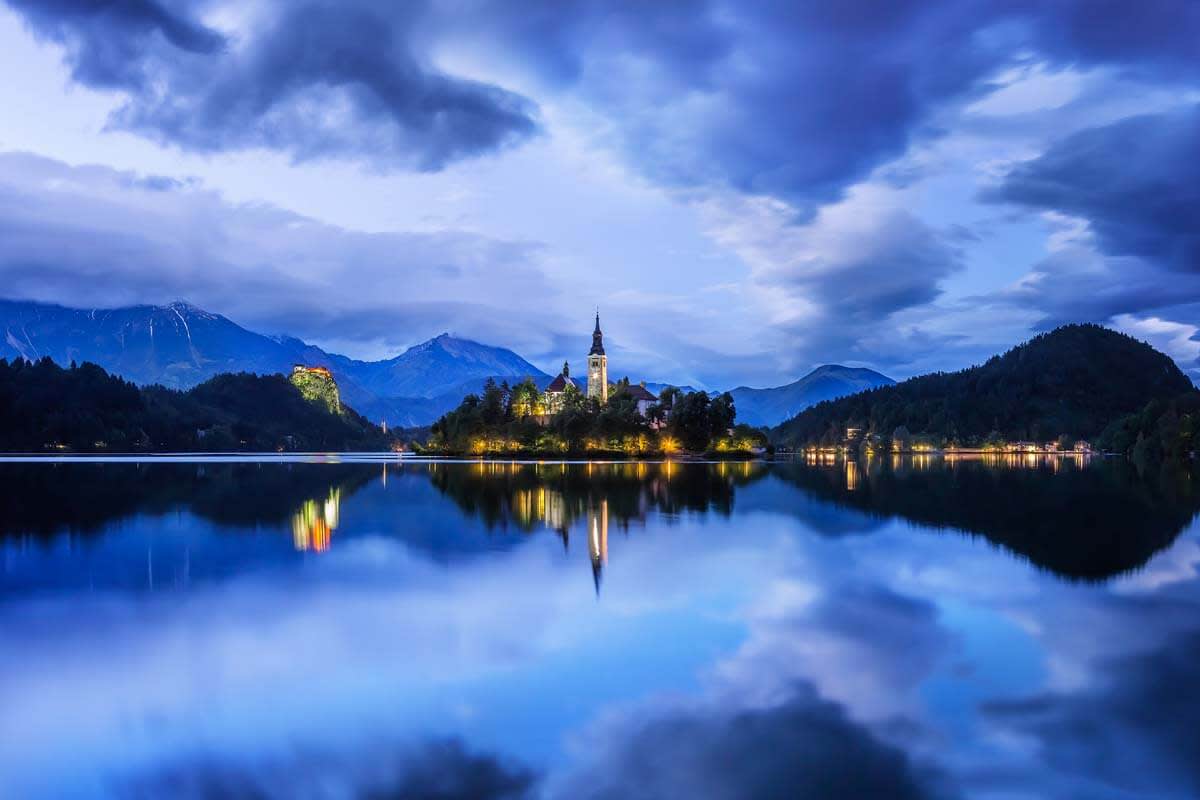
LAKE BLED, SLOVENIA, 13 SECONDS, F16, ISO 800
