The miniature effect is a fun way to spice up your photos. Basically, it uses selective blur to make everything look like small models—only a slice of the photo is in sharp focus, and that makes our brains think that what we’re looking at is quite small.
When I think of the miniature effect, I’m reminded of “Mr. Roger’s Neighborhood.” In the popular TV show, a camera moves along the street of a miniature set with houses and cars. Because the camera is so close to the set, the depth of field is very shallow and only a portion of the set is in focus at once.
By blurring parts of an image and only leaving a slice of it in sharp focus, large objects can be made to look miniature. Let’s look at how it can be done in-camera with large format view cameras and specialty lenses, and how you can make the look using PicMonkey’s tools.
1. Large format or tilt-shift lens
To make the miniature effect in-camera, you have to change the focal plane so that it’s no longer parallel to the film plane or sensor plane. Wondering what all of that jargon means? Typically, your average camera lens is attached to the camera and the front of the lens is perfectly parallel to the sensor inside the camera. The lens doesn’t move, which is good because that would cause all the pictures to be out of focus. However, you need the lens to not be parallel if you’re after the miniature effect.
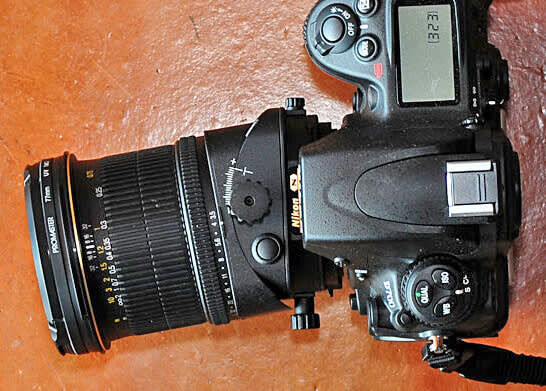
By Motorrad-67 at en.wikipedia
Large format view cameras (like the old wooden cameras that you see in cartoons with the hood draped over the photographer’s head) have always had the capability to tilt the front of the lens and even shift it higher or lower. This tilt-shift function allows the camera to make excellent architectural photos, and it lets it make the miniature effect. You can also buy a tilt-shift lens for your DSLR. These lenses have dials and knobs to move the front of the lens around, just like you’re using a large format view camera.
Both large format cameras and tilt-shift lenses are very costly and take lots of practice to master. I’m not saying you shouldn’t give them a try, but there are less expensive methods of making the miniature effect if you don’t want to fork over that much cash.
2. Other specialty lenses
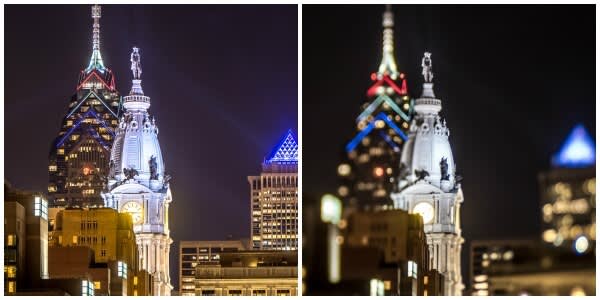
Lensbay lenses provide another option for getting miniature and tilt effects in-camera. The Composer Pro has various optics that you can switch out for different effects. The Edge 50 and Edge 80 are tilt style lenses that allow you to create a slice of focus like the expensive tilt-shift lenses, but these are much more affordable and excellent for creating the miniature effect. These two photos of Philadelphia’s city hall show the difference between a normal 85mm lens (left) and the Edge 80 (right). See how the slice of focus goes right along the edge of the tower?
Lensbaby’s Composer Pro system also includes the Sweet 35 and Sweet 50. Instead of making a vertical or horizontal slice of focus, these make a circular area of sharp focus.
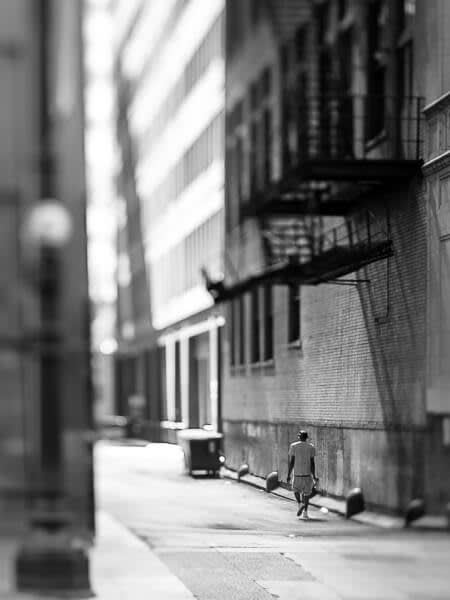
The slice of focus in this photo was made with the Lensbaby Edge 50.
3. PicMonkey’s Miniature effect
If you don’t have a large format view camera or a specialty lens, you can still get the miniature effect. Start by finding a vantage point above your subject that provides a lot of depth. It’s best to shoot downward at a medium steep angle. Shooting straight down doesn’t work well because there is no depth behind your subject. Shooting straight across doesn’t work well either, because we have little sense of distance.
Shooting at an angle ensures there’ll be plenty of depth in front of and behind your subjects so they really look miniature. Technically, you could get the same effect shooting upward at an angle, but it’s less likely to look miniature because we always look downward at miniature sets.
To get the miniature effect with PicMonkey, open your photo in the Editor and head to the Effects tab, then find Miniature in the Camera Look group. The Impact, Focal size, and Boost sliders are easy to use, and you’ll figure it out just by playing around with them.
Start by turning up the Impact slider so you can get a sense of what the effect does. Next, click and drag the target that’s on top of your picture in order to position the slice of focus where you want it. Adjust the width of the focus area by moving the Focal size slider. Now adjust the Impact slider again, until you get a look you like. Increase the boost for more saturation and a vintage feel. Each picture will require different settings, depending on the angle you shot from and how colorful the subject is, as well as the subject’s location and size.
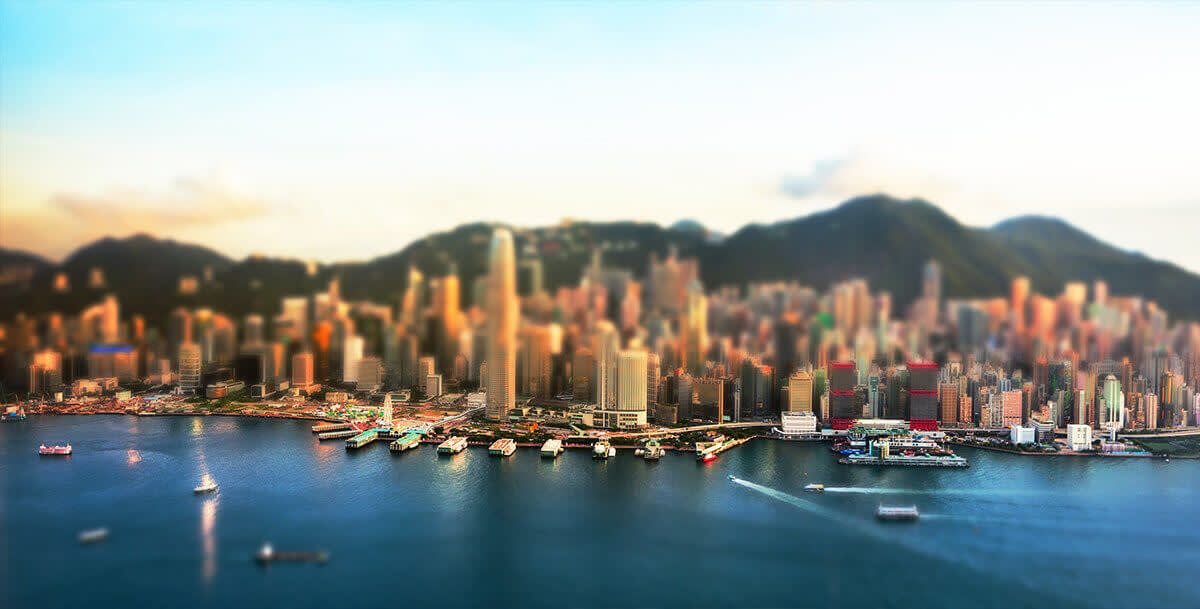
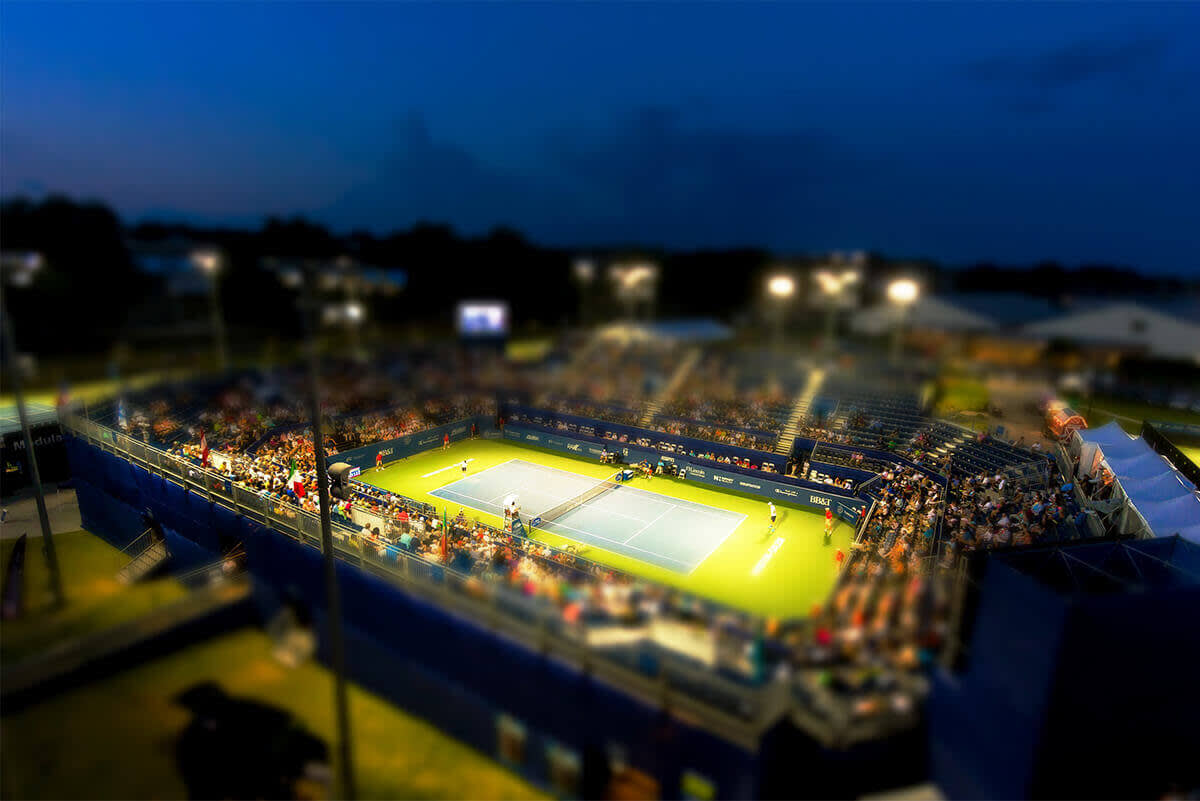
You’ll also notice Linear and Circular options within the Miniature effect. Try them both out and see what works better for your photo. Circular was a better option for the photo below, since Linear includes too many distracting elements in the slice of focus. Circular eliminates distractions and puts the focus on the cars on the bridge.
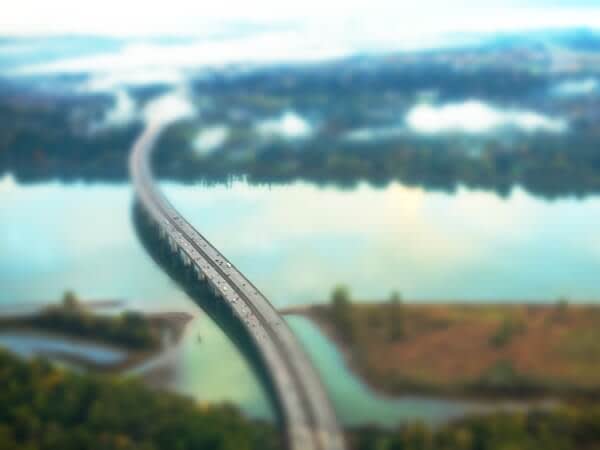
Learn more photo editing tips: Blur Backgrounds, Mirror Image Effect, Film Grain Look, Make Photo Art, Blur Whole Images, Cartoon Look, Vintage Effects
