With babies, two things are certain:
They’re squishy and delicious and we want to eat their toes.
They grow insanely fast and before you know it, they’ll be petulant teenagers who do irreversible damage to your car. (Sorry again about the Odyssey, mom!)
Capturing those ephemeral, squooshy moments is something you can cherish forever (especially during subsequent car-totaling moments) and you don’t even have to go to an expensive photography studio to get professional looking shots. We’ve collected the best of the best photography ideas from experts and amateurs alike so that you can knock your DIY baby photos out of the park. Read on for tips, ideas, and a few designer-made PicMonkey templates that can be used for heartwarming baby announcements.
1. Create the best lighting for your baby

Image: Pregnant Chicken
To get the glow-y, angelic look that baby photos are known for, pick a shooting location that has a lot of natural light. (No flashes today, thanks.) Choose the room in your house that gets the most sunlight and make that your DIY baby photos studio. If you’re thinking of shooting on the floor, Amy Morrison from Pregnant Chicken recommends finding a window or sliding door that lets in light all the way down to the floor.
2. Find a time to shoot that fits with your baby’s schedule

Image: The DIY Playbook
Because your subject might be a bit of a diva, consider when your baby is generally happiest during the day (after a meal, perhaps) and shoot around these times. Also keep in mind that some newborns will be easiest to photograph when they’re asleep, so try coordinating the shoot with nap time. To keep newborns unfussy, Casey from The DIY Playbook suggests using a heater to keep them warm and to play soothing music.
3. Pick neutral, textured props so your baby can shine

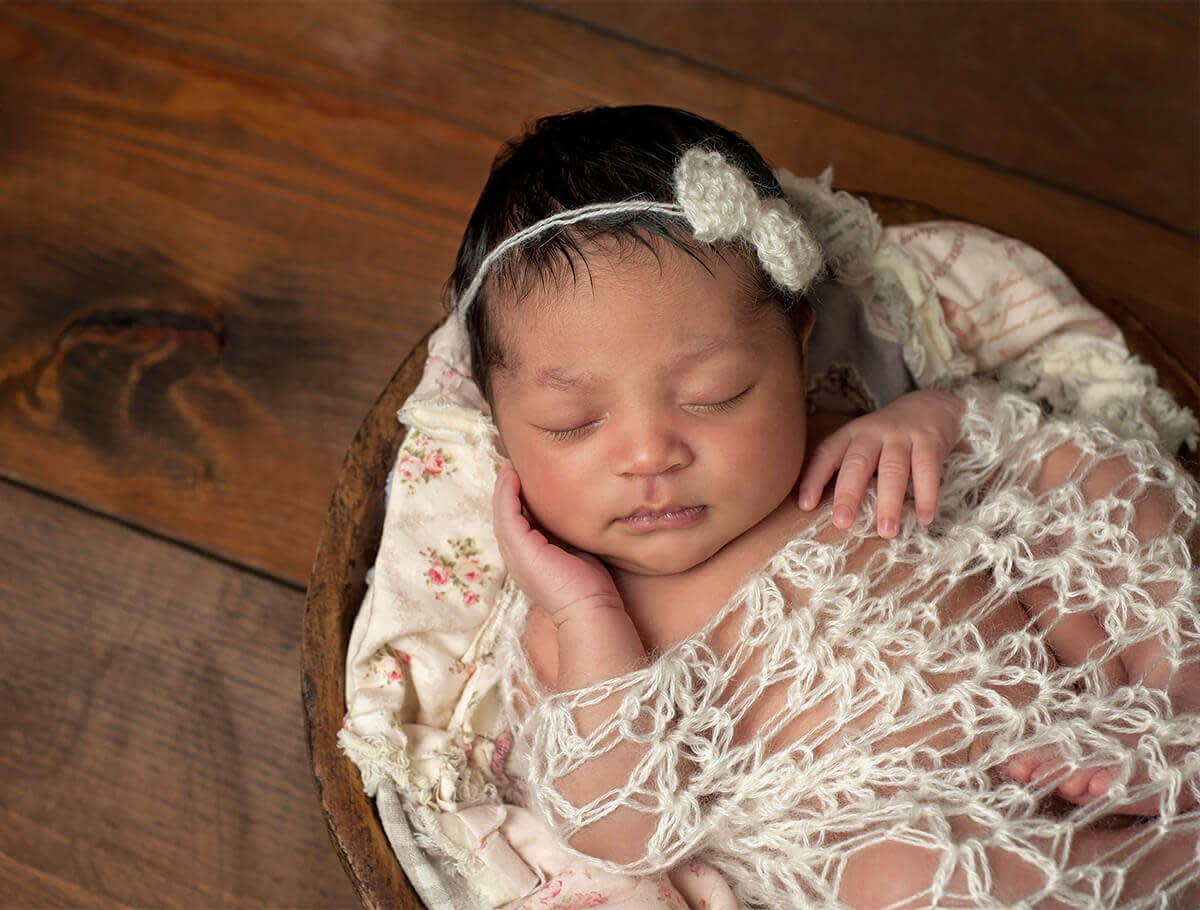
Pick props and outfits that are a neutral color and similar tone so that they don’t distract from your baby. Picking a light color may help with the lighting of the picture, since it will reflect light instead of absorbing it. Add visual interest by using a prop with texture, like a knit blanket. You can also use blankets as a backdrop since they won’t wrinkle like sheets and curtains might.
4. Be baby-ready before you start shooting

Image: The DIY Playbook
Bridget from The DIY Playbook recommends adjusting your lighting before you put your baby in place for the shot. This will save you time since you don’t have to keep readjusting and the baby will be happier because they can get in and out of this alien situation sooner. It also helps to have backup baby outfits and props ready in case they have an accident or if they’re in a good mood and willing to have their outfit swapped for a second string of foreground/background combos.
5. Set up your camera to get the best shot
If you have a point and shoot, set it to portrait mode. Doing so helps blur the background and smoothes the skin tones and the hair, which is flattering for the baby.
If you’re using a DSLR, open your aperture all the way (set it on the smallest number) so that you get a soft, blurred background. Pair it with a portrait lens (around 85mm). Zoom in and focus on your baby’s eyes.
6. Keep your baby supported on set

Place the baby in the scene and they’ll be snug and secure. Image: It’s Always Autumn
Shooting your baby on the floor is a good option for getting overhead shots and making sure your baby doesn’t roll off anything. If you want to try shooting a couple of other poses, Autumn Baldwin from It’s Always Autumn presents two great options: Having someone hold the baby while they’re under a big, bulky blanket or placing the baby on a Boppy pillow that’s covered with a blanket. Having someone hold the baby is an especially good trick for newborns since they get cold and love to be held. It’s pretty easy to keep the holder out of the shot, and the baby will be less fussy.
7. Take pictures from above
Keep your camera strap on for safety. You don’t want it to slip out of your hand and fall. Angle your shot so that you’re shooting down the baby’s nose instead of up because that doesn’t look flattering on anyone. If you’re shooting your baby from an elevated surface, Morrison recommends getting eye level with them so you can establish eye contact. Speaking of which…
8. Use toys or songs to catch your baby’s eye

Image: Pregnant Chicken
To get a really exceptional photo, you want to make eye contact with your baby, but it can be hard for them to see you with a big camera in the way. Use shakers or play peek-a-boo while moving the camera away from and then in front of your face in order to get that perfect shot.
To sum it up:
Create the best lighting for your baby
Find a time to shoot that fits with your baby’s schedule
Pick neutral, textured props so your baby can shine
Be baby-ready before you start shooting
Set up your camera to get the best shot
Keep your baby supported on set
Take pictures from above
Use toys or songs to catch your baby’s eye
Baby photoshoot ideas

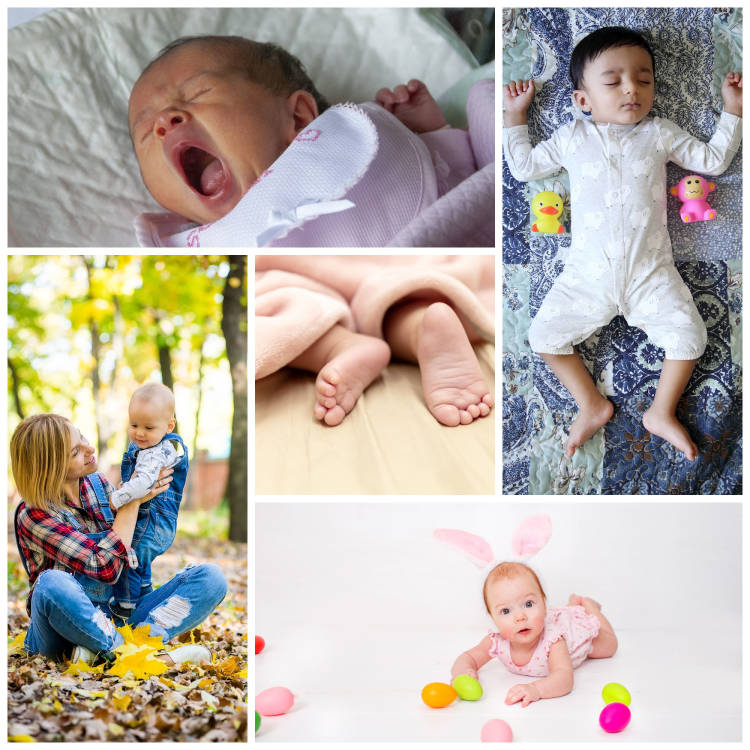
Images: Shutterstock
Now that you're stocked with tips for having the perfect photoshoot, how about some ideas for what to shoot? Here are a couple of our faves.
1. Yawns
Is there anything more precious than a yawning baby? Probably not. This idea takes a bit of careful planning (or careful happenstance), but it makes for an adorable photo.
2. Family
Having a newborn is a familial celebration. Consider taking a few photos of you and your child, or of the entire family.
3. Themes
There are countless themes for a DIY baby photoshoot, especially pending the time of year. Are you prepping a family holiday card? Is there a fun-loving movie scene you'd like to recreate? Often, parents also like pairing a profession with their photography. Think tiny chef, tiny builder, tiny fireman, etc.
4. Feet
Okay, maybe we lied about yawns being the most precious thing about babies...especially when feet exist. There's something eternally cute about the tiniest of walking tools, and taking a photo of your newborn's feet as they stick out from a blanket is a popular DIY baby photo option.
5. Sleep
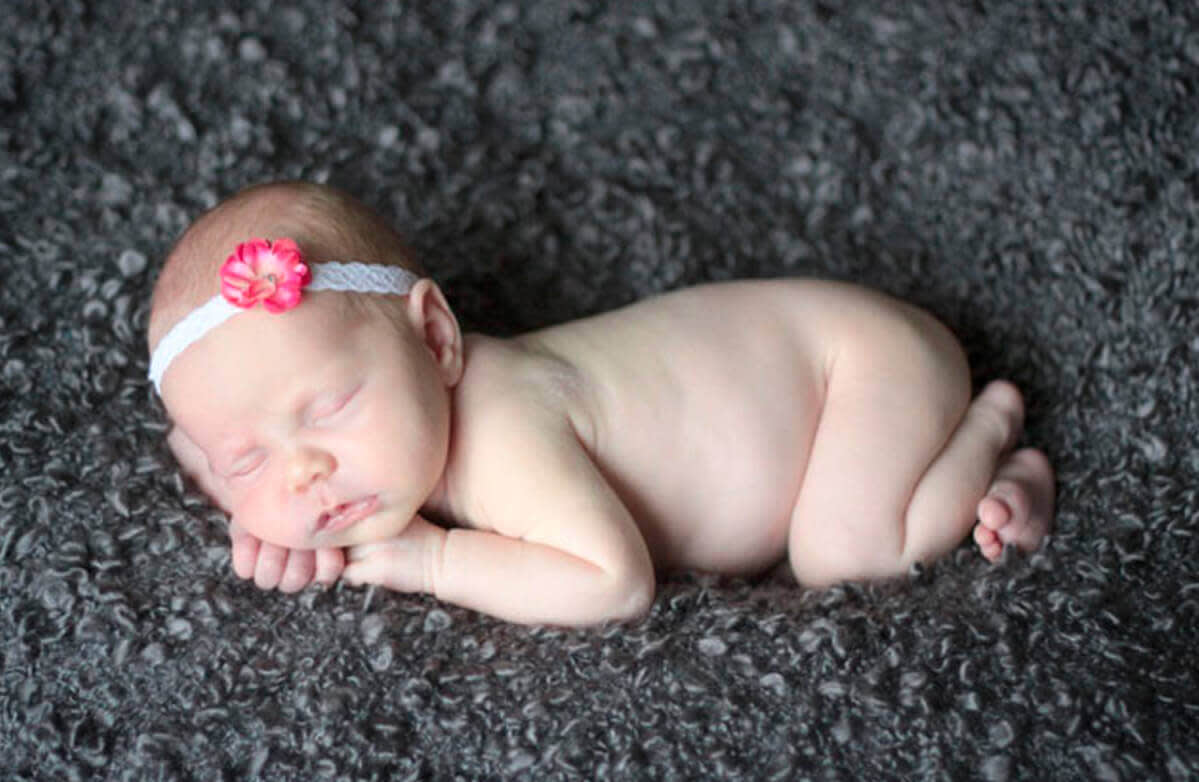
Of course, the sleeping infant is a longstanding baby photoshoot idea, and one that always produces adorable results. Plus, you might recall that it's sometimes easier to take pictures of newborns when they're asleep. With the right lighting and a bit of planning, this is a great idea for any photoshoot.
Use templates to create cute birth announcements
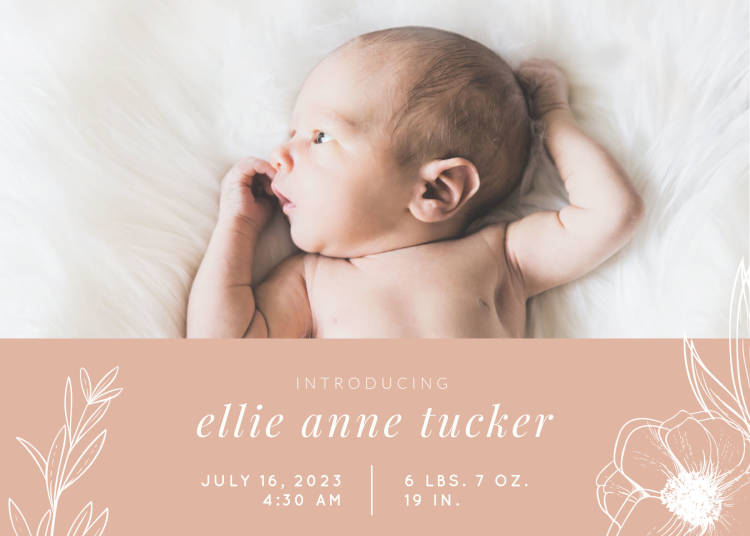
When you’re done with your photoshoot, you can edit the pictures in PicMonkey and use our baby graphics to turn them into birth announcements, wall hangings, or get them scrapbook ready. You can also use your newly discovered baby photography ideas to create a personalized baby gift for someone in your life. Here are a few of our designer-made baby announcement templates to get you started. Have a great photo day!

Customize this template

Customize this template

Customize this template

Customize this template

Customize this template
Check out our full collection of baby announcement templates!
