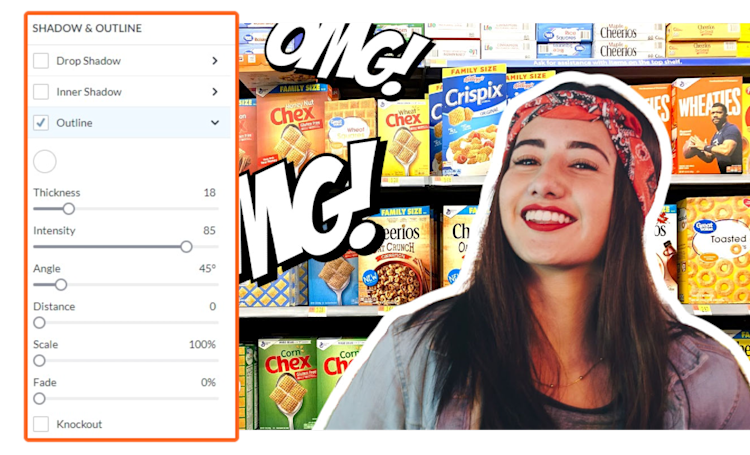
Adding an outline to your designs has majorly evolved—it's not just about putting a border on a pic—au contraire! It's a fresh design statement, a little extra sumthin-sumthin that can mean the difference between, say, a boring old YouTube thumbnail design and a visually-arresting, standout YouTube thumbnail design.
At PicMonkey you can add a simple outline to most design elements—text, images, or graphics—and it's one of our most-used design features. Now you can also adjust the angle and distance of that outline, creating a SUPER COOL outline sketch effect.
Steps for using the Outline tool in a design:
Open a pre-made design template in PicMonkey. Alternatively, start with a blank canvas and add your preferred images, graphics and text.
Choose the design layer you want to add the outline to. In the YouTube thumbnail template above, we've applied an outline to the image layer of the woman.
Select the layer you want to add an outline to, then click Shadow & outline from the respective tools menu (for example, if adding an outline to an image layer, the Image Tools menu will open on the far left when you select your layer).
Select and expand the Outline features.
Click the color picker dot to change the color of the outline.
Use the various sliders to adjust thickness, distance, angle, and more.
