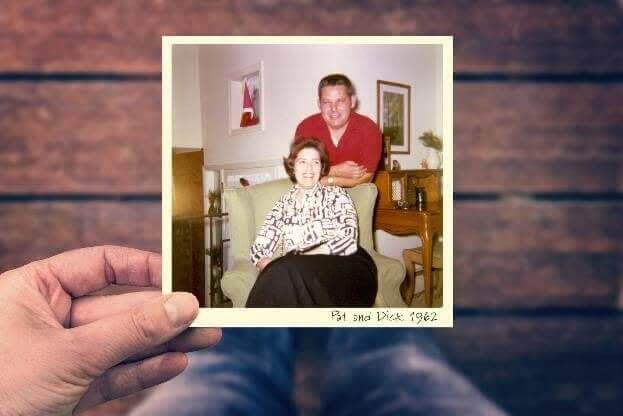
Not all photo folders are created equal. Some are very organized, with albums and photo boxes labeled by date and location. Others are a big jumbled mess that require more detective work to sort out. The handwriting scrawled on an old photograph is just as important as the photograph itself, but it is often overlooked when thinking about photo restoration and preservation projects. Here we’ll walk through a few ways to preserve that vital information when working with your old photos.
First, get your photos digital!
Not only is digitizing important for the ultimate preservation of all your old photos, albums, and scrapbooks, but the ink of those handwritten captions is also fading—probably faster than the ink in your printed photos. You can outsource really delicate albums to a trusted digitizing company, but if your goal is to do the whole project yourself, make sure your scans include all the information you want to preserve, including:
Notes written on the back of photos
Handwriting underneath a photo on the page of a scrapbook
Notes in the margins of a photo with a white border
Month/day stamps from the vendor who printed the photo with white borders
Now that your images are digitized, let’s take a look at a few ways to preserve those important notes and captions.
1. Crop, caption, save, and repeat
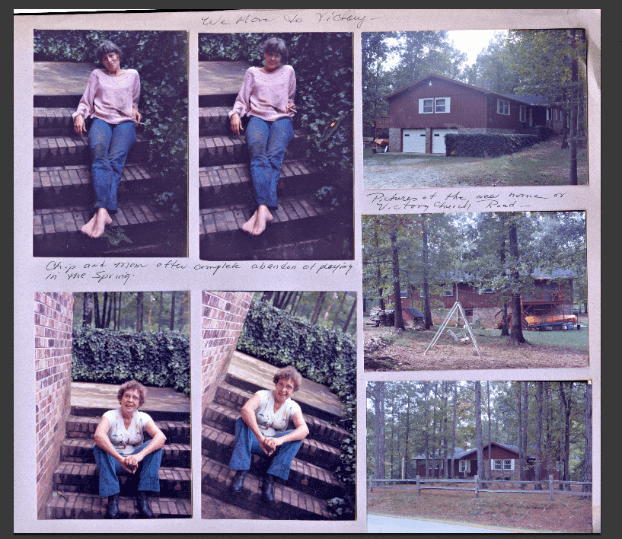
Here is an example of a scrapbook page scan with a lot of information that we’ll use in this tutorial.
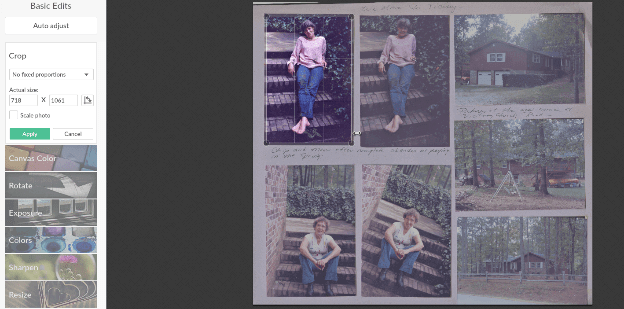
Open your photo in PicMonkey’s Editor. Use Crop in the Basic Edits tab to crop one of the photos from the scrapbook page. Take note of the writing underneath the photo and the writing at the top. Include what’s important, but don’t feel like you have to include everything.
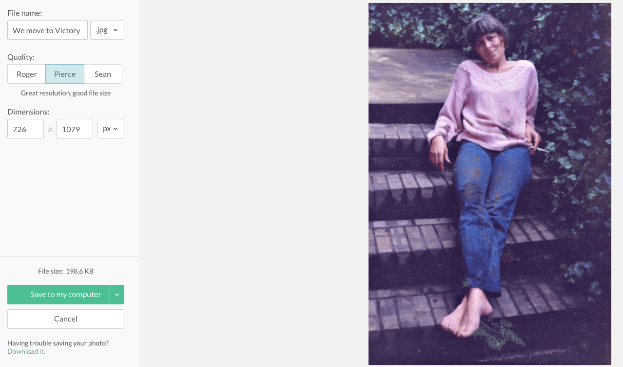
When you’re finished cropping, click Save in the top toolbar and rename your photo using the information from the scrapbook page. For this photo, “We move to Victory” was the caption at the top of the page. If you want every photo on the page to be named with the same caption, add “_001” so you can keep them sequential. Once you’ve got your caption in your file name, click Save to my computer.
You can also store your photos in Hub, PicMonkey’s smart storage platform. Just click Add to Hub in the top toolbar instead of Save, then follow the same naming process.
After you’ve renamed and saved the photo you just cropped, you will automatically be brought back to the Editor. Click the undo arrow in the bottom toolbar to bring back the uncropped, full-page scan.
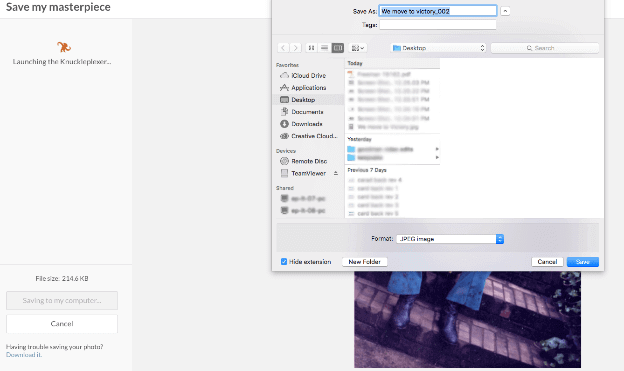
Now you can continue to crop out the photos from the scrapbook page and rename them. You don’t have to use the same caption for every photo, but you can see here how easy it is to add a sequential numbering system if you do.
If you’re not into putting your notes in your file names, you can also crop your photos from album pages as you go and update the metadata (information about your digital image file that’s embedded in it). This is a very similar process to transcribing the handwritten captions into the file name. However, if the captions are in the metadata they are not readily viewable to anyone browsing through the whole archive, so the information is not as easy to consume.
2. Scan the backs
Preserving a relative’s handwriting is a meaningful link to the past and the best option for you if that’s what matters most. If you want to view the image and the handwritten notes together, you can easily turn them into one file. This is always a nice touch for sharing with older relatives, since it feels nostalgic and original.
Hover over Design on the PicMonkey homepage and choose a blank canvas size. We selected 5 x 7 for this image, and then headed to Rotate in the Basic Edits tab to make it a landscape orientation.
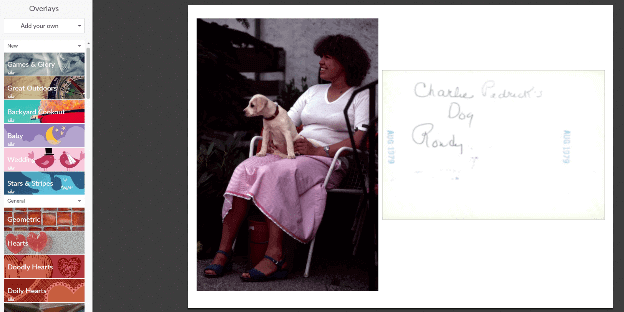
Head to Graphics and use the Add your own button to place the front and the back of the photo together on the canvas. Save it to your computer as one file.
3. Crop to include captions
If you want to truly preserve the integrity of the original image and save a photo with its captions as they are, don’t crop flush to the photo—just crop around it to include the handwritten text.
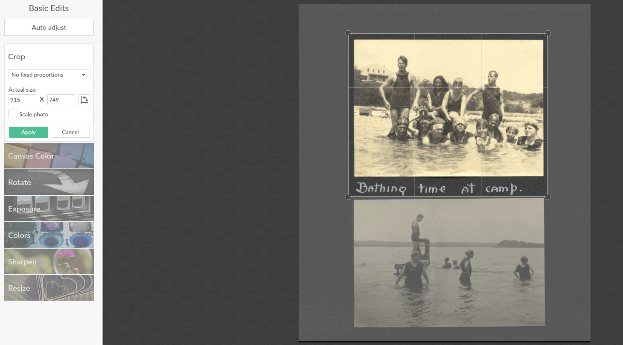
From this …
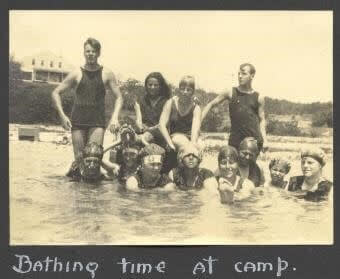
… to this!
