Every time you click the shutter button, your camera is working some magic inside, doing its best to properly expose your photo. Exposure is the result of three different variables that determine if your photo is under-exposed (too dark), over-exposed (too bright), or evenly exposed. The three variables that make up exposure are Sensitivity, Shutter Speed, and Aperture.
Sensitivity refers to how sensitive the camera’s digital sensor (or film) is to light and has been expressed in different ways including ASA and ISO.
Shutter Speed is a measure of how long the camera’s sensor is exposed to light. Shutter speeds are measured in seconds or fractions of a second.
Aperture is the size of the lens opening that allows light to pass through and reach the camera’s sensor. Aperture settings are often discussed in terms of F-stops, so if you hear someone say that they shot the image at f/2, that means their aperture was set to 2.
Change one of these elements and you will change the exposure of your image. If you don’t have any formal training in photography, this concept can be tricky to understand at first, but over time and with practice, knowing how each of these elements contributes to the exposure of your image will become second nature.

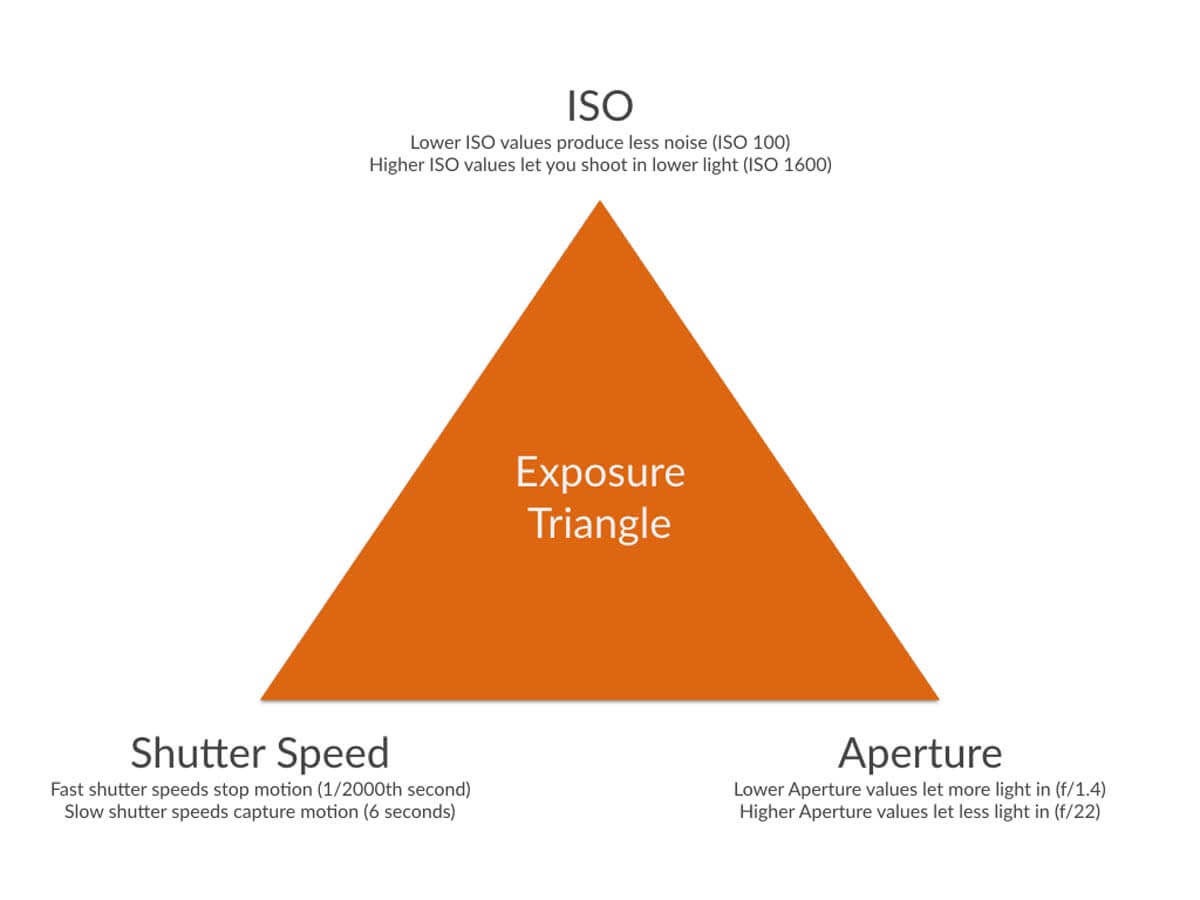
The exposure triangle above is a great way to see how the different variables work together to affect the exposure of your photo. When you understand how each variable affects your photo, you’ll be able to make more informed decisions on which variable to change which in turn will improve your photography.
Understanding ISO values (sensitivity)
The first variable that has an affect on your exposure is how sensitive your film or digital sensor is to light. These days, sensitivity is measured in ISO values. “Normal” ISO settings are between 200 and 1600, but these days, ISO settings in digital cameras can range from a low of 50 to highs in the range from 25,600 on mid-level DSLRs all the way up to 409,600 on top-of-the-line (read: expensive!) DSLR and mirrorless cameras.
Here’s what you need to understand about sensitivity–the lower the number, the less sensitive the sensor is to light. If you’re shooting in a well-lit area, you might set your ISO between 100 and 400 because the camera won’t have trouble getting enough light to the sensor.
If you’re shooting in a low-light situation (like a dinner party or your karaoke debut), you might set your ISO to 1200 or above so your sensor captures more light.
The trade-off with adjusting your ISO setting is overall image quality as measured by “noise”. Think of noise in an image like film grain. Lower ISO values produce less noise in the image. Higher ISO values will produce more noise in your image.
When you might want to change your ISO
When thinking about what ISO to use, ask yourself these questions:
Is the subject well lit?
Do you want a grainy shot or a smooth one without noise?
Are you shooting on a tripod or does your lens have image stabilization that will allow you to have a longer shutter speed without a negative impact?
Is your subject moving or stationary?
If there is plenty of light or you have a tripod, start with the lowest ISO you can set your camera to.
If it’s dark or you want to intentionally add grain for an artistic effect, or your subject is moving, consider bumping up the ISO value as it will allow you to shoot with a faster shutter speed and maintain your exposure.
Understanding shutter speed
The next variable that impacts exposure is shutter speed.
The camera’s shutter determines the amount of time that the sensor is exposed to the light coming in through your lens. Another way to think of shutter speed is to compare it to blinking your eyes. Close your eyes and then open them for a few seconds and then close them again. You’ve just made a three second exposure! Well not really, but that is the general idea of how the shutter in your camera works.
When you press the shutter release button on your camera, the shutter opens and allows light to hit the sensor (or film) until it closes. Since the shutter speed is related to time, this means that it affects how motion is captured. Shorter (faster) shutter speeds will freeze your subject, while longer (slower) shutter speeds will capture a sense of motion in your image.

A fast shutter speed of 1/1600 was used to freeze this surfer in mid-air.

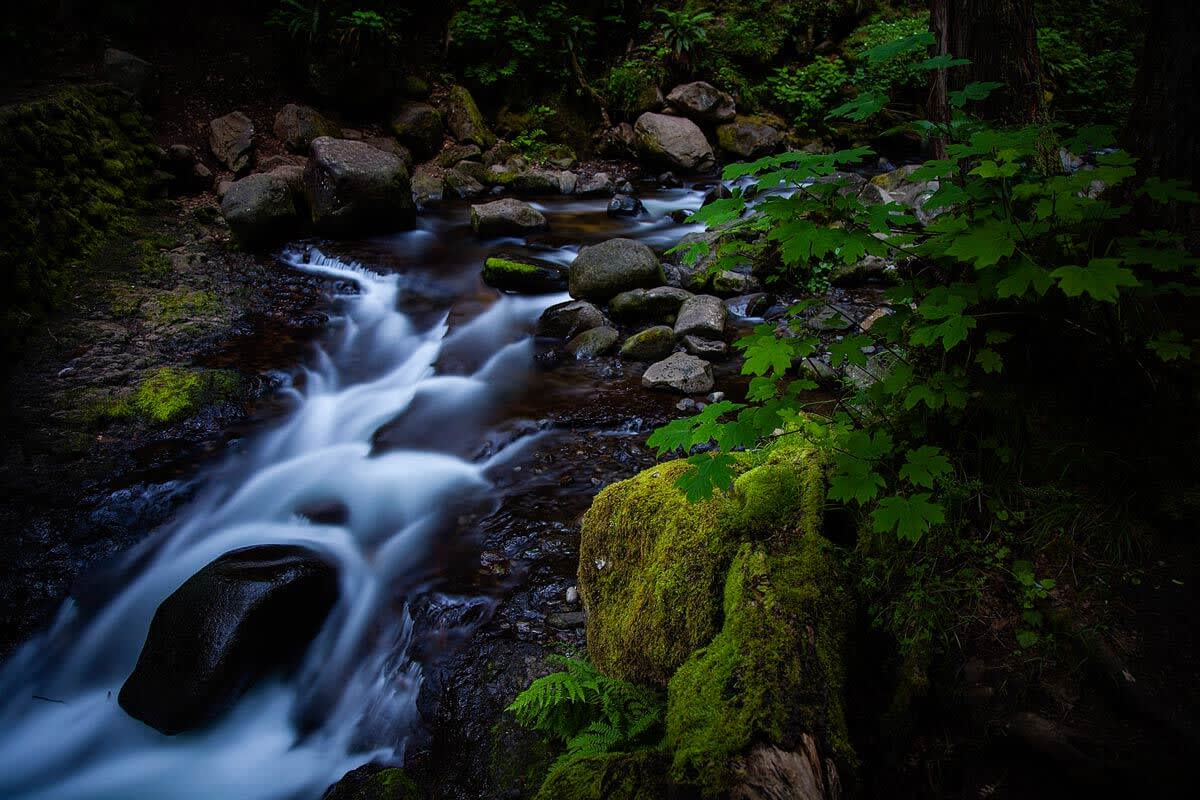
In order to capture the motion of the moving water, a shutter speed of 15 seconds was used in conjunction with a neutral density filter.
When you might change your shutter speed
When thinking about what shutter speed to use, ask yourself these questions:
Do you need to freeze fast movement?
Are you shooting from a tripod?
Does your lens have image stabilization?
Are you intentionally trying to blur the motion in your image?
If you’re trying to freeze fast movement like a fast moving vehicle or a flying bird, set your shutter speed to the fast setting (try 1/2000 or 1/4000 sec).
If you are shooting from a tripod or your lens as built-in image stabilization, you can get away with a slower shutter speed that lets in more light.
If you’re intentionally trying to blur the movement in your photo, you’ll want to use a slower shutter speed like 1/2 second or longer.
Understanding aperture
The final variable of the exposure triangle to understand is the aperture setting. The aperture controls the size of the opening in your lens that allows light to hit the sensor when the shutter is open.
Of the three aspects of exposure, understanding aperture may be the most difficult for those new to photography because the way aperture is measured seems counter intuitive to how it works.
Aperture is measured in “stops,” which are indicated using f-numbers like f/1.4, f/2.8, f/8, f/11, f/16 and f/22. There are more f-stops, but these are just a few for example. SMALLER f-stop values (like f/1.4) let MORE light through the lens and onto the sensor. LARGER f-stop values (like f/22) let LESS light through the lens.
If you are shooting with a smaller f-stop like f/1.4, your shutter does not have to be open as long because more light can pass through in that shorter time period. However, if you are shooting at a with a larger f-stop like f/16 or f/22, your shutter will need to be open longer.

There is an inverse relationship between the f-stop value and the amount of light that can can pass through the lens. Lower f-stop values let more light in and higher f-stop values let less light in.
Another thing to keep in mind is that the aperture setting has a direct impact on the depth of field of your photo. Depth of field is the area of the image that appears sharp or in focus. Large f-stops like f/22 will result in everything in the foreground and background to be in focus. Small f-stops like f/1.4 will result in less of your image to be in focus.
When you might change aperture
When thinking about your aperture setting, ask yourself these questions:
Are you shooting in the sun or in low light?
Are you photographing a portrait or a landscape?
Are you photographing large groups of people?
Do you want everything in your photo to be in focus?
If you’re shooting in the sun, larger f-stops such as f/16 are a good starting point. If you’re indoors in a low-light setting, set your aperture as low as it will go such as f/1.4 to f/4.
Landscape photographers who want the foreground and background in focus will want to start at f/22 and then work back from there.

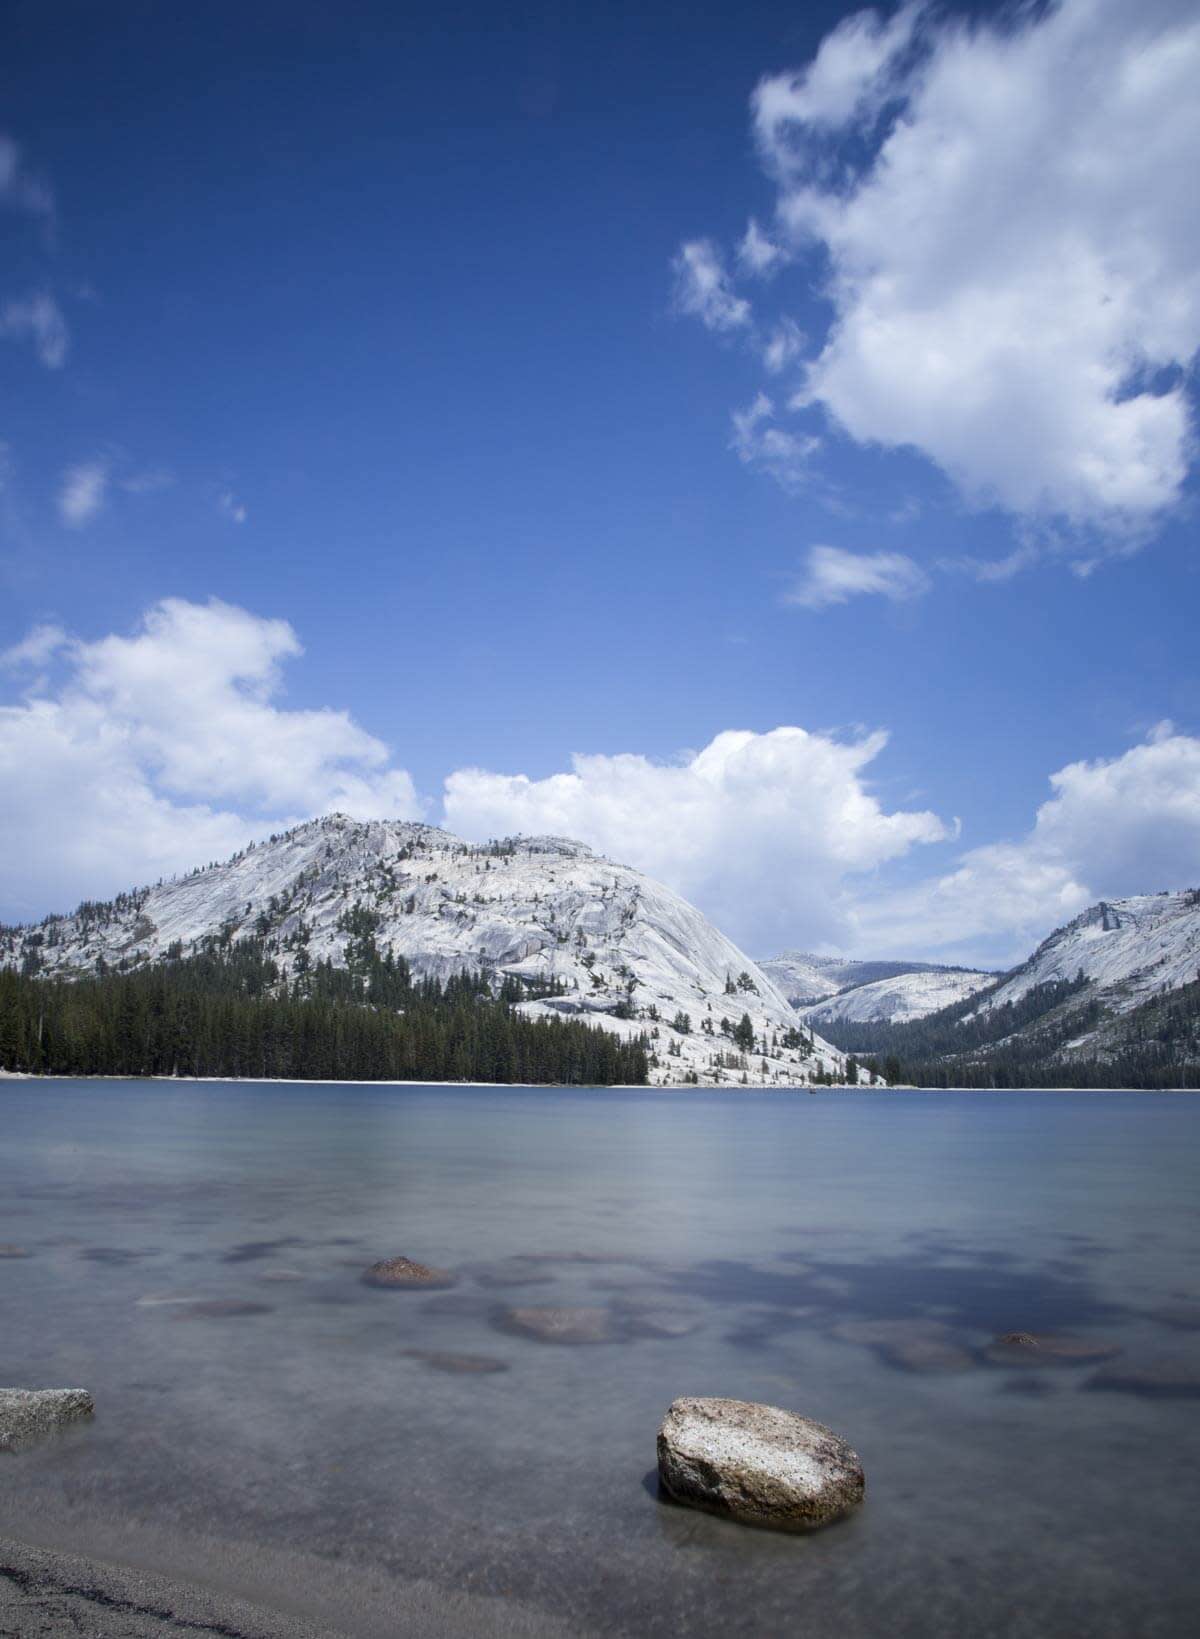
This was taken with an aperture setting of f/22 in order to get the greatest depth of field and have both the foreground and the background in focus.
When taking portraits of individuals or groups, start out with aperture settings around f/5.6 to f/8.
Summary
While this is a lot to take in, the best way to really understand exposure and the three variables is to go out and experiment until this is second nature.
If your camera has a Live View mode, turn it on and then adjust the aperture, shutter speed and ISO values one by one and you’ll see on your LCD screen how each setting impacts the overall image.
