“Handmade gifts are so personal,” they said. “Only 18 easy steps,” they said. Through much trial and some error, PicMonkey has come up with a quartet of photo gift ideas that look great without a masters of basket-weaving or apprenticeship in vegan millinery. Best of all? Your giftee will actually use them.
Read on to learn how we crafted personalized holiday gifts with photos, and how to avoid our terrible mistakes.
Materials
If you’re anything like us, you want everything you make to be gorgeous. But if you’re even more like us, you don’t want that gorgeousness to involve spending a lot of money. Why buy intricate craft supplies that get used once and then sit forgotten on a shelf, silently judging you as you pass?
That said, here are a few materials that, while not strictly required, made all of these projects a generally lovelier and un-stressier experience:
Spray-on adhesive
A paper cutter that will cut in a straight line
8 x 10 prints of your photos (matte finish)
We do really recommend that photo print size, bee-tee-dubs. For reasons we’ll go into later, we had some of our best results with 8 x 10. Now on to the crafts!
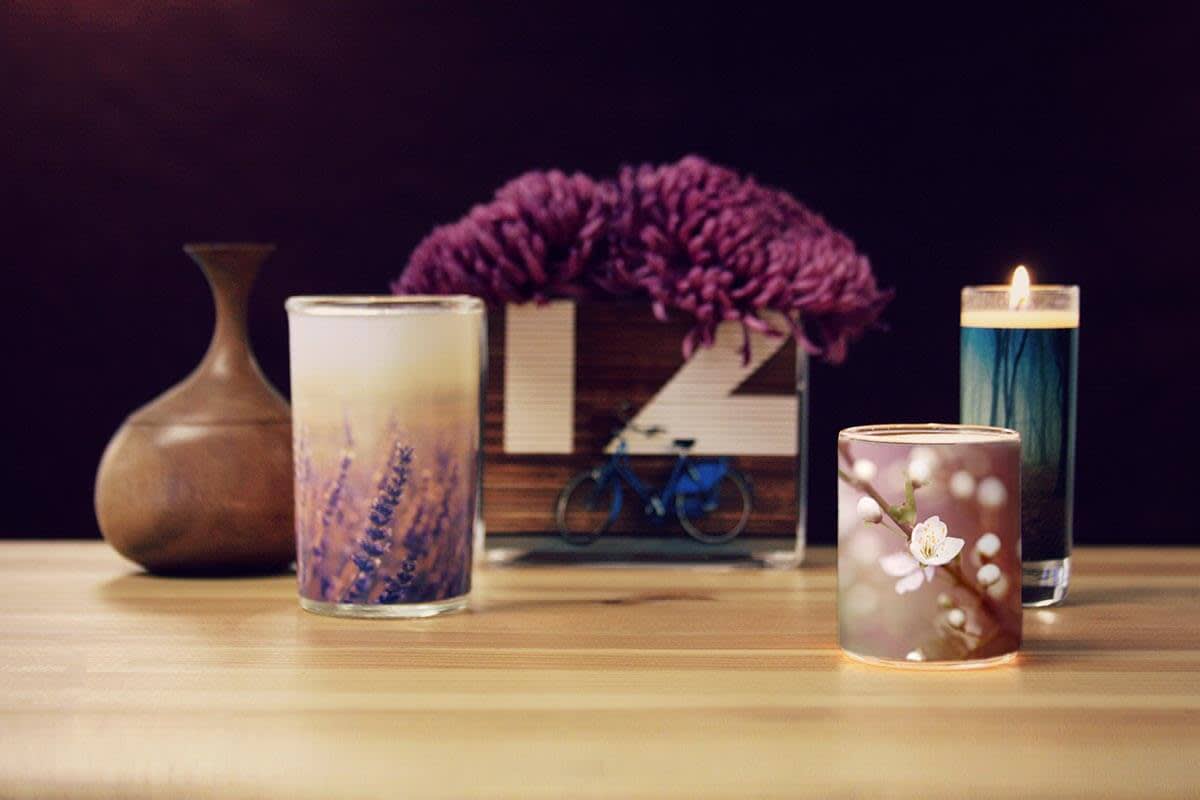
Votive holders

Candles. They make everything fancier. So they’re a great choice for handmade gifts—especially since votive holders or vases (pronounced vahhhh-ses for the froufrou) can be used for a whole slew of things: organizing toiletries. Holding bobby pins. Drinking.
Adding photos to them is a particularly great touch. All you have to do is print your photos, apply spray-on adhesive to the outside of your votive, and wrap the photo around. Quicker than you can say voila, you’ve turned plain votive vases into true objets d’art.
See what we mean about fancy?
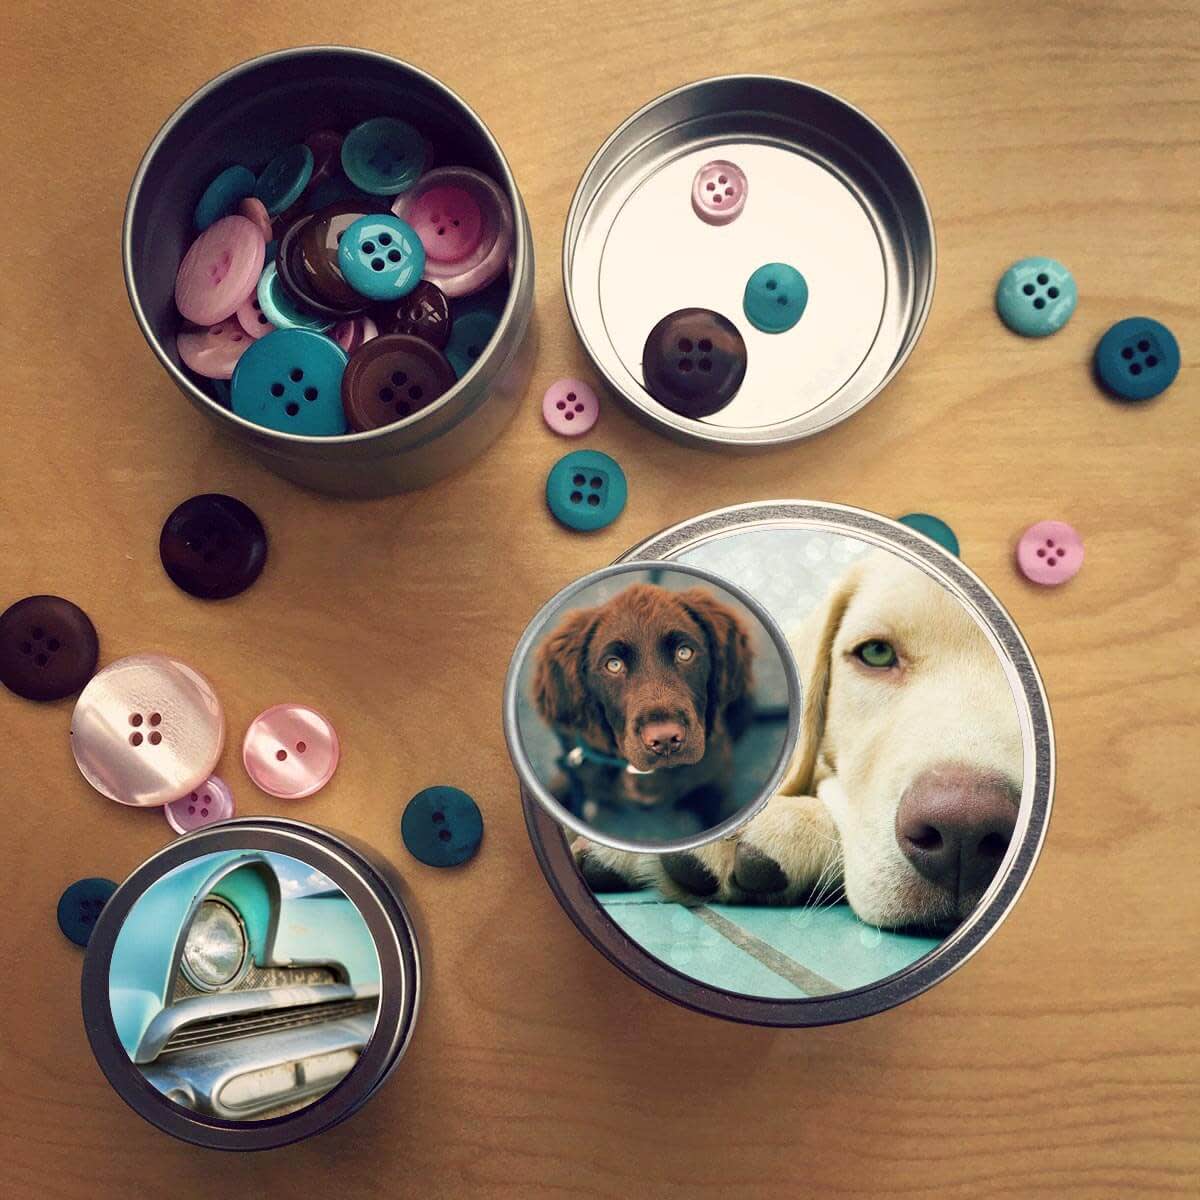
Tins

This gift can go one of three ways:
Fill these personalized tins with goodies, stocking-stuffer-style.
Leave them empty and give them to that hyper-organized person on your list.
Give them to that hyper-not-organized person on your list.
Pro tip: When printing photos for small containers, open an 8 x 10 canvas in Design, then add your images as graphics. This will ensure that your photos print beautifully, but aren’t gigantic in comparison to your itty-bitty mint tin. It also saves you money, since you won’t be printing each image as a separate sheet.
Pro-er tip: Not all tins are created equal! The rectangle family is pretty easy to cut photos for, but if your tins are circular, you might want to invest in a dedicated circle cutter. We promise that circle cutters are real things, and not a phrase we made up to throw you off.
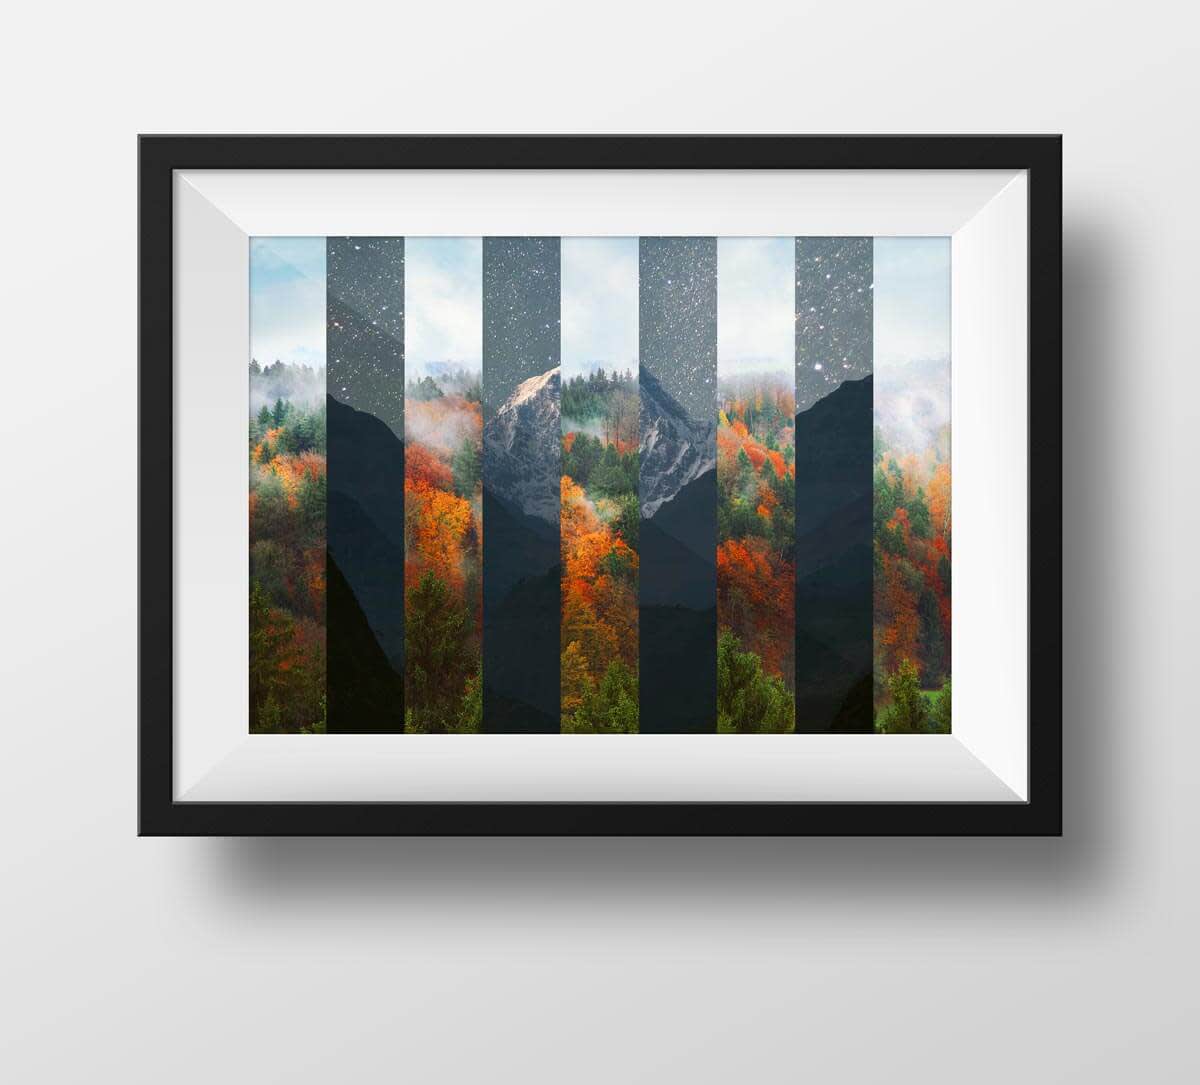
Interlaced image

Winning the PicMonkey award for “quickest start-to-finish project,” this one requires two photos, scissors, and a picture frame. The end! (Okay, and also glue or double-sided tape, but those barely count as things.)
Print a pair of images, then divide each into inch-wide segments. For 8 x 10, you should end up with 10 segments. Then puzzle-piece the two photos in alternating bands, slide into the frame, and boom: art.
Pro tip: You can get even segments with a ruler and scissors, but for this project, that paper cutter we recommended earlier on is your BFF.
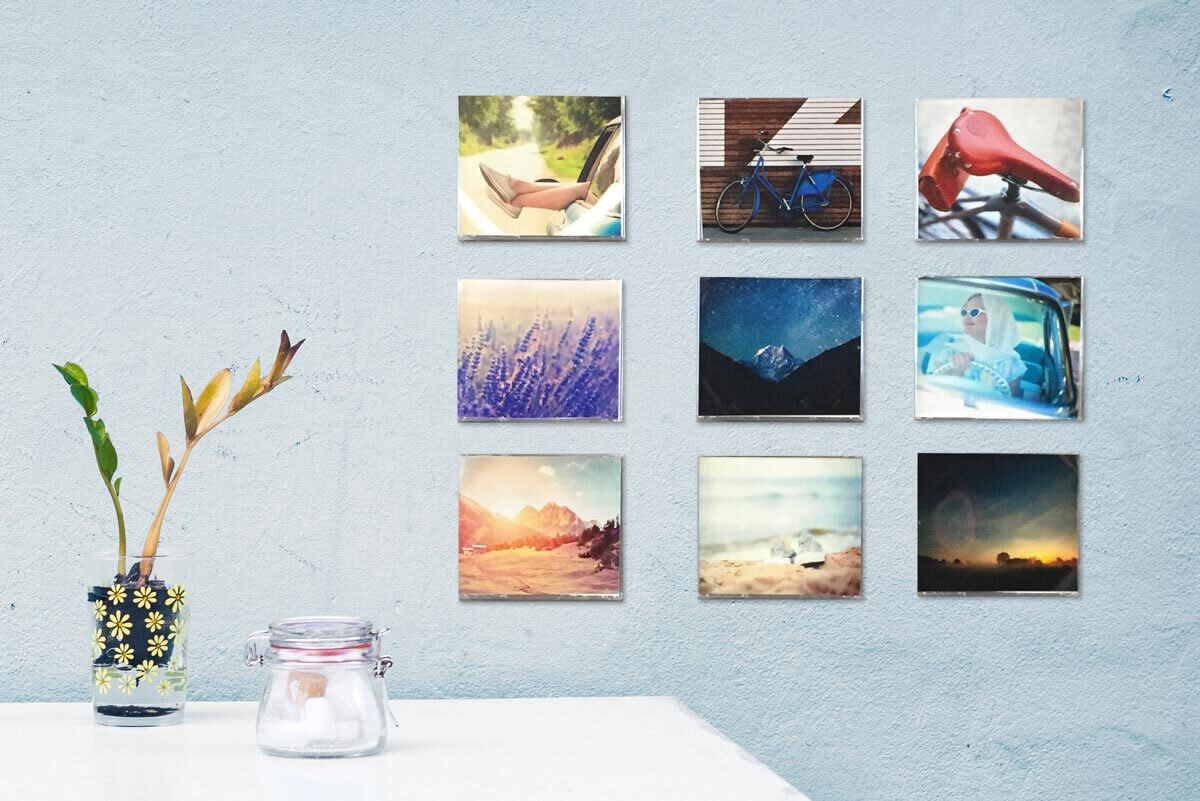
Configurable wall art

This project is a coup for that super-picky person who insists they’re not picky at all. Instead of getting them one piece of art, which they might hate, you get them four (or six, or nine, or sixteen) smaller pieces, which can be reshuffled however they like. Best of all, you create serious, grownup-looking frames for them—out of CD jewel cases.
We know, right? Amazing.
Once you’ve printed 8 x 10 photos, cut out approximately jewel-case-sized sections, glue them onto poster board or cardboard, and slide into the cases. Hang using Velcro, putty, or Command strips, which allows your giftee to arrange and rearrange at will.
Pro tip: Standard jewel cases are a strange size, by printing standards—around 6 x 5 inches. To get a perfectly sized photo print at home or the 1-hour photo counter, there are two simple steps:
Open your desired images in PicMonkey, sized to the aspect ratio of what you want to make. (For example, for a 6 x 5 jewel case, you could crop an image to 600 x 500, or 1800 x 1500, 2400 x 2000 … you get it.)
Open an 8 x 10 canvas in Design, then open your resized image as a graphic. Bearing in mind that your canvas will print to 8 x 10 inches, give the graphic your best eyeball and expand it to a size you think looks about right.
FAIL: Personalized pillow
We thought making a personalized pillow would be an easy-as-pie gift project. It was not. We can’t say we weren’t warned, because we actually were warned when we walked into the print shop with iron-on transfer paper.
“You’re going to iron that on yourself?” asked the print shop guy.
Yes. Onto a pillowcase!
He winced. “It’s really hard to get an even application at home. We can do it for you.”
But … DIY?
Well, forget him! We created an 8 x 10 image, printed it, and ironed it onto a plain white pillowcase, which is where things unpredictably started to go wrong.* Maybe the photo we picked was too detailed. Maybe we’re not patient enough ironers. Whatever the reason, the resulting printed pillow featured a jaggedy, peeling image.
So we’re not sure the photo-printed pillow is an easy DIY photo gift, although some at PicMonkey HQ swear that it is, so we’ll likely be trying it again. If at first you don’t succeed and all that.
