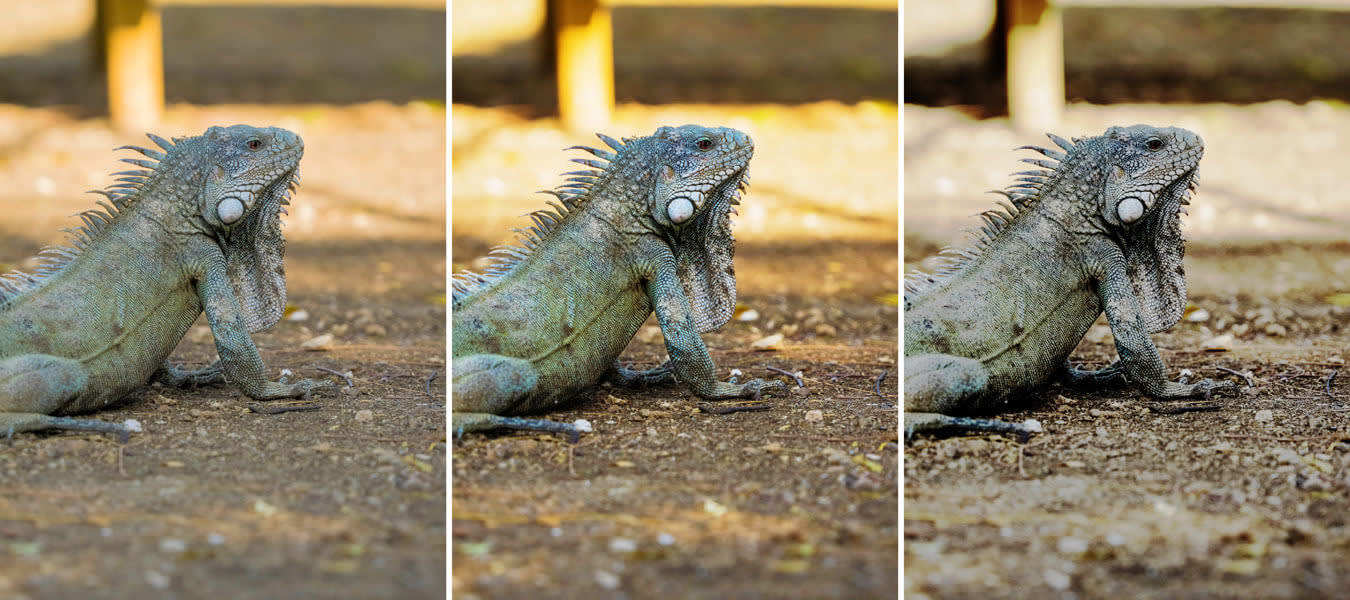
You can easily give your digital photos a classic film stock look with PicMonkey, and customize it further with the Curves tool. Let's take a quick look at how to use the Film Stock effect and Curves to add a nostalgic vibe to images.
1. Open an image in the Editor and head to the Effects tab.
2. Now click Film Stock and choose from the Velvia, Reala, and Tri-X options. Adjust the intensity of the effect using the Fade slider.

3. Click Apply.
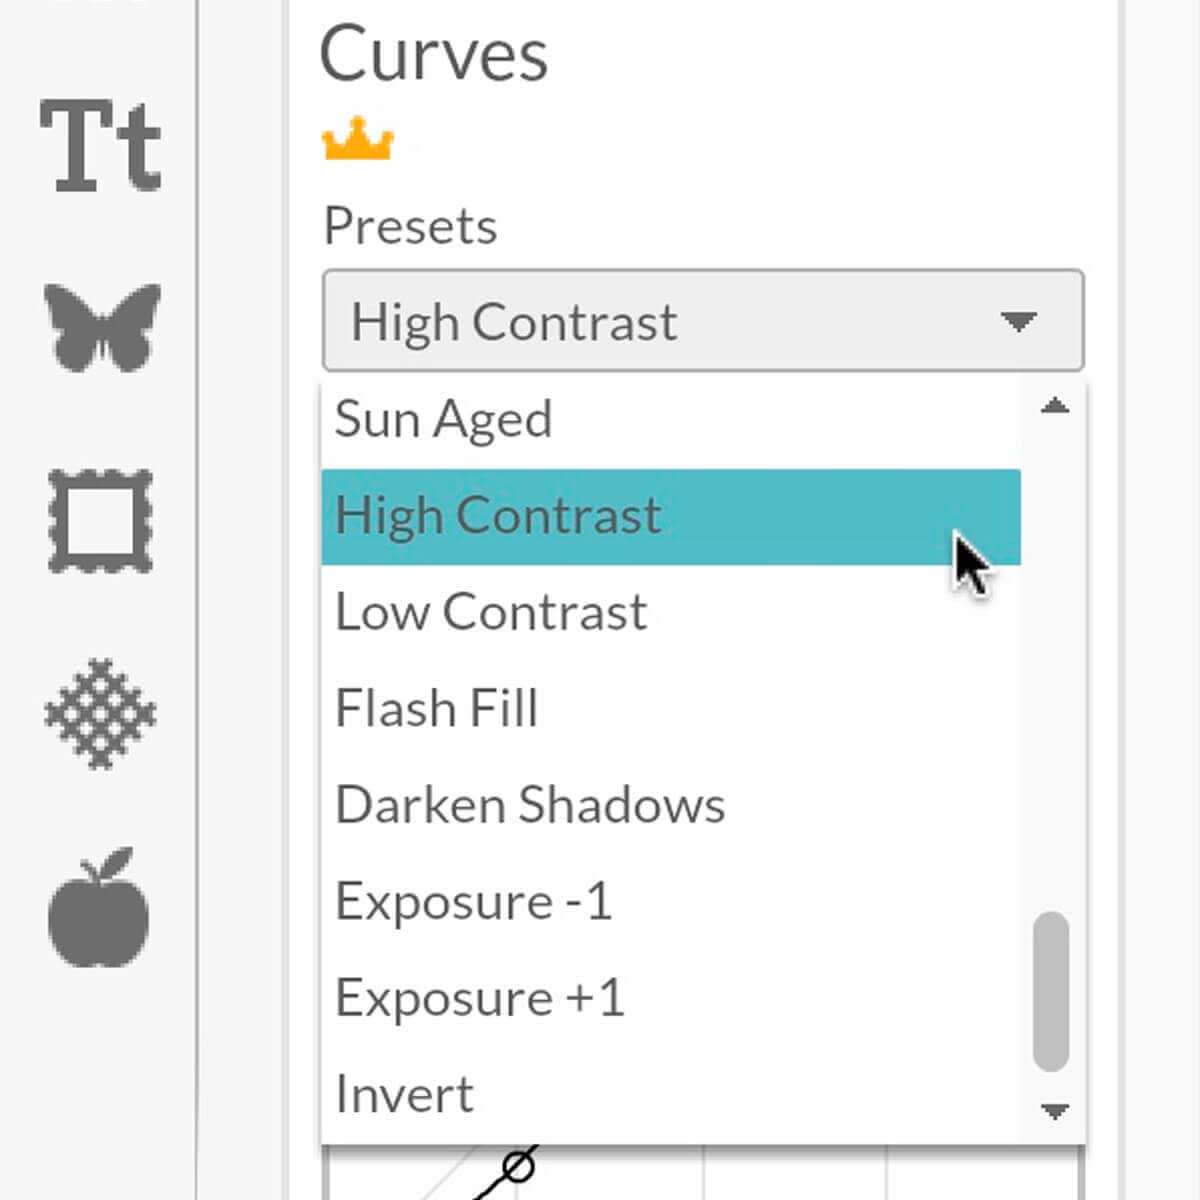
4. Now scroll to the Advanced effect group and choose Curves. A Curves adjustment lets you control the contrast in an image.

5. Try the options in the Presets dropdown menu first. Here you’ll find a number of ways to give your image a whole new look.

6. When you find a look you like, try customizing it by clicking to add points to the line, then moving them around. Pulling a point downward darkens your image and pulling a point up brightens it.

7. You can also use the Color override slider to create a black and white or reduced chrome look.

8. The Fade slider is useful if the the effect starts looking too strong.

9. Once you’ve created a look you like, click Apply.

