Levels is kinda like Curves, with training wheels. It lets you adjust the color, contrast, and tonal range of your image. If you’ve used levels adjustments before, you probably know the drill. If not, don’t be afraid! Here’s a quick and easy explainer:

The key to understanding the levels tool is understanding the histogram.
What the heck’s a histogram?
A histogram is a graphic representation of the pixels in your image. It displays the contents of your image as a pile of pixels (often referred to as the tonal range). The pixels on the left side of the histogram are dark pixels, the right ones are bright pixels, and the levels in between are in the middle. The histogram displays all three color channels by default, but you can specify Red, Green, or Blue.
Okay but how’s it work?
If the pile is high in one area, it means your image has a lot of pixels of that brightness (tone), so if you see nothing in an area of the histogram, then your image lacks those tones.
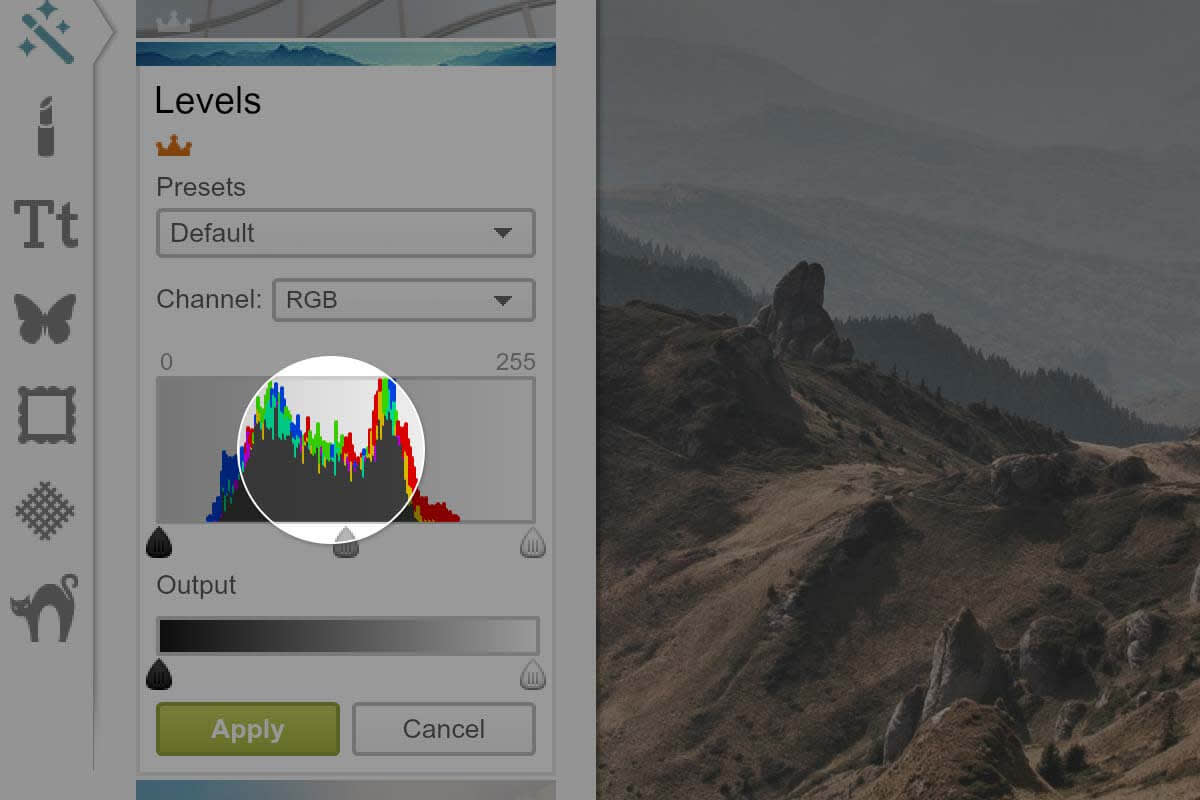
For example, if your image lacks both deep shadows and bright highlights, you’ll see a mound of pixels around the midpoint. This would be pretty good for a moody image of fog. However, if it was just a hazy or washed out picture and you want a little more contrast, this is where Levels comes in.
Slunderstanding your sliders
There are three slider points below the histogram; here’s how they work:
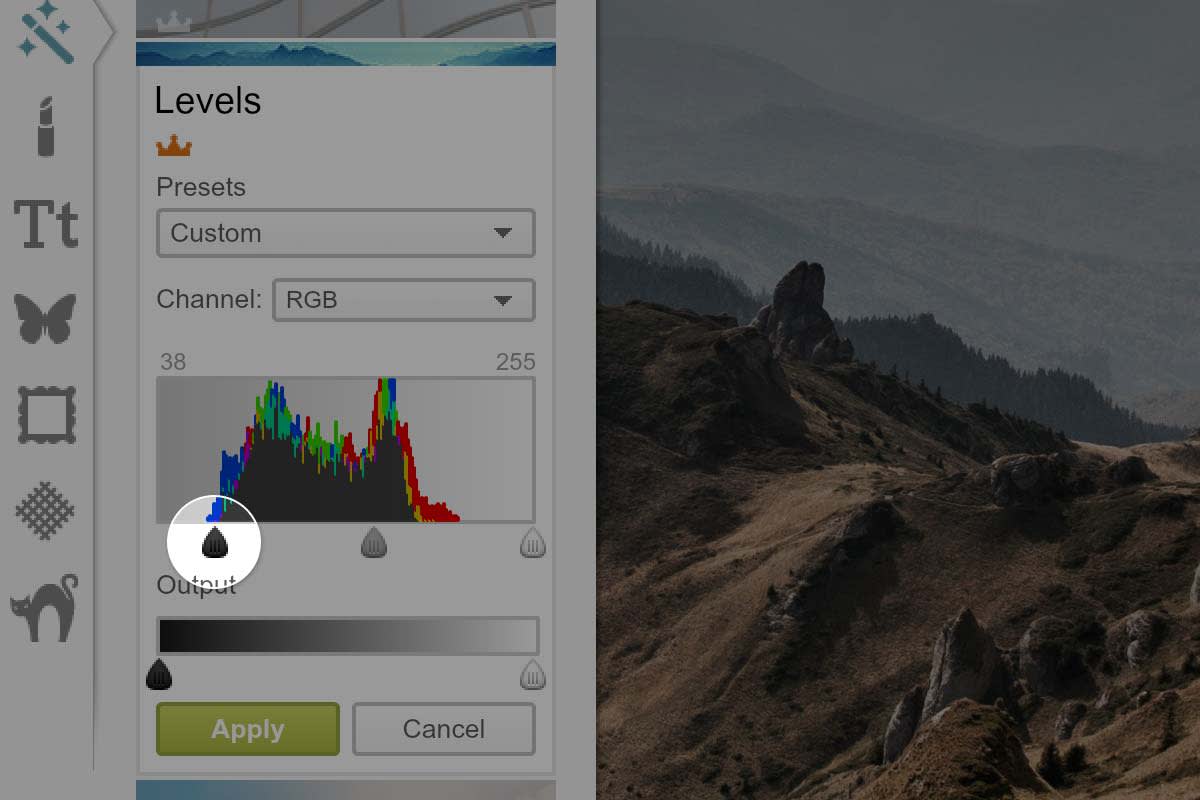
The black slider point assigns a pixel to black. As you move it to the right, every pixel to the left of the slider point will become completely black.
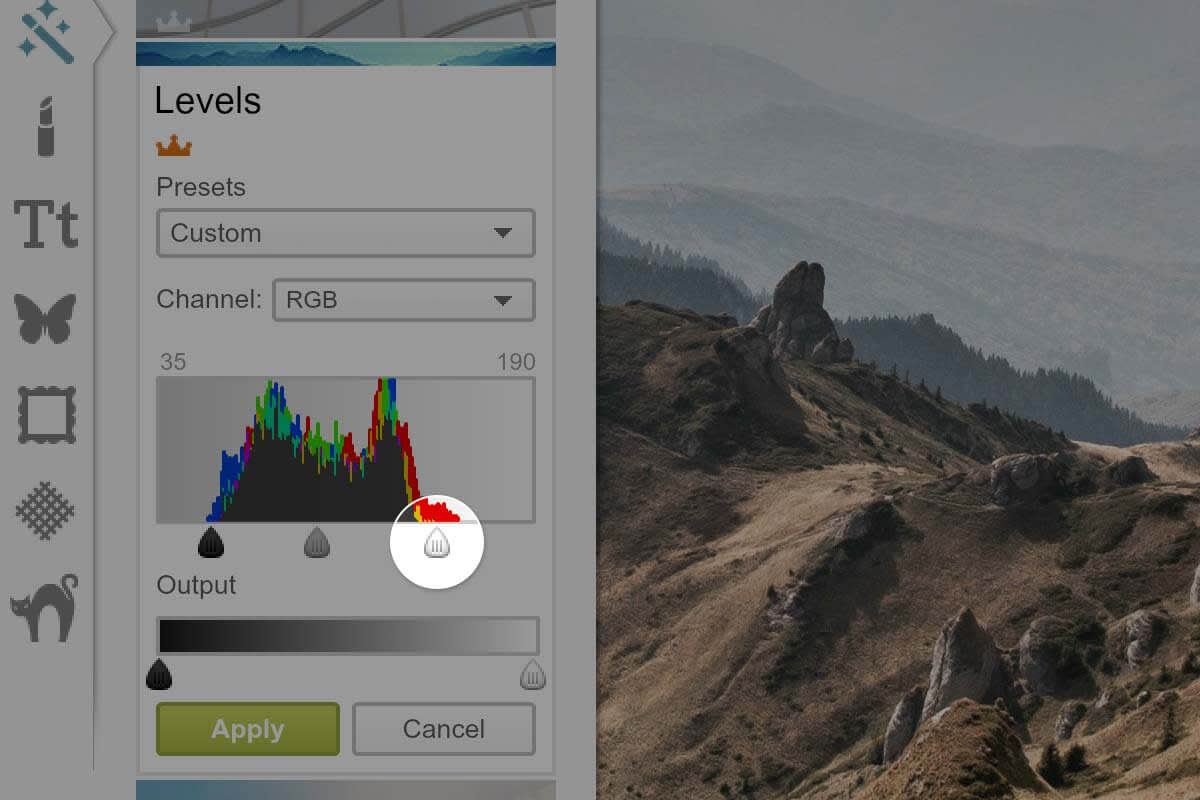
On the right, the white slider point does the same for highlights, where any pixels to the right of the slider point become pure white.
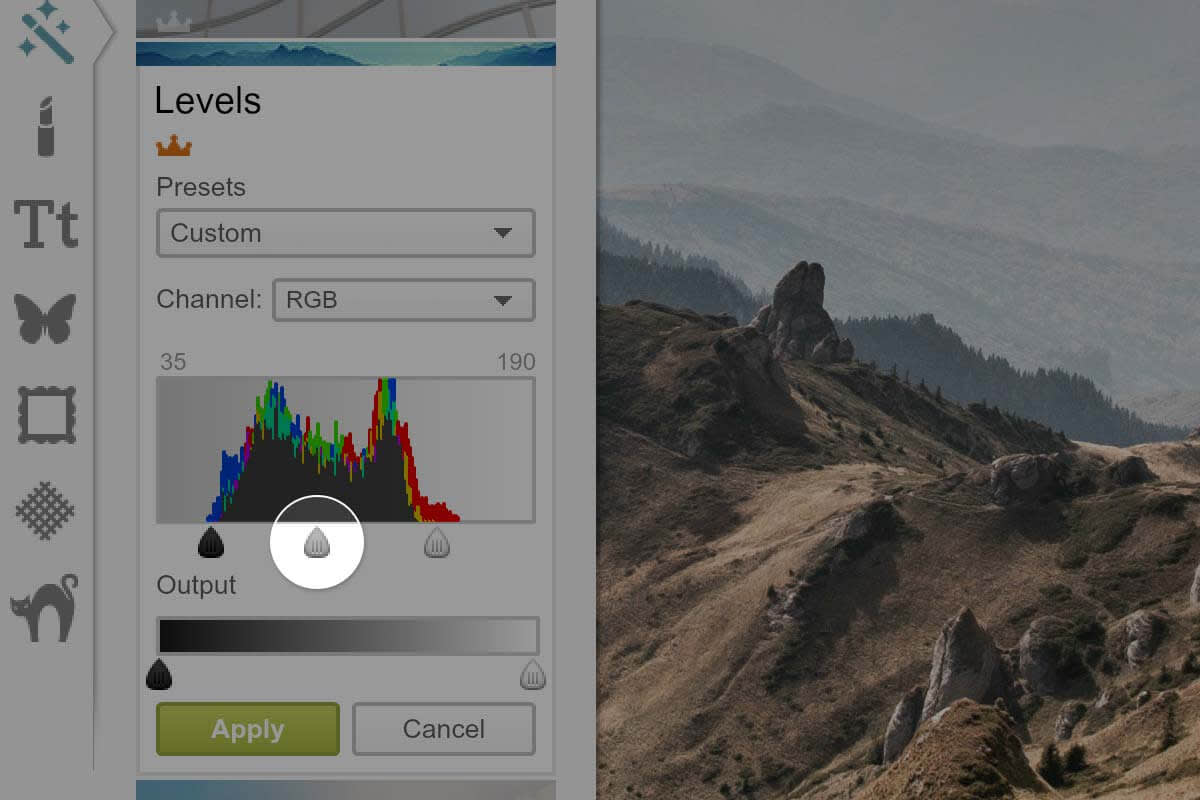
The gray midpoint slider designates your middle gray, the halfway point between black and white. Sliding it right shifts more pixels to the left of the midpoint, making all those pixels darker than the middle gray. Slide the midpoint left, and more pixels are assigned lighter-than-middle-gray colors.
Until you decide to manually adjust it, the midpoint will automatically correct itself when you change your black or white slider.
Lastput but not leastput: Output
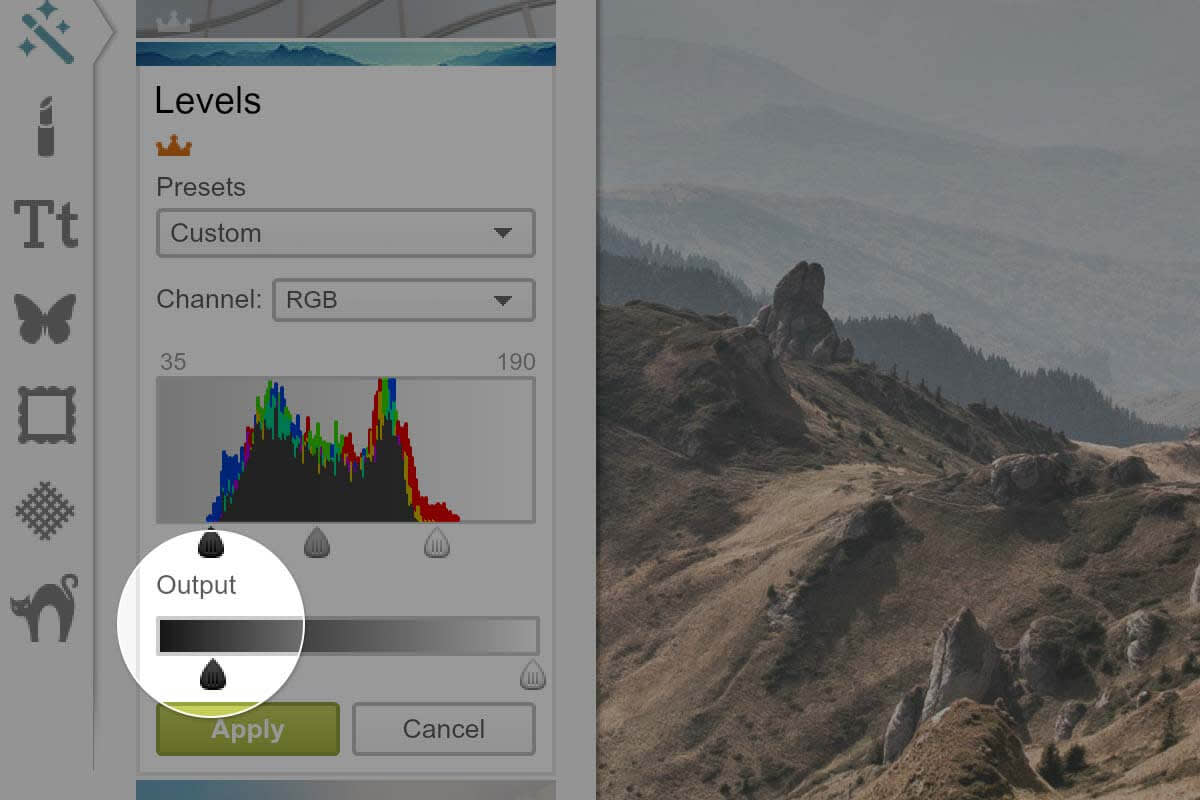
And the Output slider? It controls the tone of your blacks and whites, so it sorta works the opposite. Moving the black slider right shifts blacks to dark grays, while moving the white slider left shifts whites to light grays (this comes in handy for correcting underexposed or overexposed photos, respectively).
