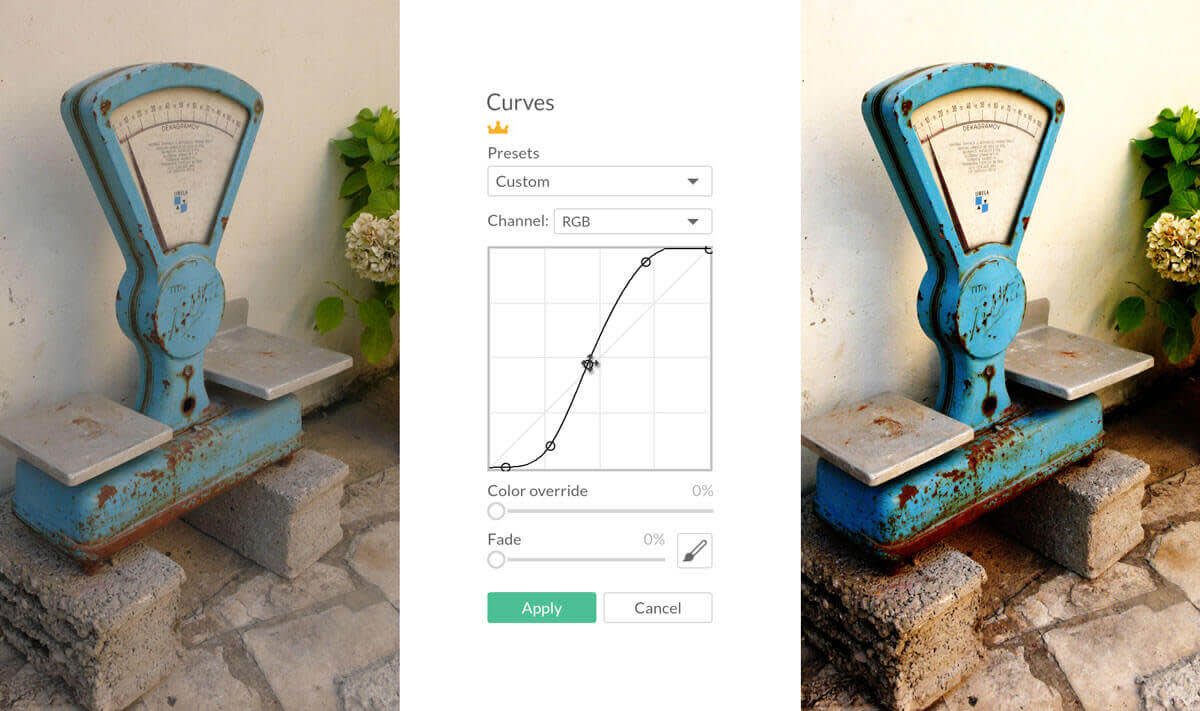
Have you fallen in love with the Curves tool yet? Curves uses anchor points to help you precisely control the contrast and tones in your photos.
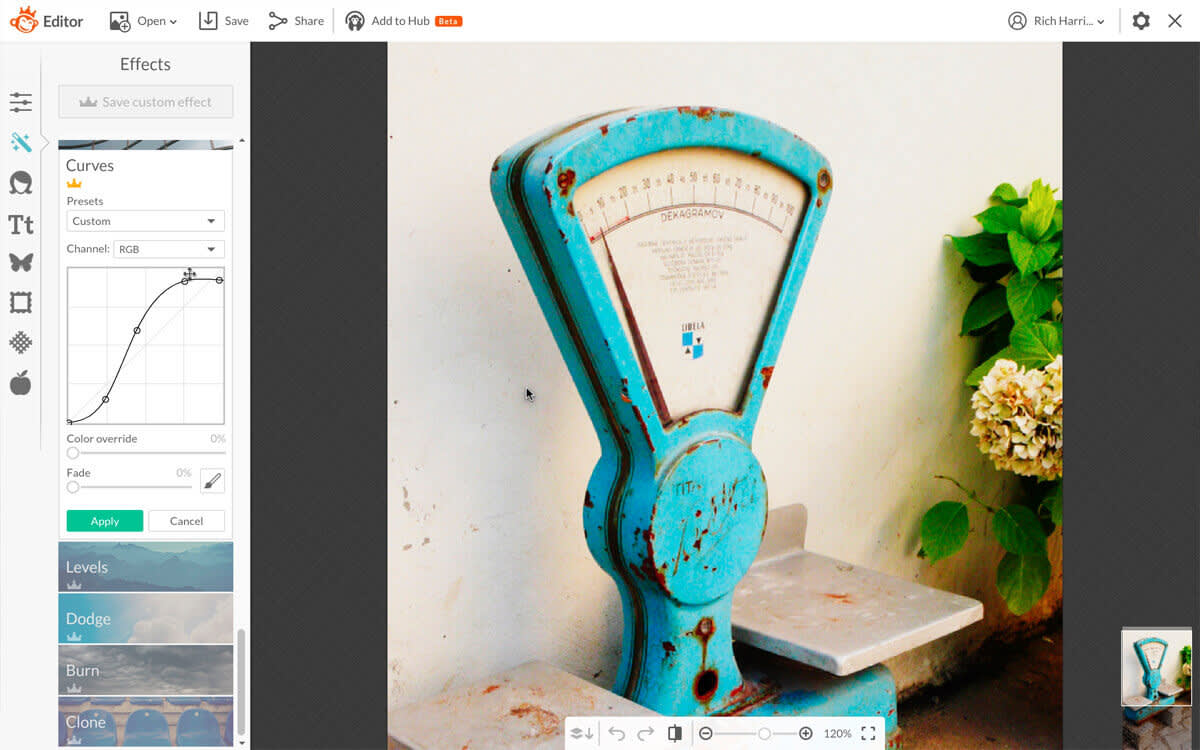
Things can get a little wonky if you have too many anchor points. This is the case in the photo below—notice the oddly colored shadows and lavender parts of the wall? Fortunately, you can fix photo issues like these by removing extra anchor points. Let's take a quick look at how to do that in PicMonkey.

Open an image and head to the Effects tab.
Find Curves in the Advanced group.
Click to add anchor points, or choose from the options in the Presets dropdown menu.
To remove an anchor point, hold down the Command key and click the point you want to remove. If you're using a PC, hold down Control and click to do the same.
If you need to add a point back in, just click an empty space on the line.
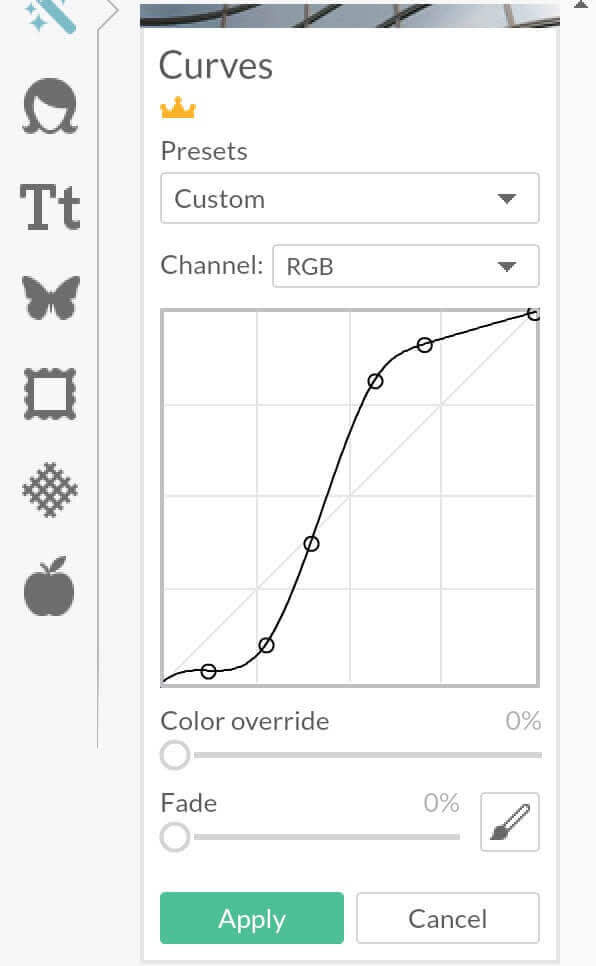
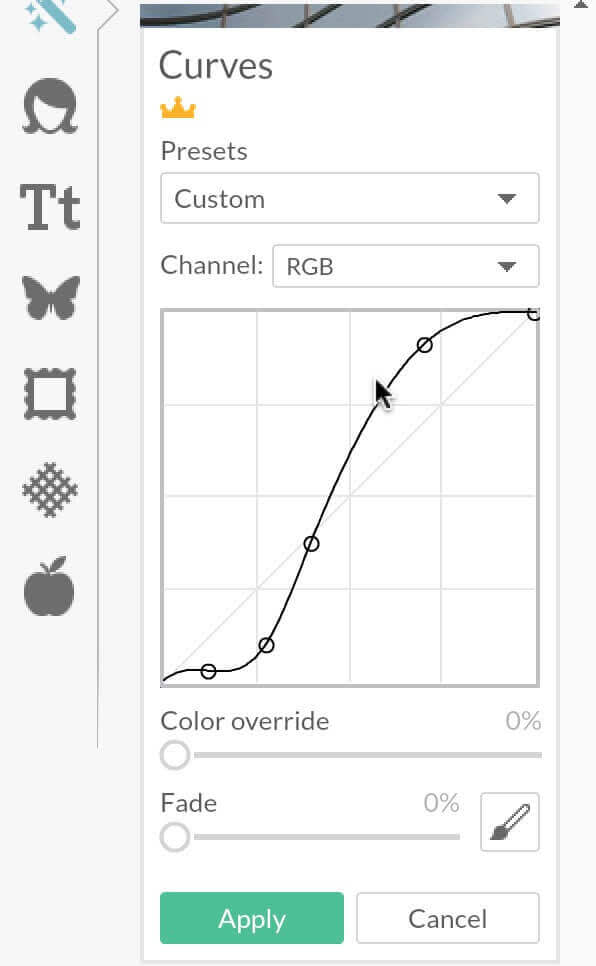
With Curves, the key is to use as few points as possible in order get a smooth transition between each adjustment. Otherwise, colors can posterize or look grungy. Play with the Curves tool to really understand how it works, and have fun mastering the tones in your photos!
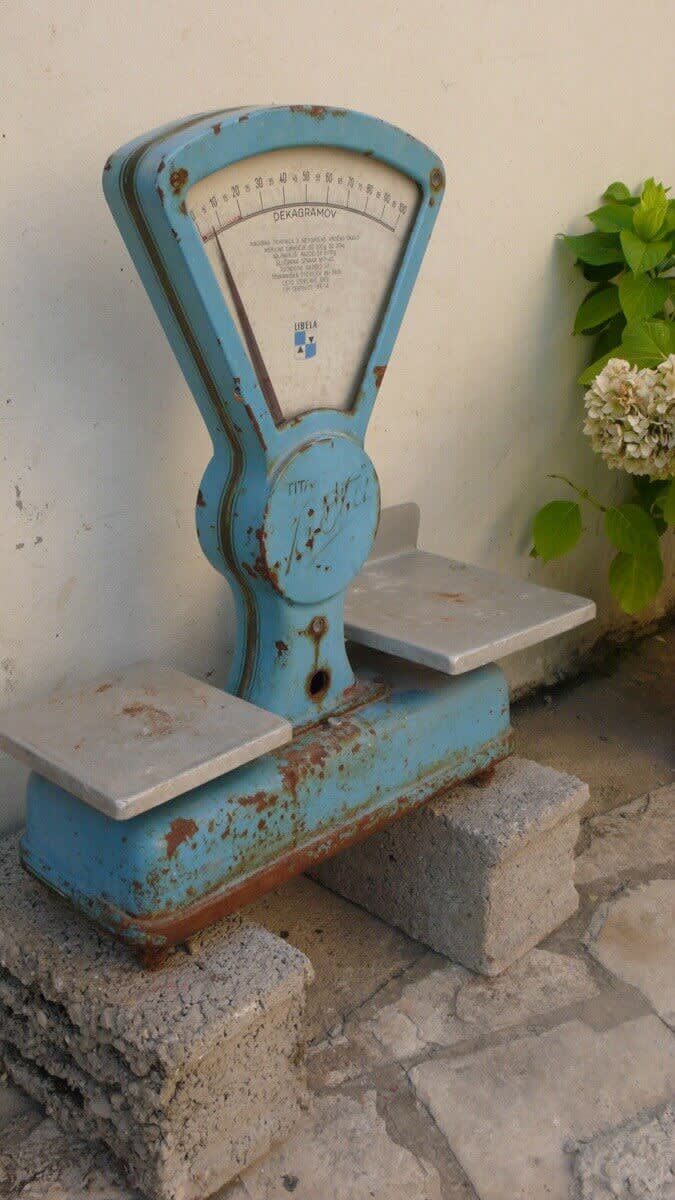
Before using curves.
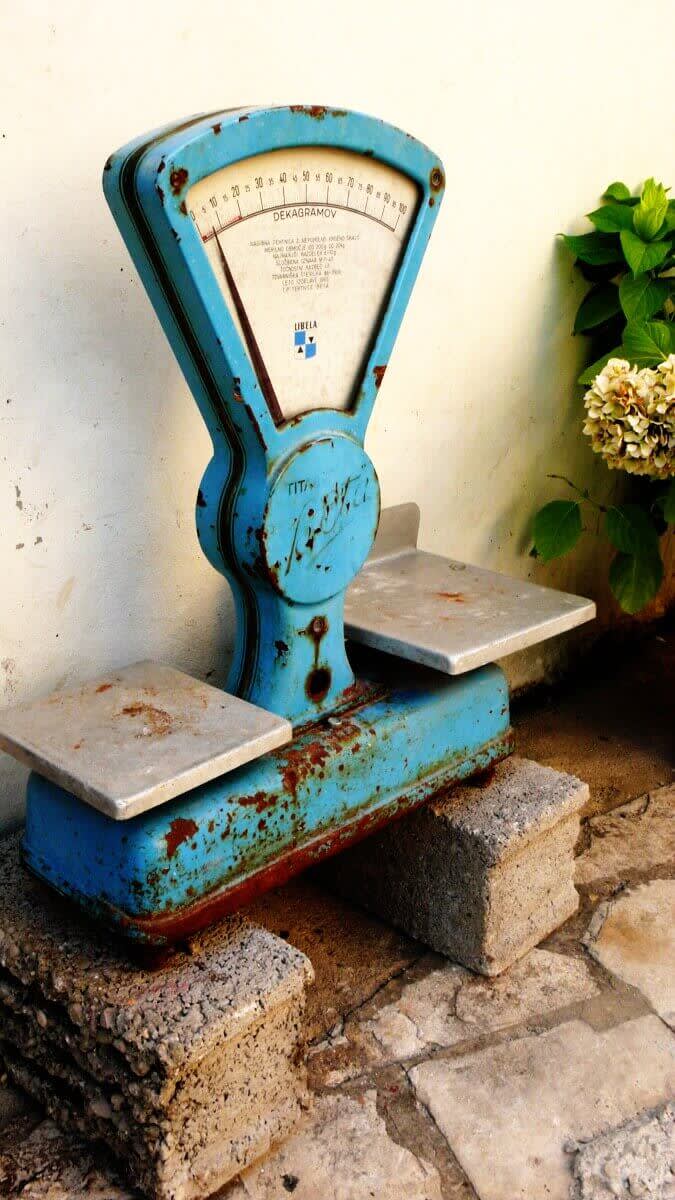
Adjusting with Curves adds the right amount of tone and contrast.
