Hey imaginative image masters! If you’ve already wowed your crowd with mind-bending double exposure pics, check out the new kid on the awe-inducing photo block: double color exposures. These visually arresting images are a little 2008 Apple ad (remember those dancing, colorful silhouettes with iPods?), a little soul-meets-body, and a whole lotta cool. They’re also ridiculously simple to make in PicMonkey—and, oddly enough, don’t follow the same process as regular double exposures at all. Don’t believe us? Round up some pics, follow along with the steps in our tutorial, and experience the easy breezy fabulosity for yourself.
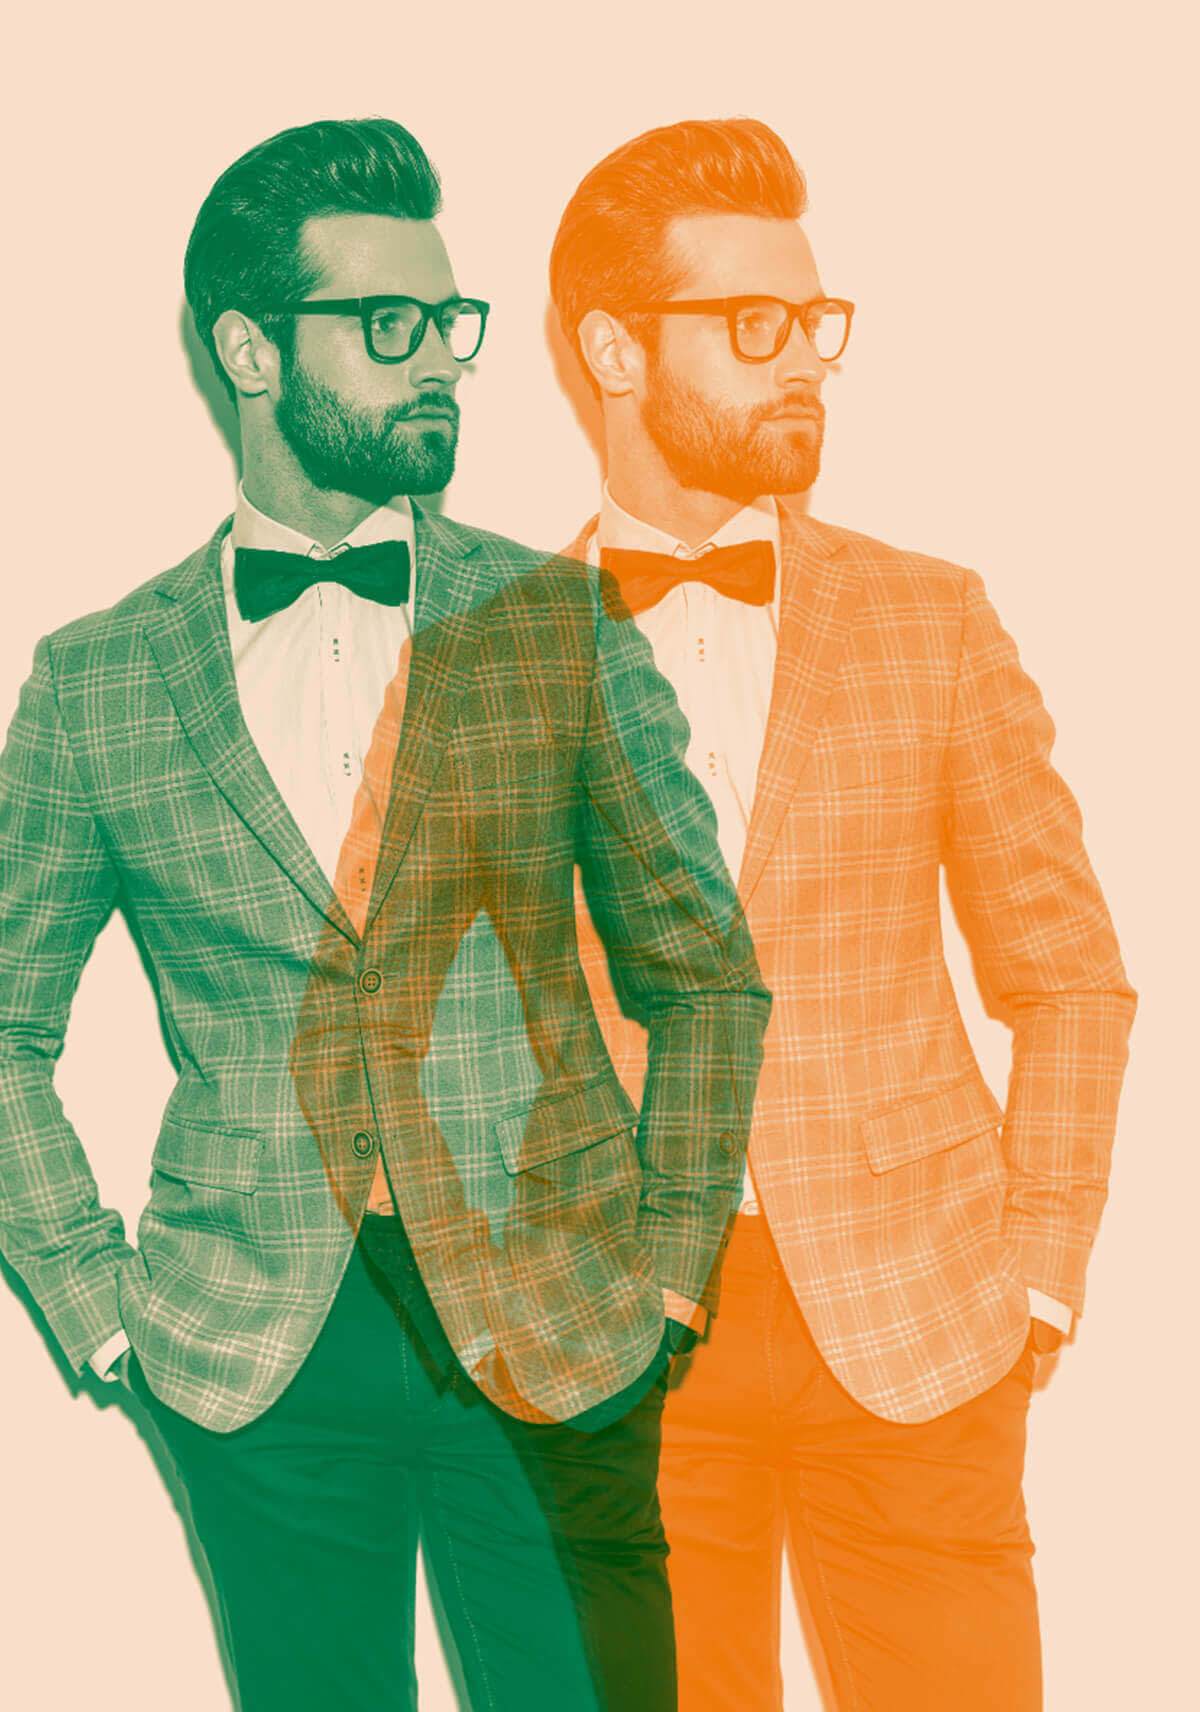
1. Choose and prep your pic
Before you start assembling your color-ific image, you’ve gotta pick a pic to start with and get it ready to roll. You can use two different photos (and more if you’re feeling extra ambitious) but we’re gonna start out with a simple-yet-fabulous single photo creation.
Try to choose a photo with:
Your subject near the center. Otherwise, you’ll end up with an abrupt edge in your final image.
Good tonal range. To make sure your photo shows through when you layer it with its twin, try to make sure it’s not way too light or dark. If the pic you desire doesn’t have a nice light-and-dark balance, give it a mini makeover with our Levels tool (in the Effects tab).
A plain background. When it comes to the area behind and around your subject, stick to unadorned walls, hanging sheets, and anything else distraction-free. If you want all the focus on your double-color-exposed subject, but your perfect photo has a busy background, consider removing it. (Note that if you remove the background from your image in PicMonkey, you’ll need to flatten it with the Flatten button on the Layers palette) before saving). You can also paint the background solid white with the Draw tool.
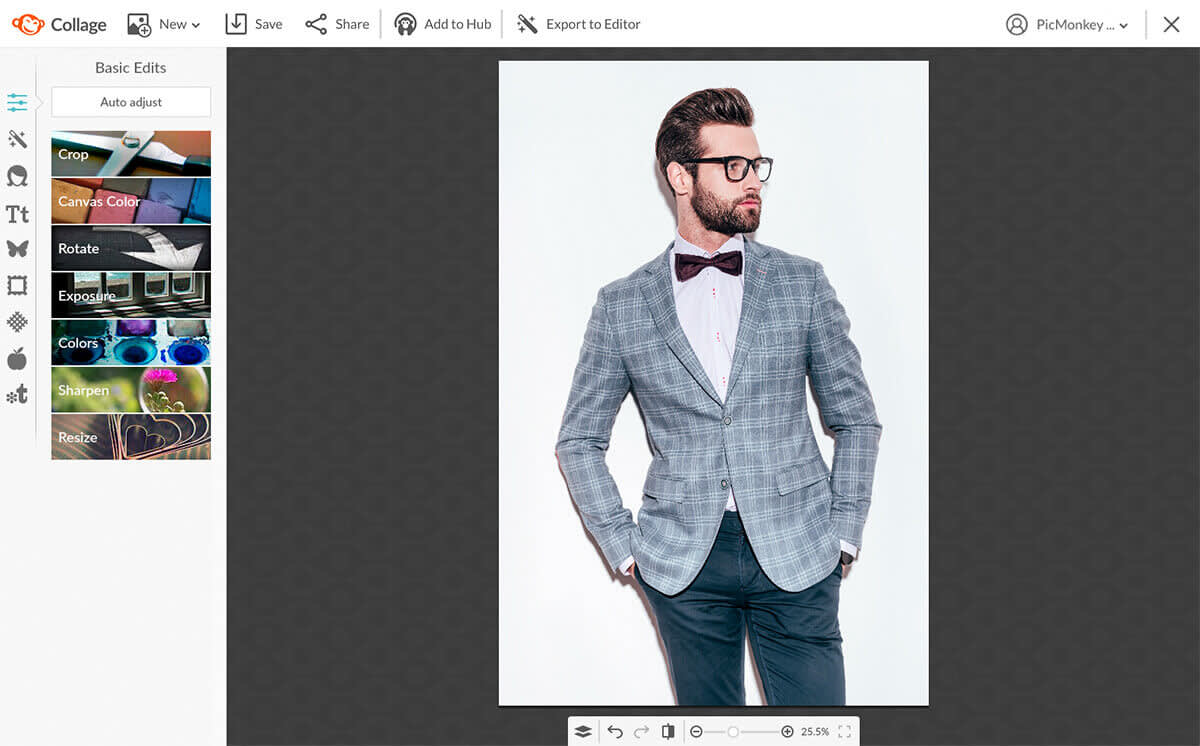
Once you’ve selected your images, turn them black and white to make sure the original colors don’t interfere with the hues you’ll choose later on. To do that, hover over Edit on the PicMonkey homepage and choose your first photo’s location to open it in the Editor.
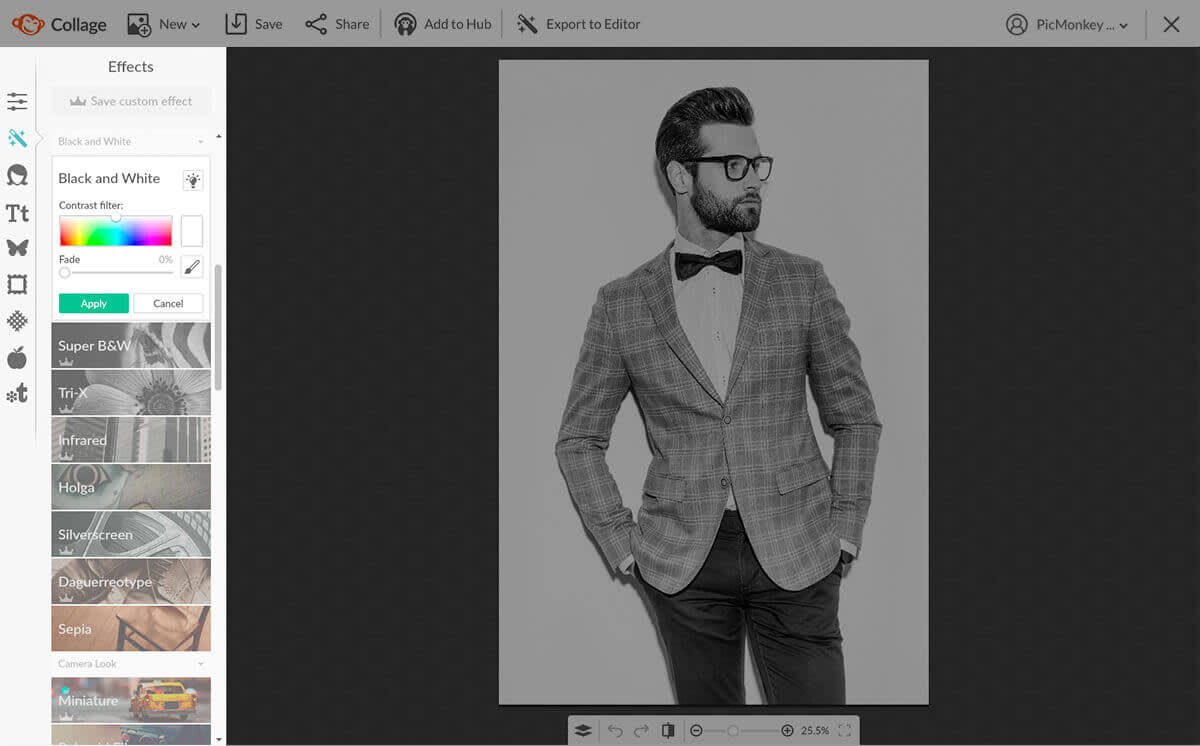
You’ll find Black and White in the Effects tab. Click it, adjust the fade if needed, then click Apply.
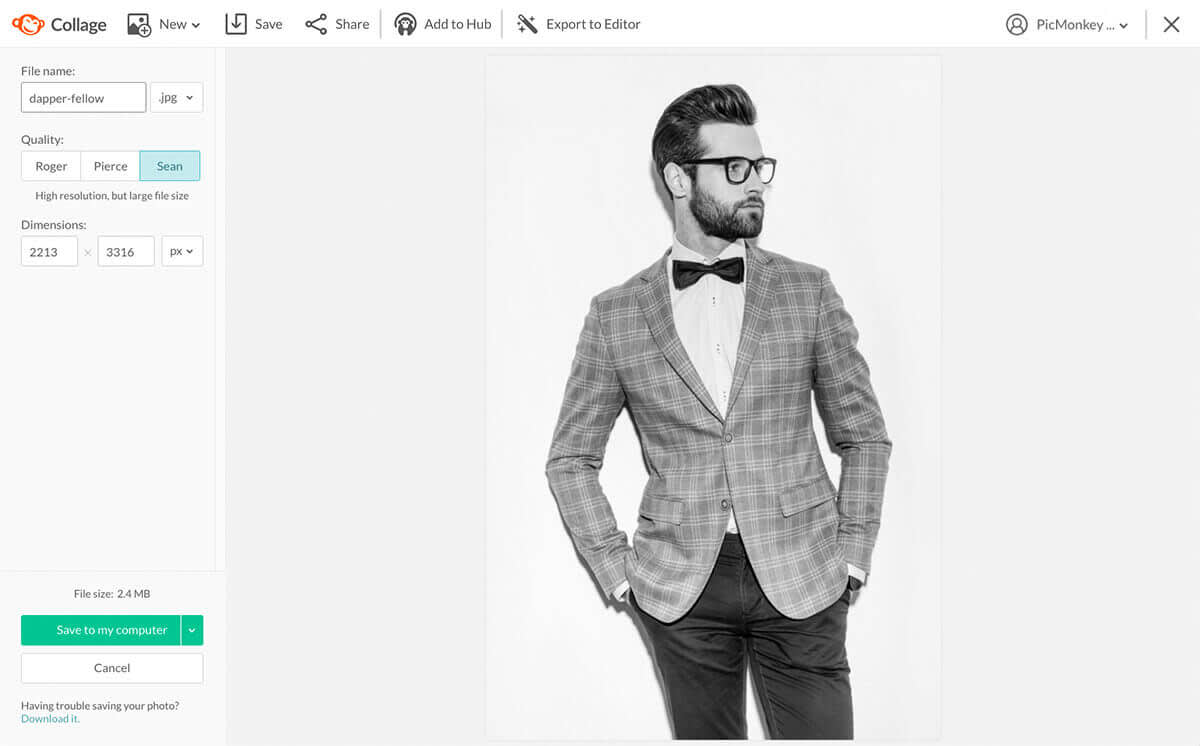
Now save it to your computer or add it to Hub, and repeat the process with your next pic. If you’re making your double color exposure using one image, you’ll only need to do this once.
2. Set up your canvas

Once your beautified photo(s) are stashed away, head to the PicMonkey homepage. Click Design to open a blank 2000 x 2000 pixel canvas. If you want your final image to be a specific size, hover over Design and then either choose Blank canvas to select one of our readily sized canvases, or Custom size to enter your own pixel dimensions.
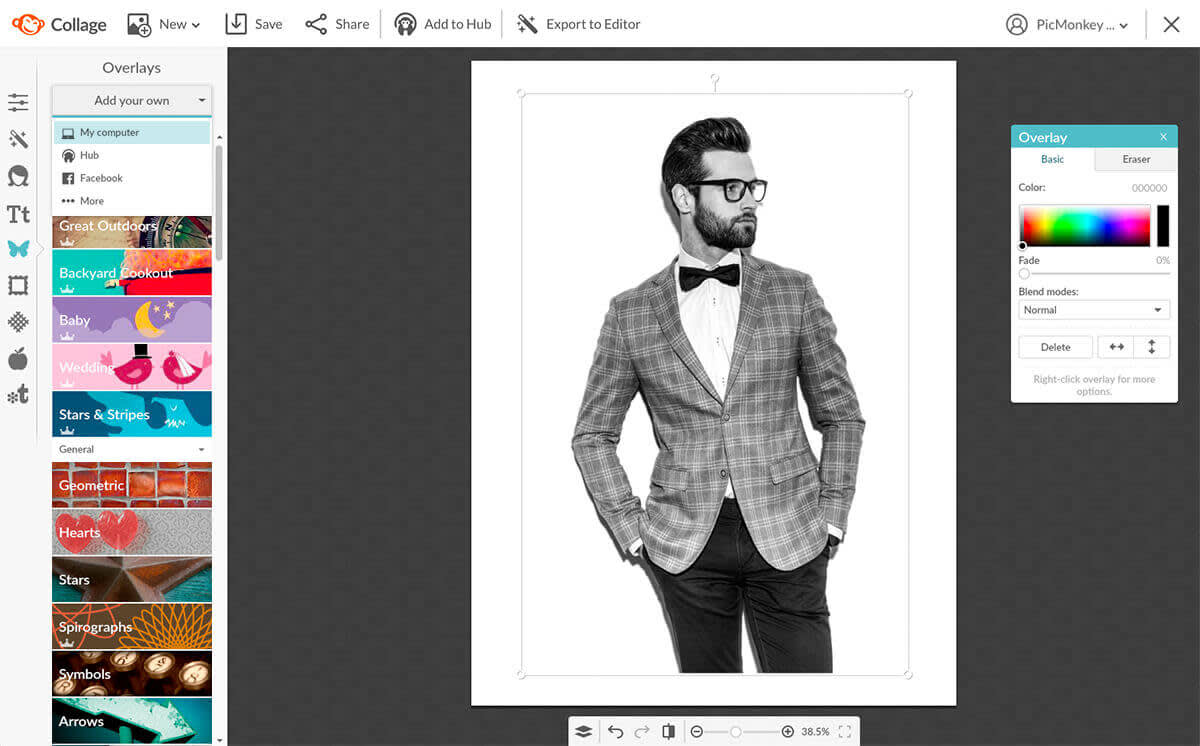
Once your beautifully blank canvas is set up, head to the Graphics tab. Open your black and white image using the Add your own button at the top of the tab.
3. Colorize
Now let’s get to the “color” part of double color exposures! Use the color picker on the Graphic palette to transform your black and white photo into a color explosion. Drag your cursor around the color spectrum (rainbow box) until you find a hue you like, or if you know the hex value for a specific color you wanna use, type it where the colors/numbers display above the color bar.
Repeat the process to open your second black and white image, and turn it a different color. (Our color theory article can help you figure out a killer combo if you’re struggling to choose your hues).
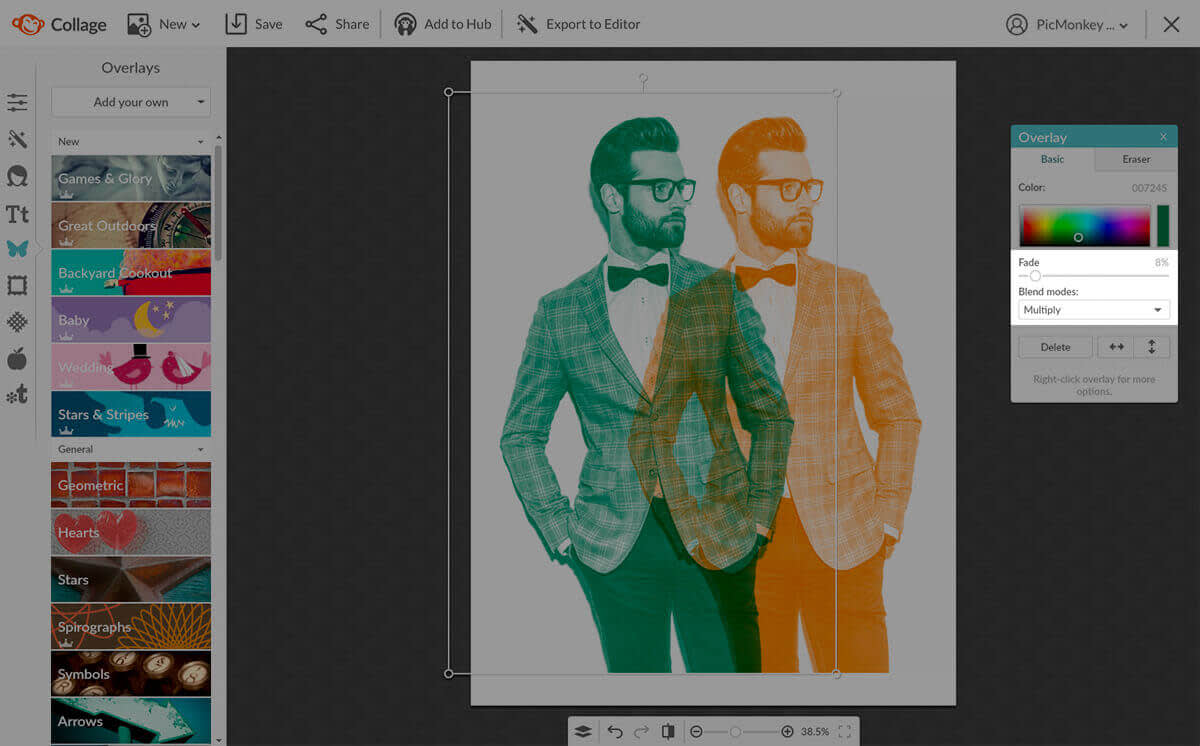
Now overlap your pics a bit, and play with the Fade slider and Blend modes on the Graphic palette until you can see both images in the overlapping area. Try to line up parts of your images—like an eye, shoulder, hand, etc.—to create a two-images-growing-from-one effect.
Tip: Use the horizontal flip button on the Graphic palette to make your images face different directions. This comes in extra handy if you’re trying to line up parts of your pics.

Top it off with a glorious canvas color (or leave the background white, if you wanna), and your artsy double color exposure image is ready for saving and sharing.
Double color exposure ideas and inspo
Now that you’ve morphed into a colorizing, overlapping photo magician, here are a few more creative takes on the double color exposure trend.
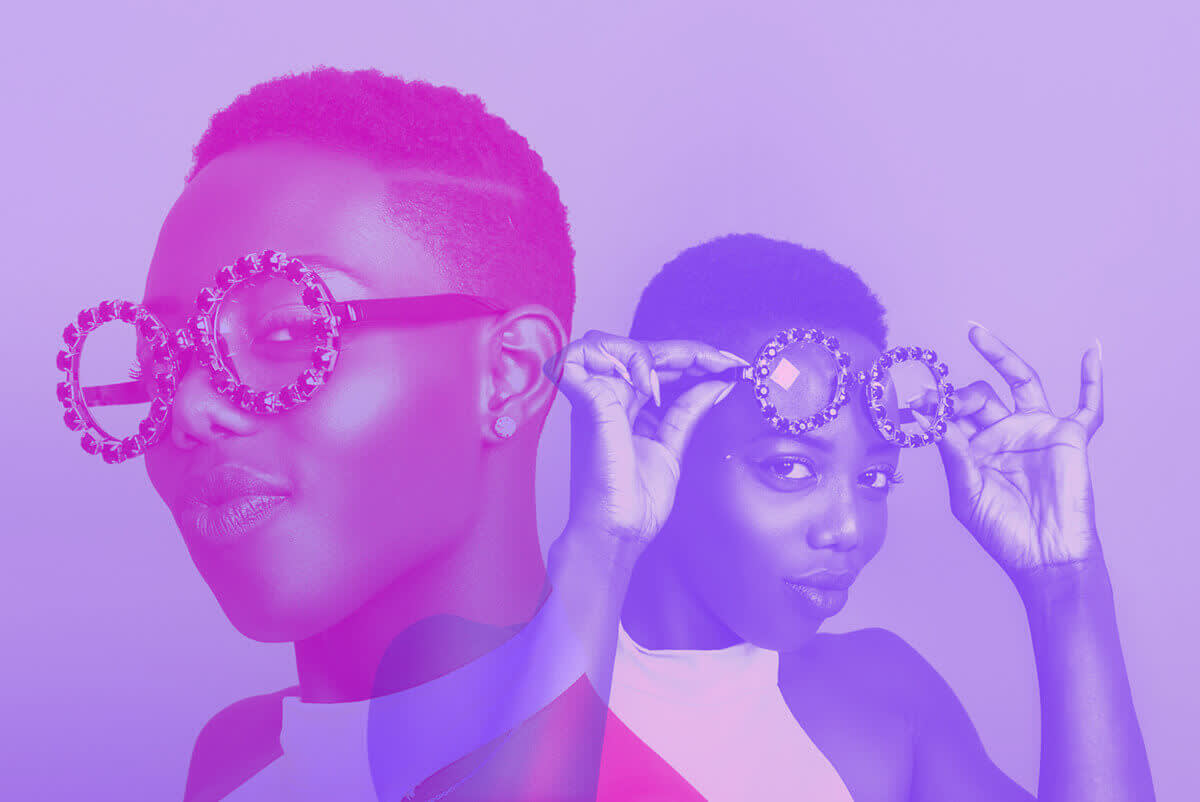
Instead of using one image, try your newfound skills out with two. One popular trend is to use two different images seemingly from the same shoot. Here a little tip that makes a big difference: try to choose images that are cropped similarly. You’ll have a much tougher time overlapping your images in a rad way if you’re working with a headshot and a full body photo, for example.
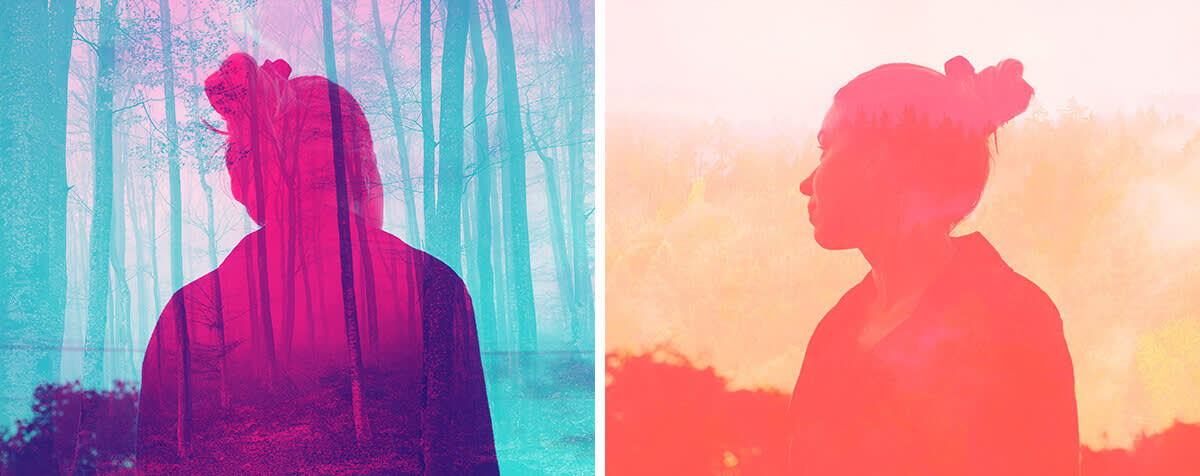
Not into plain backgrounds? Try colorizing a pretty landscape, cityscape, or under-the-sea scene, then put a person picture on top and adjust the Fade slider to let the background shine through.
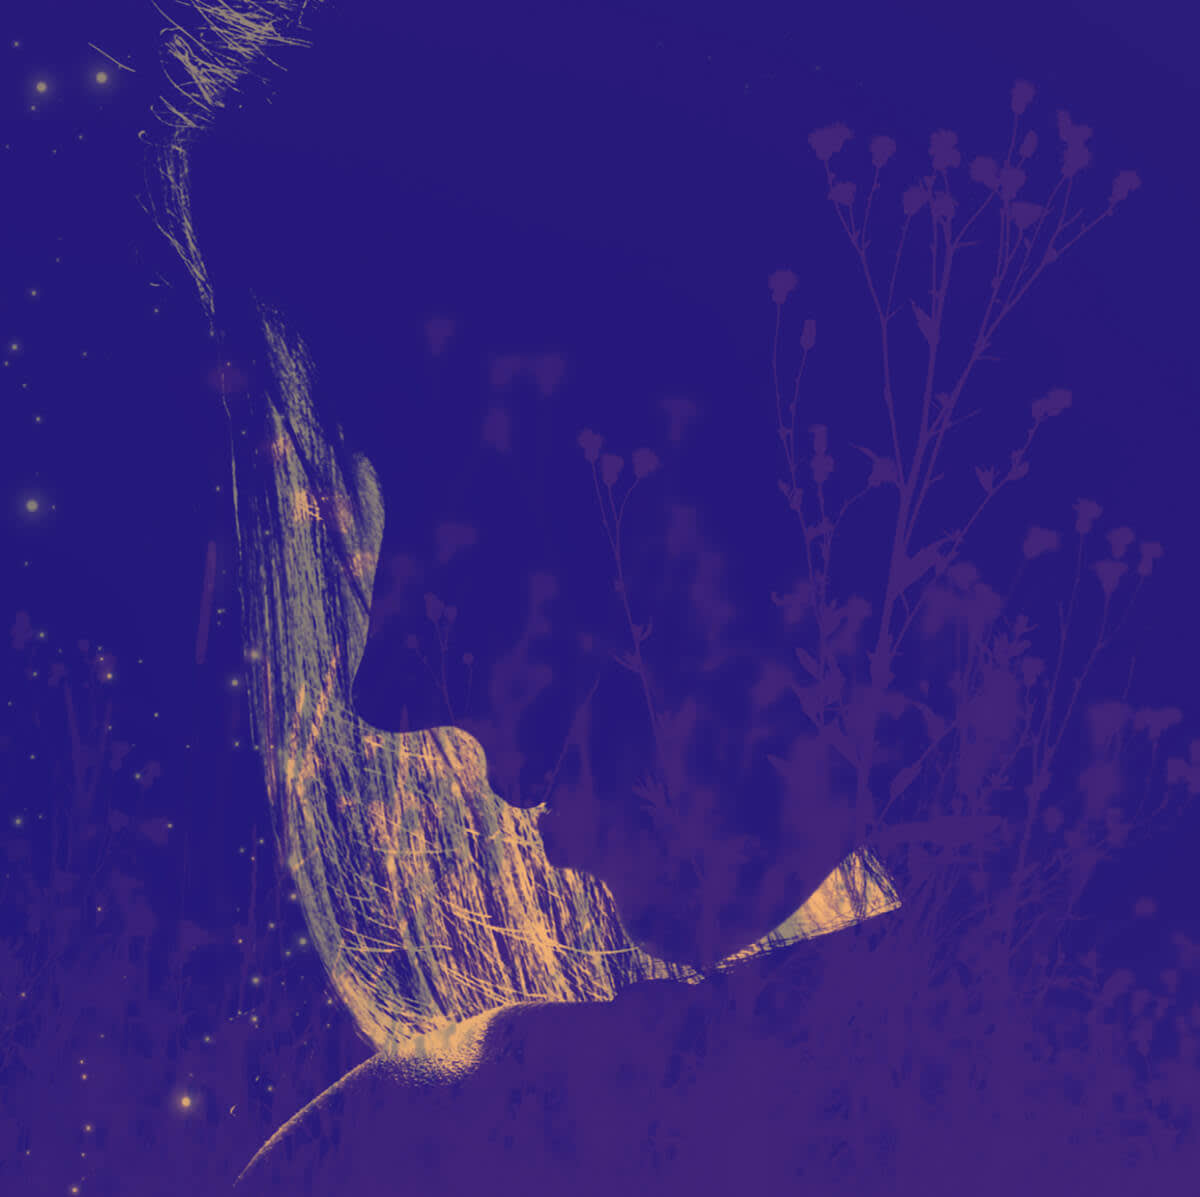
For a slightly different look, spend some extra time experimenting with the blend modes and fade of each image. To get this purpley-with-a-splash-of-gold look, we turned the weeds image blue, set the blend mode to Subtract, and used a 47% fade. Then we added our silhouette, turned it purple, and set the blend mode to Multiply and the fade to zero.
