Quick steps for how to make a double exposure image:
Open a photo in PicMonkey and head to the Textures tab.
Select a texture (or open your own) and adjust the fade, saturation, and blend modes until you like how both images look on your canvas.
To adjust the translucence of your texture, use the Paint palette: set Brush strength to about 50 and erase over the parts of your original image you’d like to come through more clearly.
For a more detailed look at crafting your own double exposure, check out our video. And to learn more about the different kinds of double-exposed images out there (and to get a little inspiration), read on!
Basic double exposures
At its most basic, double exposure is two images layered over each other such that you can see both at the same time. In practice, double exposure spans a breathtaking range of styles and techniques, and while we don’t have time to cover them all, we will show you a few of our favorites.
One easy-peasy-parcheesi way to get a great-looking double exposure is to apply a slightly transparent texture on top of an entire image. (You’ll recognize this technique from the first part of our double exposure video.) Erase the texture from parts of your original image you want to come through clearly, and voila! Artified.
Taking a double-exposed selfie
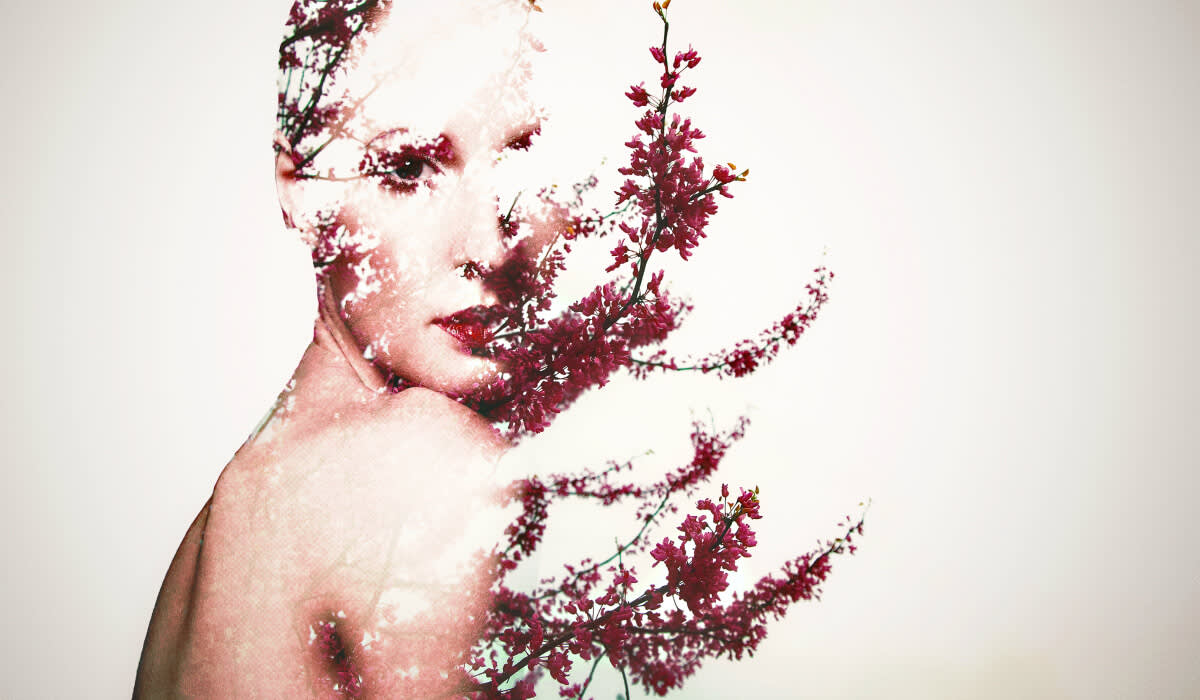
Photo by Berli Mike // CC 2.0
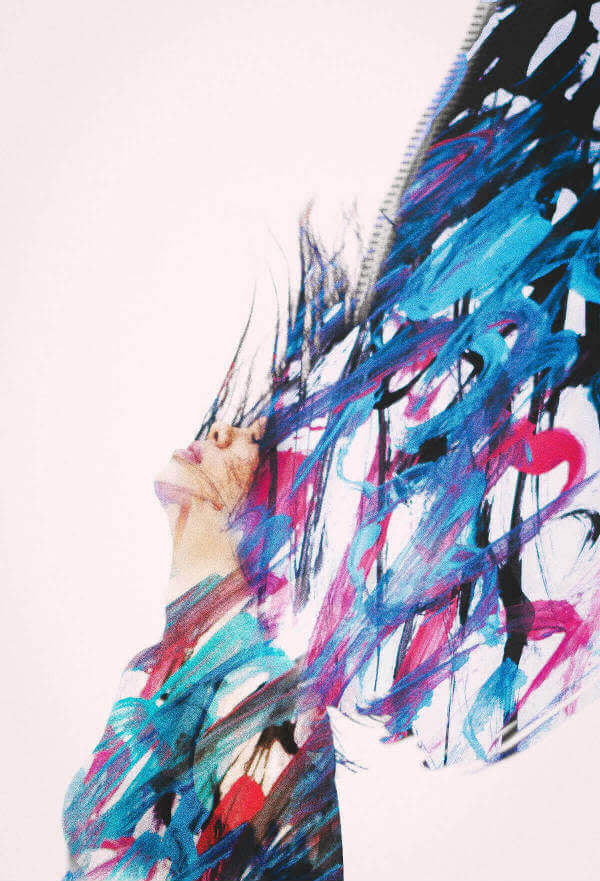
Photo by Marcelo Vieira // CC 2.0

Photo by David Kutschke // CC 2.0
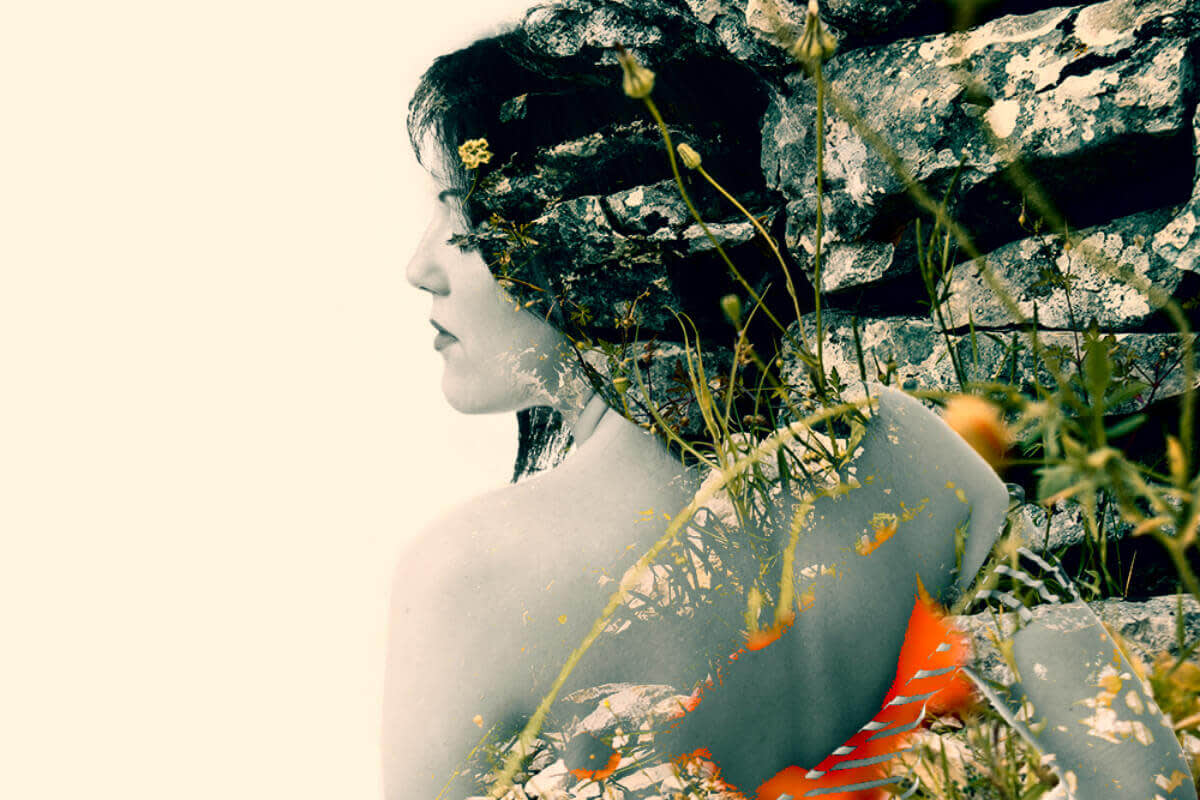
Photo by Ana Jovanovic // CC 2.0
If you’re interested in taking your double exposures to the next level, one of the most popular styles we see around involves using a person as the base image, with a second photo filling up their silhouette. Artistic and beautiful, this is an excellent way to take your selfies from “tasteful” to “taste-maker.”
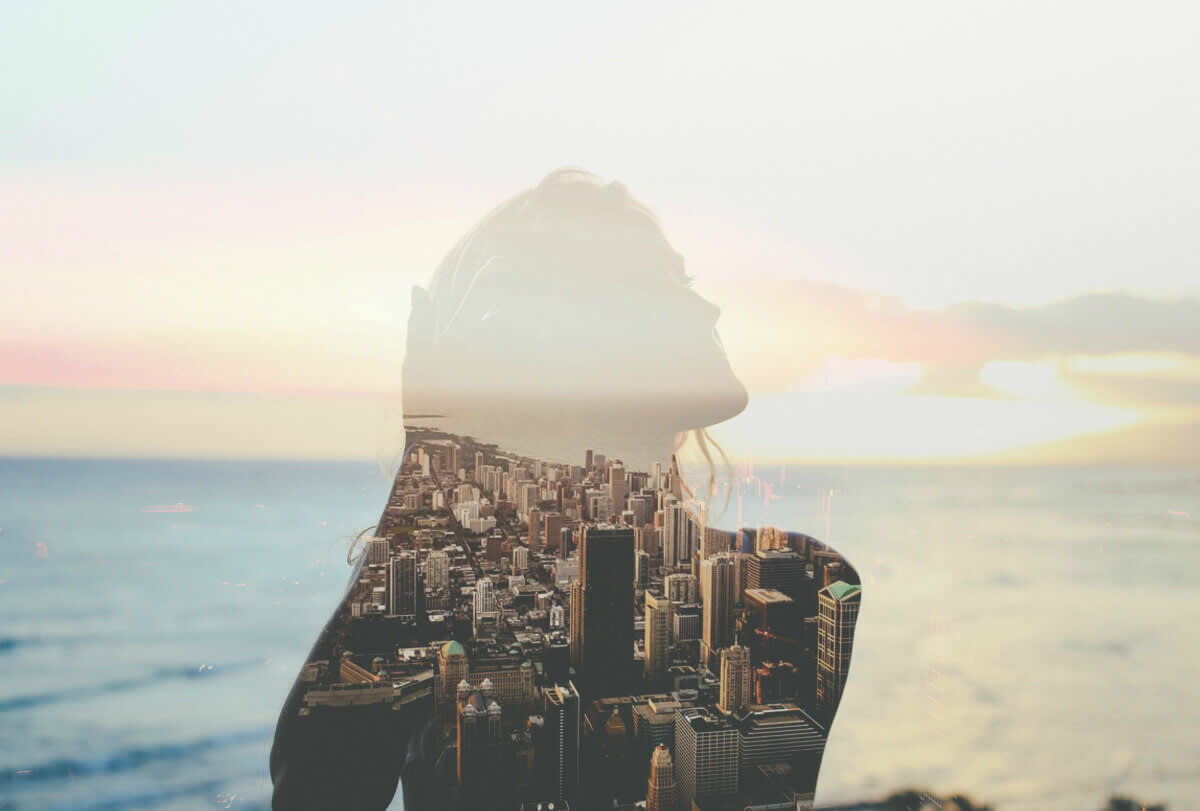
Pro tip: To achieve the beautifully defined look that typifies this kind of double exposure, start with an image that’s as close to a silhouette as you can get it. Then try changing your texture’s blend mode to Lighten or Screen.
Using double exposure to tell a story or set a mood

Photo by Nicolò Bonazzi // CC 2.0
Because double-exposed shots create an instant association between two images, they can be powerful tools for building a story or mood. For example, check out the sense of memory evoked by the above image.

Photo by David Goehring // CC 2.0
Or this photo’s creeptastic weirdo beauty.
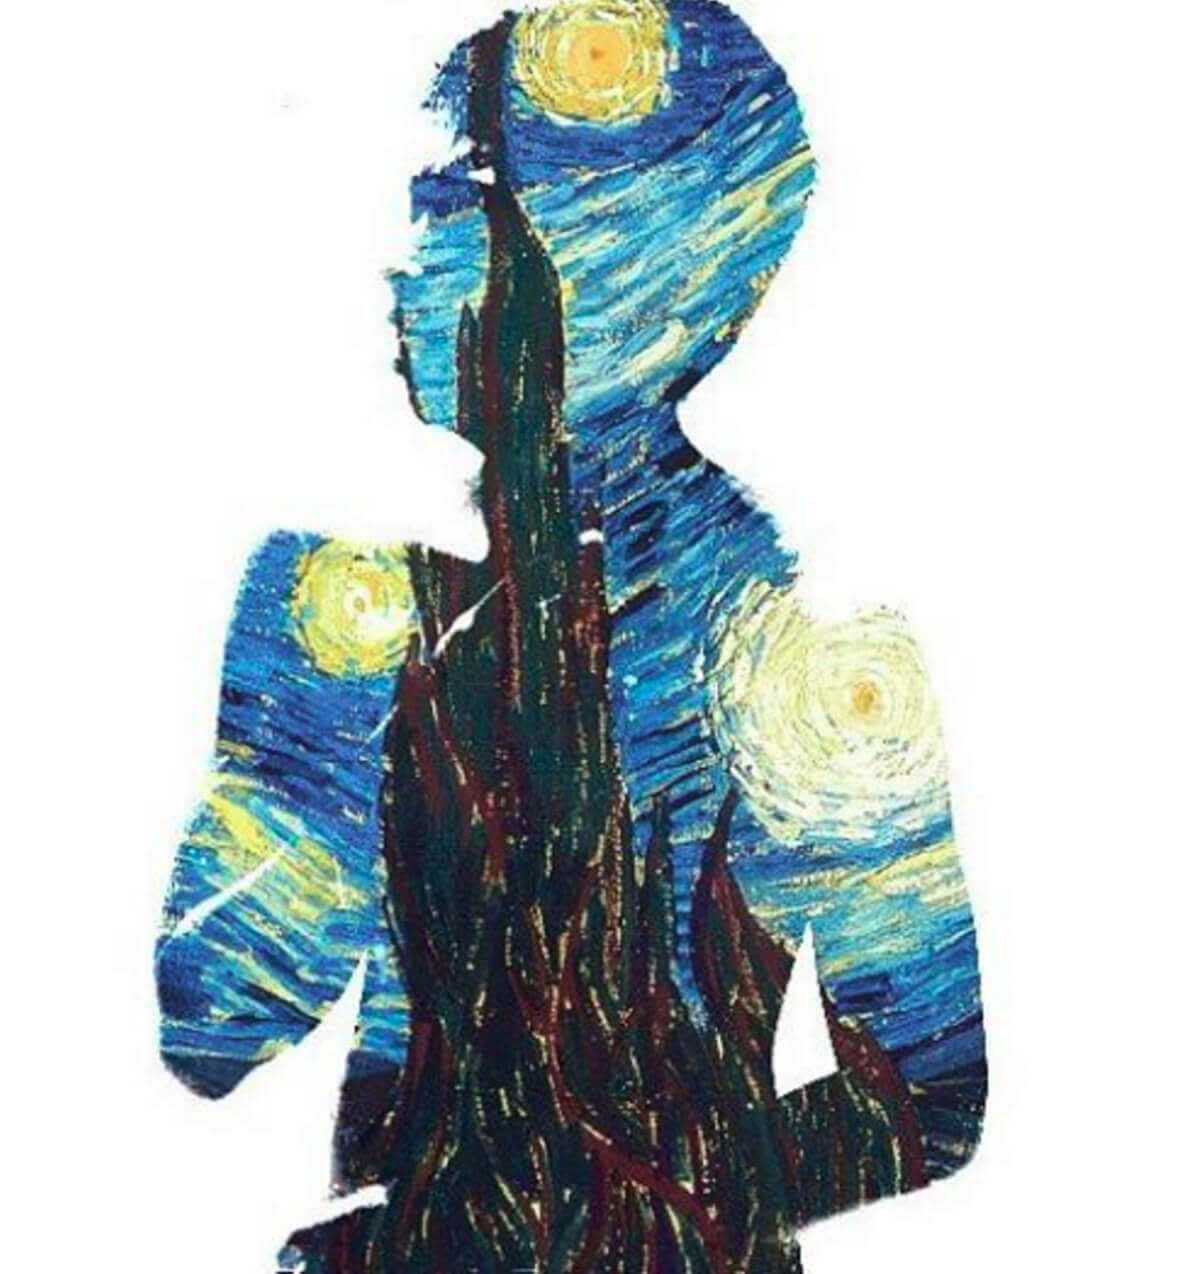
Photo by Czyrone Galang on Instagram.
Double-exposed shots can highlight your love for a particular artist …
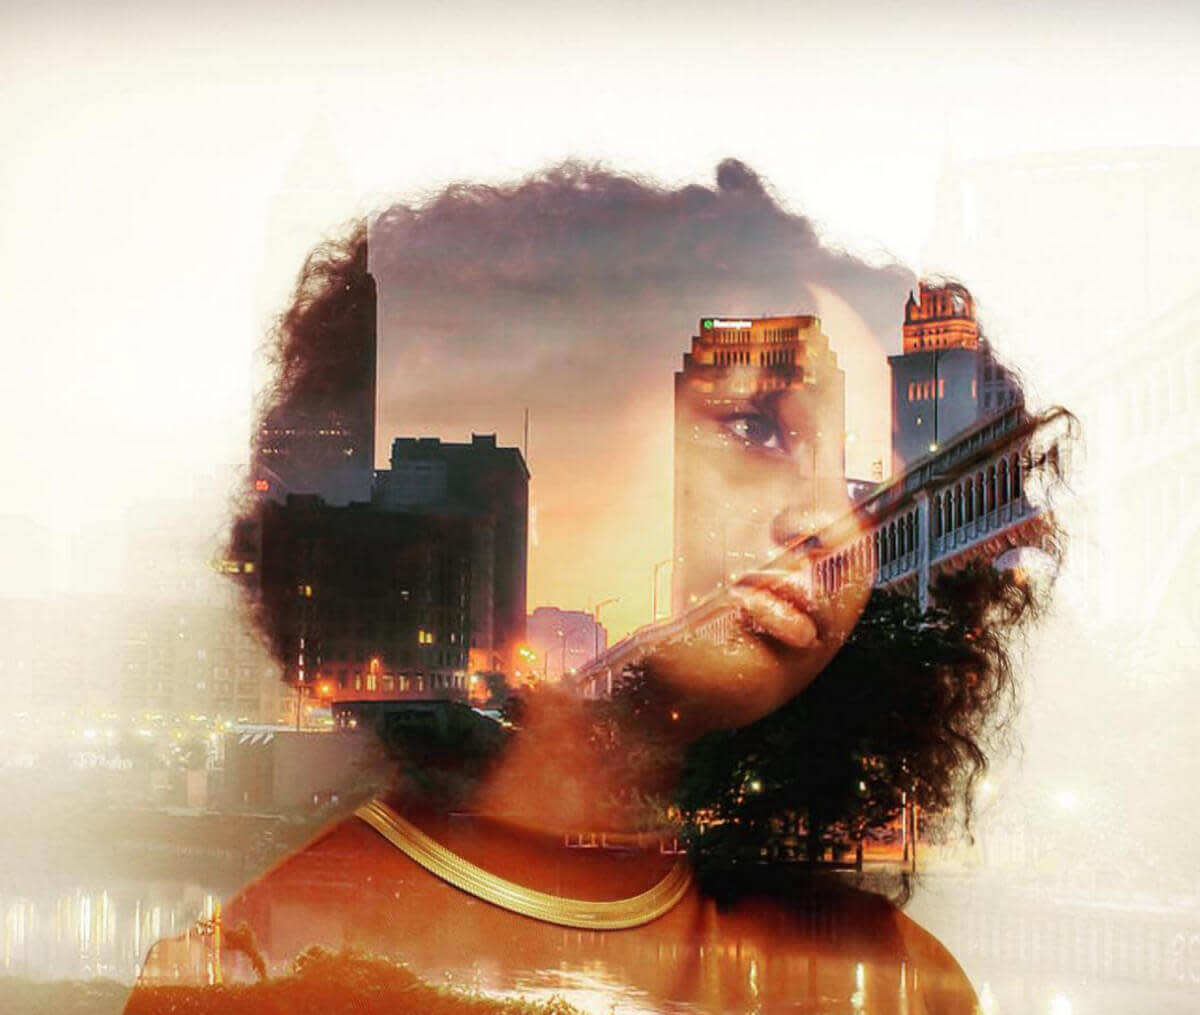
Photo by the Center for Arts-Inspired Learning on Instagram.
… or let the world know you’re crushing it at summer camp!
And the possibilities are truly endless. London-based photographer Chino Otsuka has proved that double exposure photos can travel through time, through a series of childhood photos she recreated as an adult, then combined into a spacetime-defying conversation.
Make fantastical visuals with double exposure
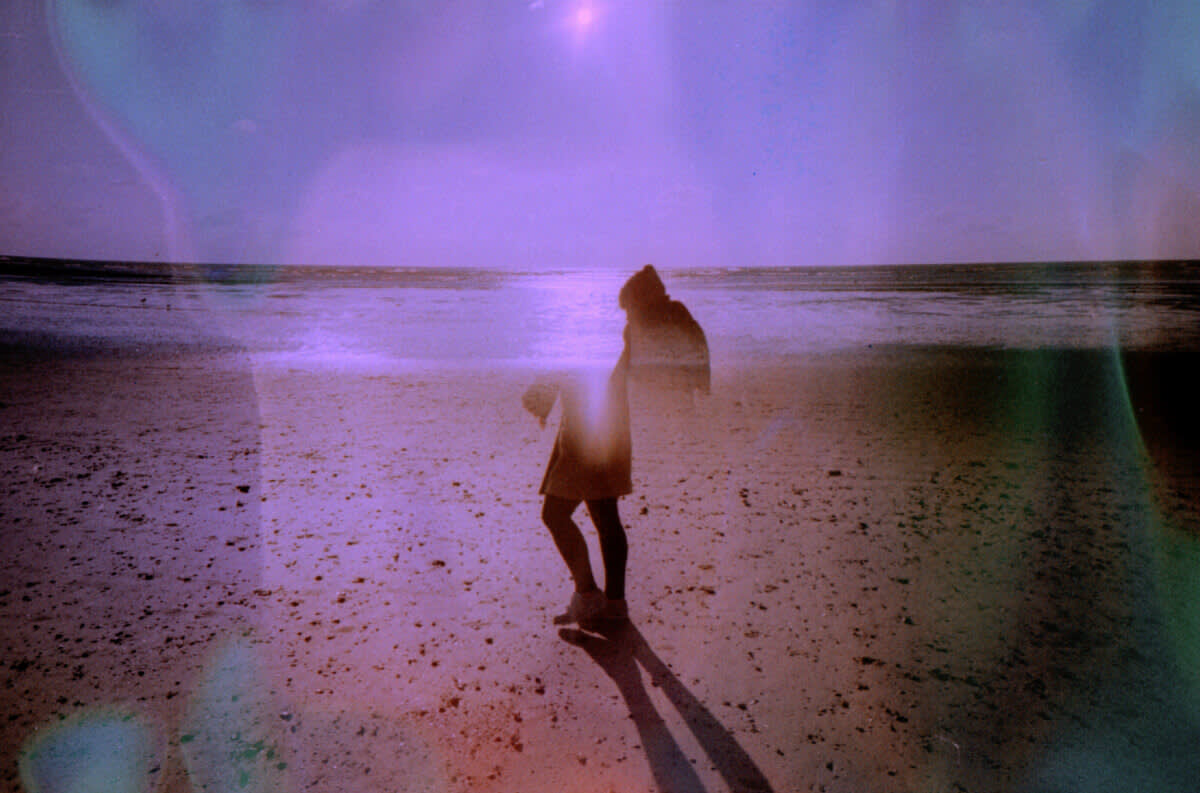
Photo by Richard P J Lambert // CC 2.0
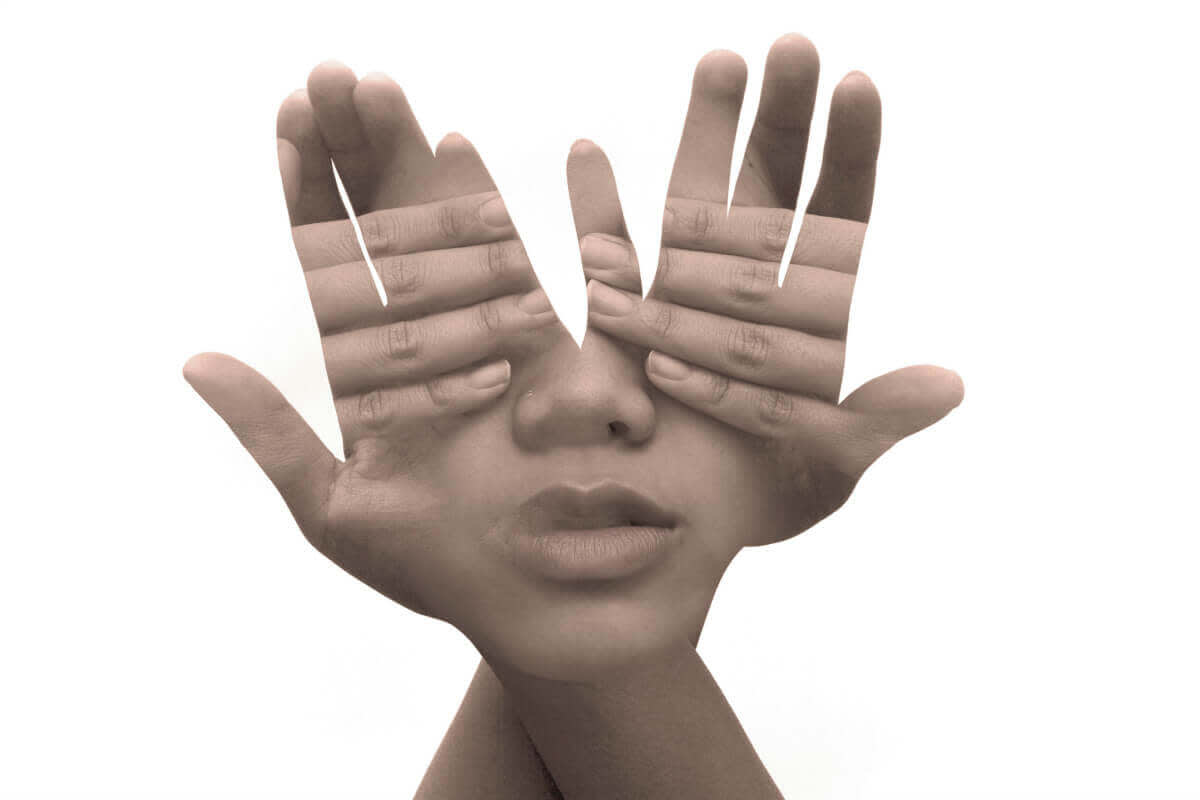
Photo by Pedro Hespanha // CC 2.0
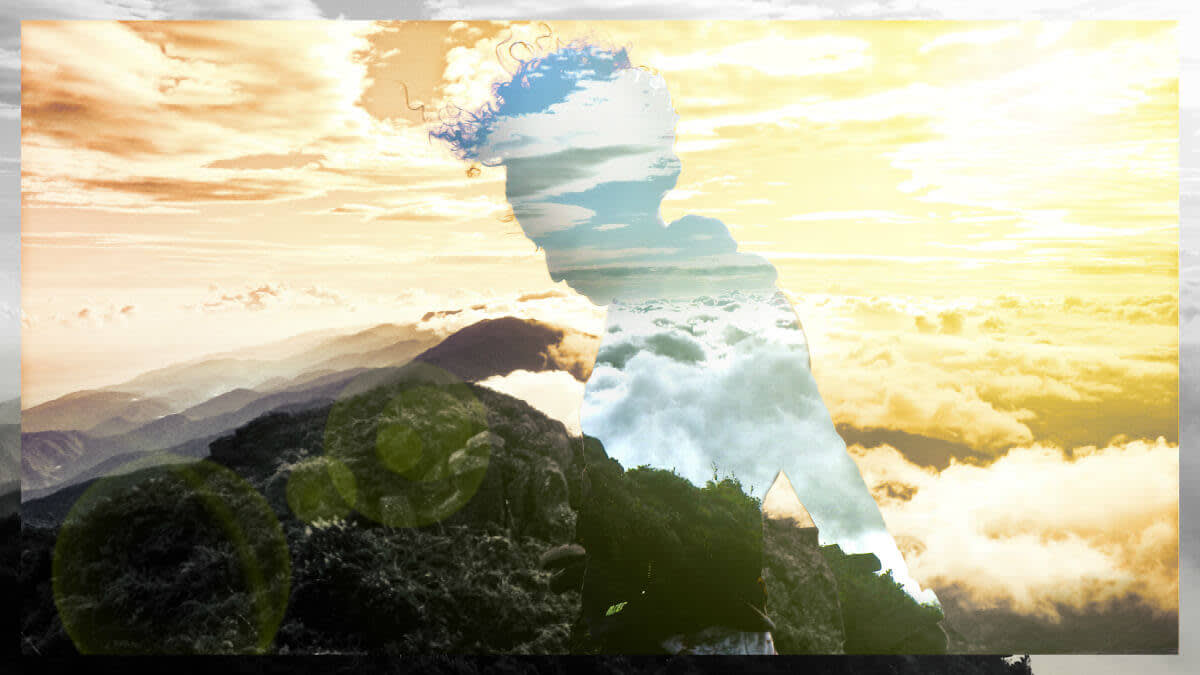
Photo by Alfredo Castilla // CC 2.0
Speaking of endless possibilities, double exposure can also be used to dream impossible things. If you’ve ever wanted to see a city skyline fit inside a teacup, or aquatic creatures swimming through the sky over a mountain range, then double exposure may be the look for you.
Although technically, this one’s a multiple exposure, not just a double:
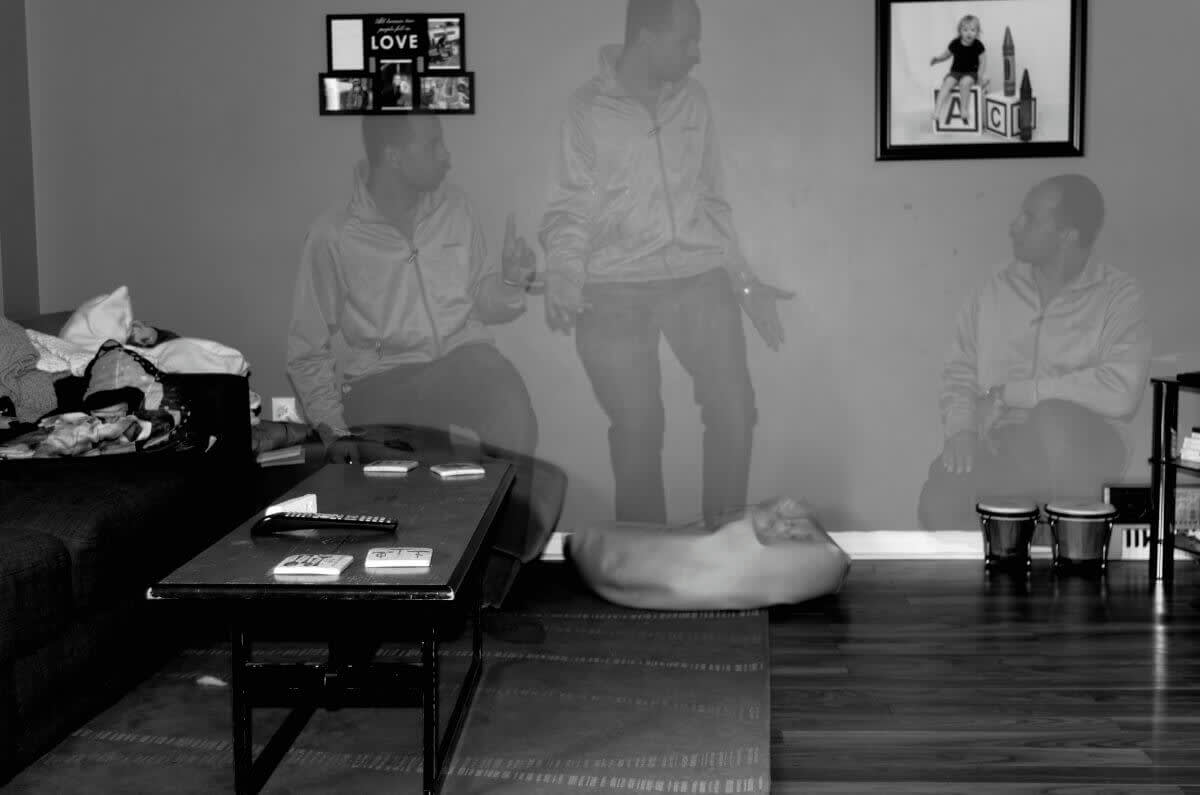
Photo by Kobie Mercury-Clarke // CC 2.0
Tips for making an effective double exposure:
Choose simple images for your first few attempts. A base image with high contrast and few distractions will allow your second image to show through more clearly.
In general, you can choose to have your double exposure show through the light tones in your base image or the dark ones—but not both! Choose wisely.
When taking photos to double-expose later, make sure to shoot your subject against a light background, like a white wall or an overcast sky.
Remember that images you open as textures in PicMonkey can be moved around, rotated, and shrunk or enlarged.
You don’t have to stop at two images. Instead of a double exposure, try a multiple exposure and pile on the imagery!
