You took a good photo, then finished all of your touch ups and editing work. But there’s still one last thing you should do before you call it a day: sharpen.
Sharpening your images makes them look refined and polished. However, it’s important to do it the right way—otherwise, sharpening can transform your image into a chunky, low-resolution digital throwback from 1999. Let’s explore how to bring out the best in your photos with the sharpen feature and unsharp mask in PicMonkey.
Using Sharpen
Sometimes, Sharpen may be all you need to give your image professional polish.
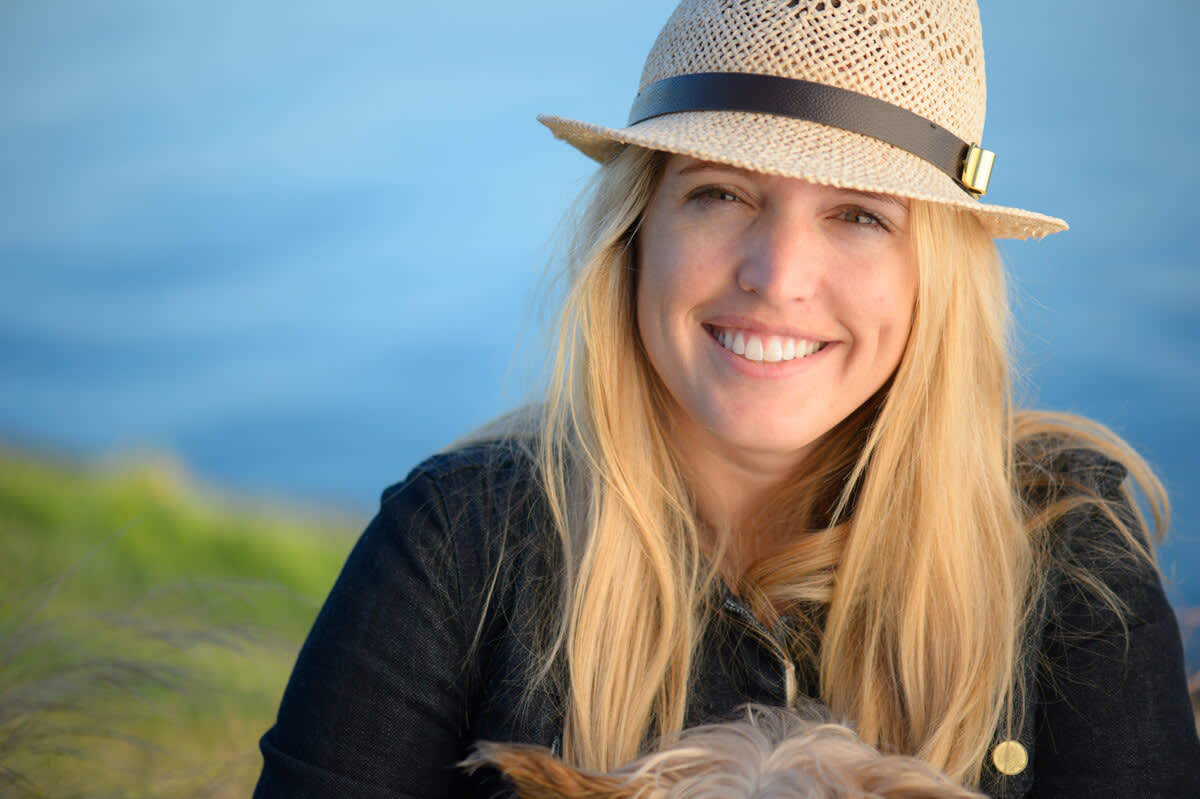
Here’s a picture that’s been touched up, but not sharpened.
To sharpen your image, open it in the Editor. Use the Zoom slider to get up close to your subject, so that you can get a good look at what’s happening as you adjust the sharpness of your image. You can use the view controller (highlighted rectangle) to pan and scroll around your picture.
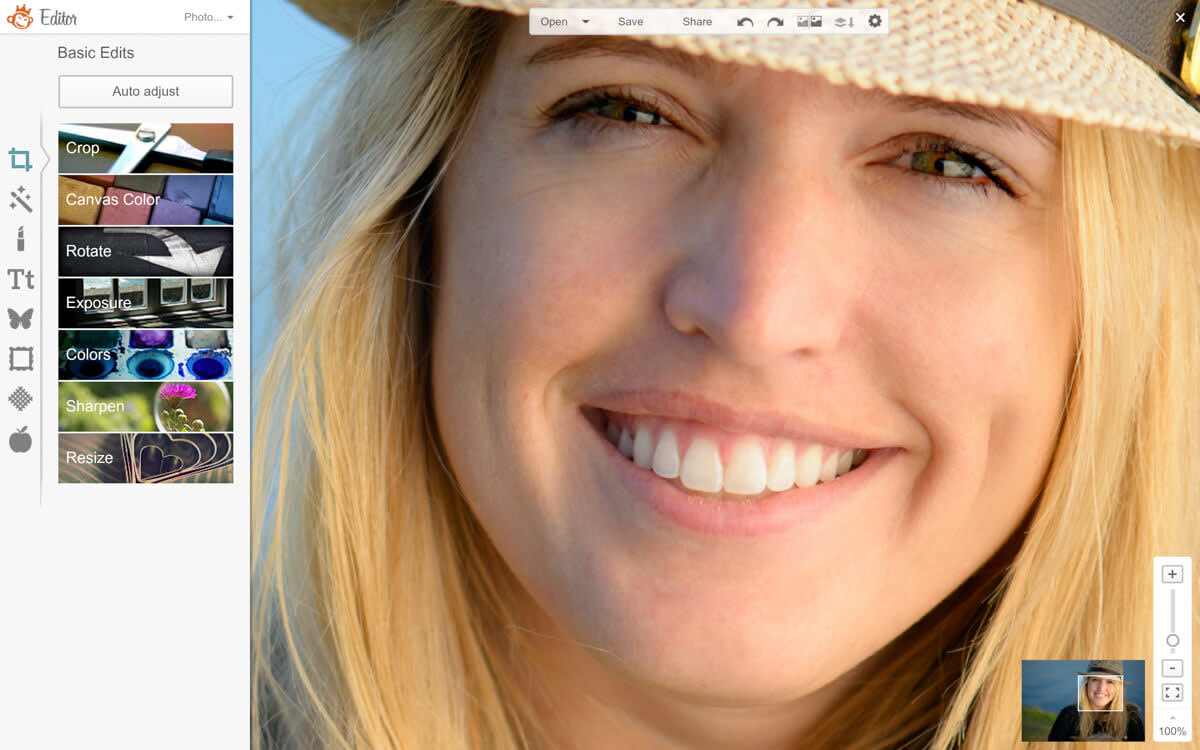
Click Sharpen in the Basic Edits tab. Move the Sharpness slider to the right and keep an eye on your image. The details should start to pop a little more and your image will look, well, sharper. Click Apply once you’ve achieved a look that you like. That’s it! Easy peasy.
Using unsharp mask
If you’re not getting the results you’re after, click the Unsharp mask button underneath the Sharpness and Clarity sliders. You’ll notice that the sliders change, and the Radius slider appears.

You can finesse the sharpening of your image a lot more by using the unsharp mask. Why is it called unsharp mask if it makes images sharper? The name refers to a darkroom technique in which a blurred or “unsharp” negative is used to mask the original, or positive. When the two are combined, the resulting image appears less blurry than the original.
Sharpening works by recognizing tiny contrasts all over the picture and increasing them. It lightens the light tones and darkens the dark tones a bit. Every tiny change in tone and color, like a pore in skin, is an edge with a light side and dark side. The Radius slider controls how many pixels away from each edge sharpening can happen. Keeping the Radius slider at one for portraits helps ensure that the skin texture won’t be enhanced too much.
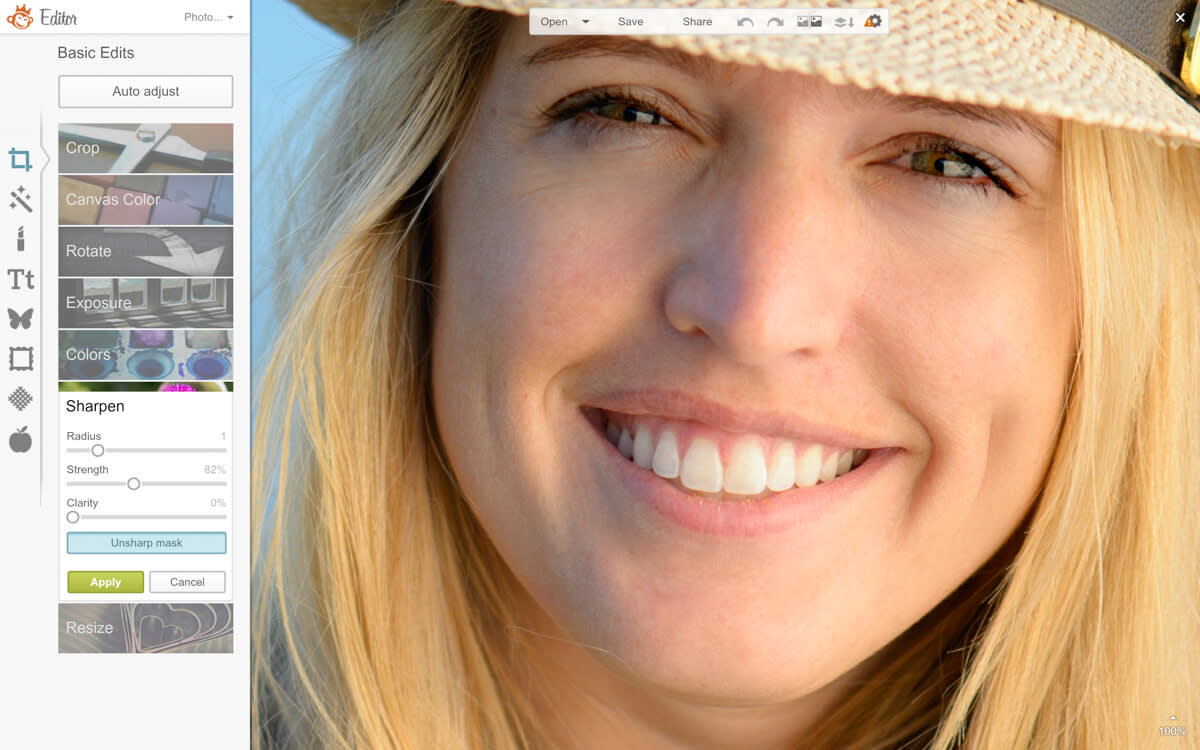
Move the Strength slider to the right until it looks bad, then swing back left. This helps you better understand how the slider alters your image, so that you’ll have an easier time using it to create the look you want.

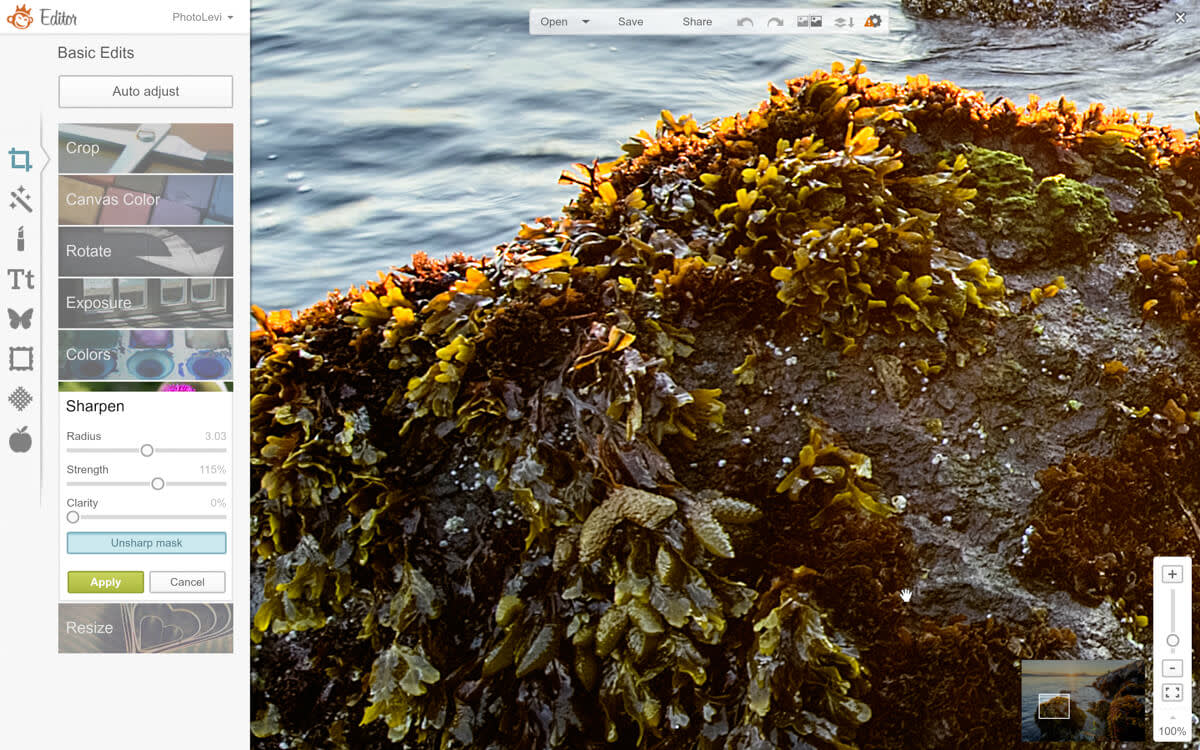
When dealing with landscapes or other non-human subjects, increasing the radius can reveal more detail. Look at the difference upping the radius makes in the seaweed on this rock. With non-portrait pictures, you can also play with the Strength slider without it having a negative impact on your image.
