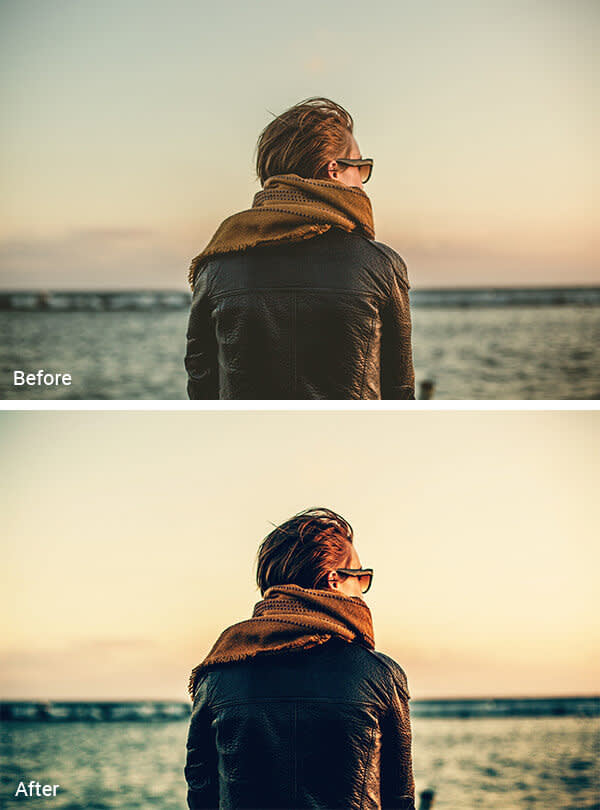
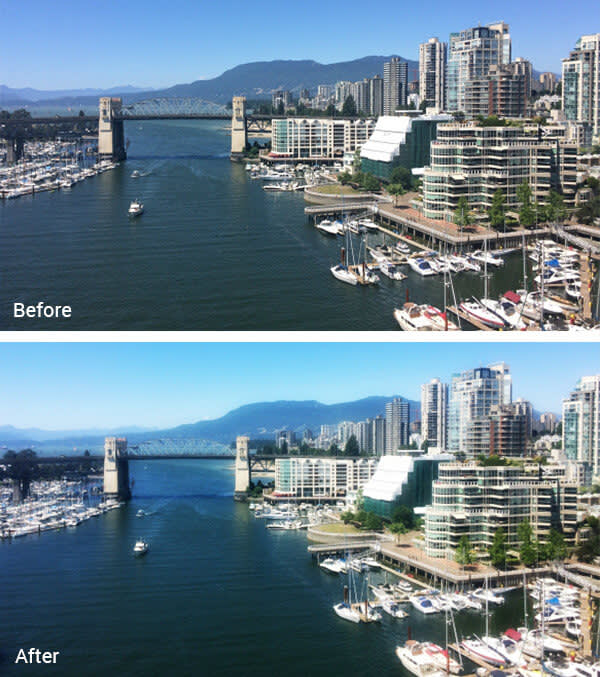
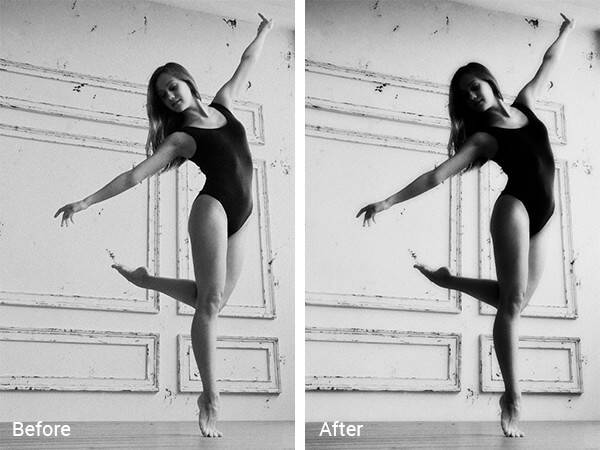
With just one click, the Orton effect turns ordinary photos into artistic dreamscapes. And there’s a good reason for that: this PicMonkey staple mimics a photography technique that was inspired by artists’ paintings of nature.
Michael Orton, the creator of this technique, drew inspiration from a technique favored by artists he knew, in which pen and ink sketches on white paper were painted over with watercolor. As he explains on his website: “This technique originated years ago with my efforts to imitate watercolor paintings by simply placing the images out of focus and if you have seen pen and ink and watercolor combinations, you will understand where the inspiration to add detail comes from.”

So how does PicMonkey create the same look?
Well, PicMonkey’s version of the Orton effect works a lot like the original process. First, it duplicates your photo and layers a blurry copy over the original. From there you can adjust the brightness of the blurred copy, the amount of blur (or ‘bloom,’ as it’s called at PicMonkey), and the amount of fade (how prominent the original image is compared to the blurred copy).

Tip: Don’t forget to use the Fade slider to adjust the strength of the effect.
Once upon a time, when this technique was first invented, at least two identical images were required to create the look: one blurry, one sharp. Additionally, the overexposure that creates the effect takes a few minutes to achieve—too long to expect the average toddler or puppy to stay in one place. PicMonkey’s effect removes that hurdle by giving you the Orton look in a single click.
The Orton technique has been a longtime staple of nature photographers—perhaps because landscapes tend not to move around so much—but it looks fantastic on all sorts of images. It’s no wonder that Orton is PicMonkey’s #1 effect, used on 2.3 million photos in the last month.

Tip: you can apply the Orton effect onto specific parts of an image using the paintbrush. Toggle between Effect and Original, in the Paint palette, and see what makes your picture pop.
Here’s a surefire recipe for using Orton to turn any photo into an ethereal wonderland:
Click Orton in the Effects tab.
In the Paint palette, click Reverse effect and start painting over the foreground of your image—whether it’s a person’s face, an object, or a pet.
Click Reverse effect again. Now you should have a sharp, no-nonsense subject set against an enchanting backdrop.
Click Apply in the menu to finish applying the effect.
Got any tips, tricks, or favorite techniques for using Orton? Don’t hold out—share in the comments.
