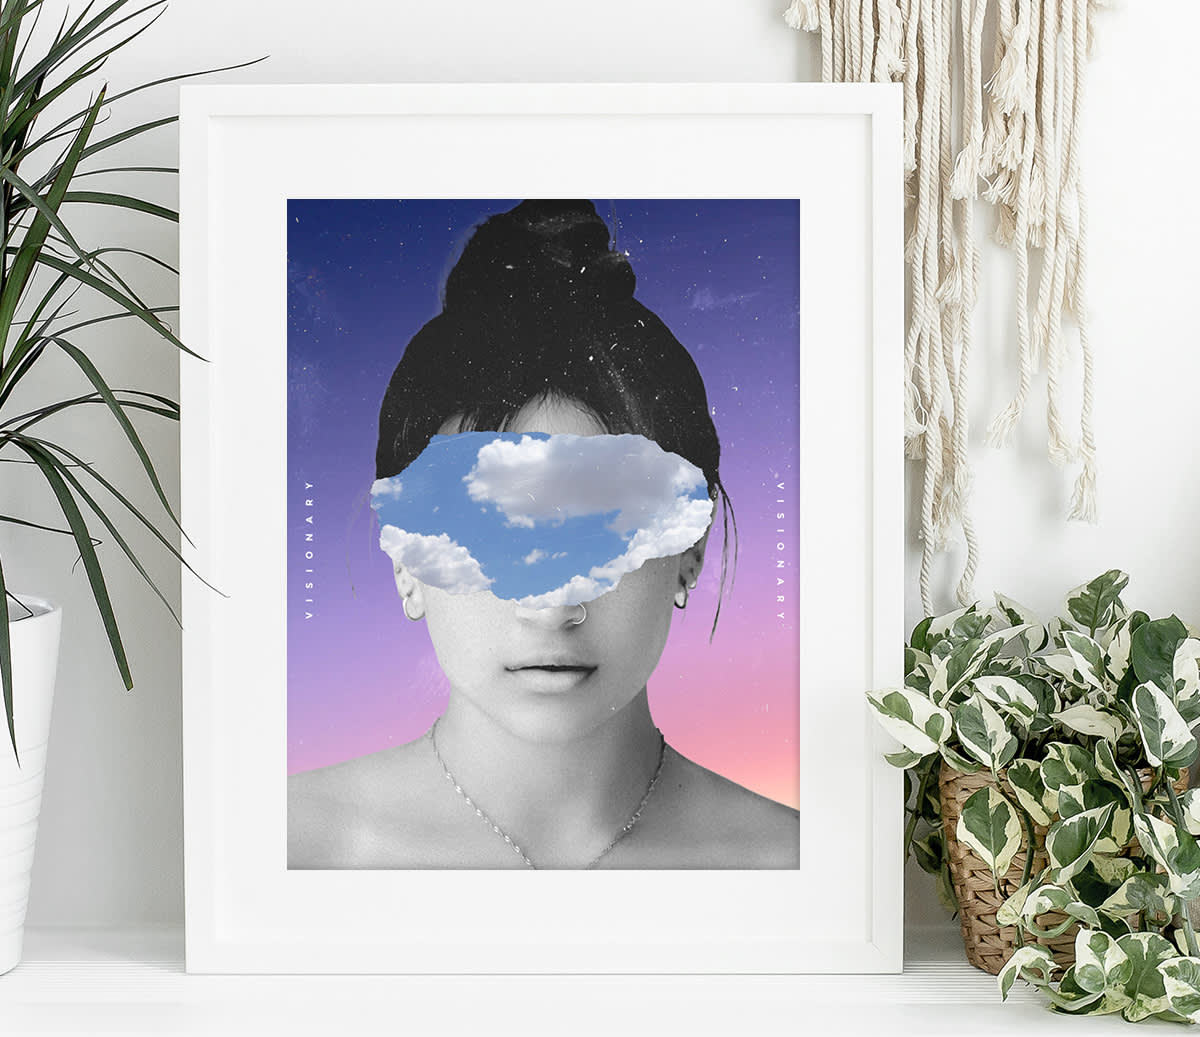
The layered, ripped paper design technique makes for a surrealist, eye-catching social media post. To reproduce this unique way to create double-exposures, color palettes, and more, watch the video tutorial and follow our step-by-step instructions. Be sure to use #picmonkey when you share your finished product!
The designs from the video all use our Ripped Paper vector graphics as a design element. You will find these graphics in the PicMonkey editor in Graphics > Design > Ripped Paper.
Steps for making ripped paper designs in PicMonkey
1. Ripped paper double exposure
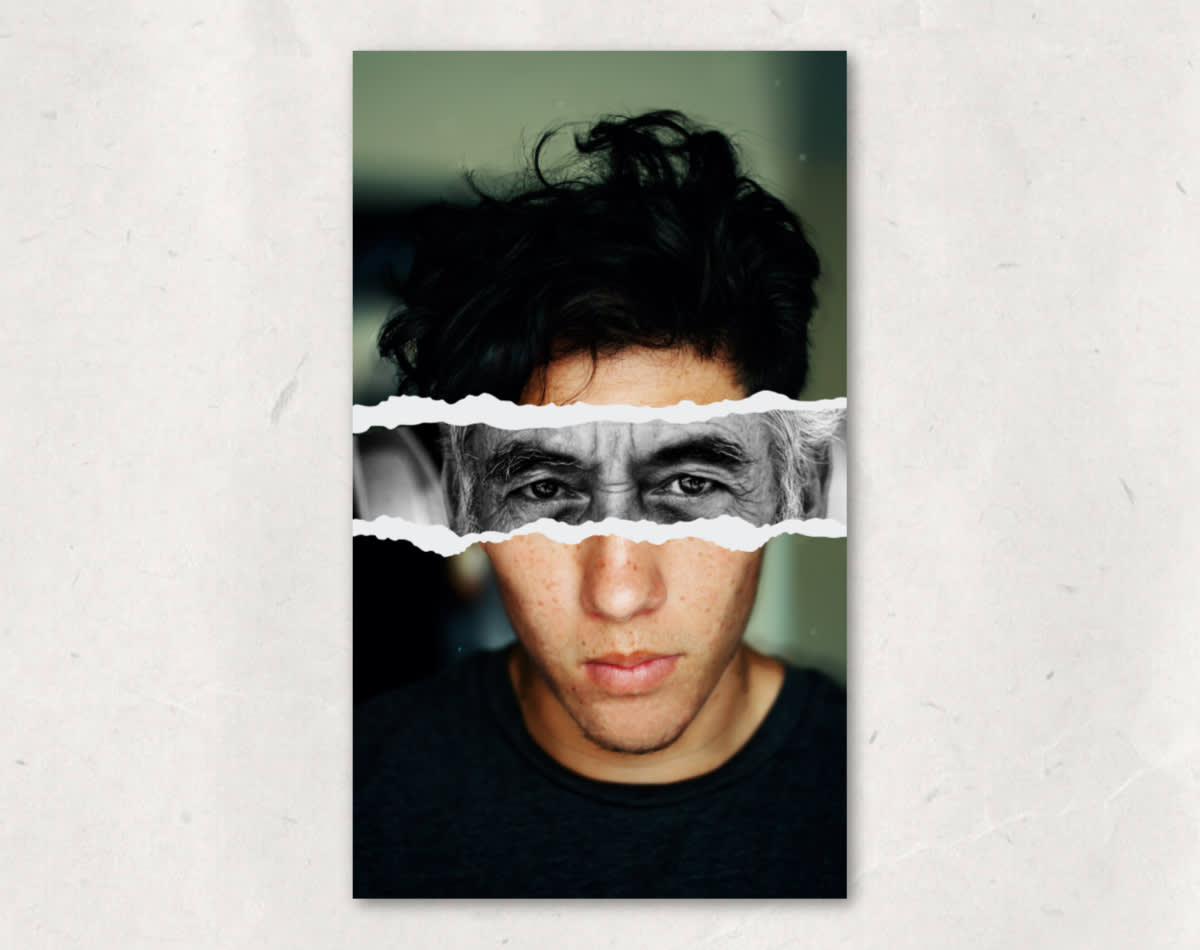
Open a photo in the PicMonkey editor.
Apply a Ripped Paper graphic of your choice atop the image.
Keeping the graphic selected, go to “Add an image” to pick the second photo that appears on the ripped paper.
Choose your photo.
Crop and adjust the photo from the Graphics palette.
2. Make a color palette with ripped paper
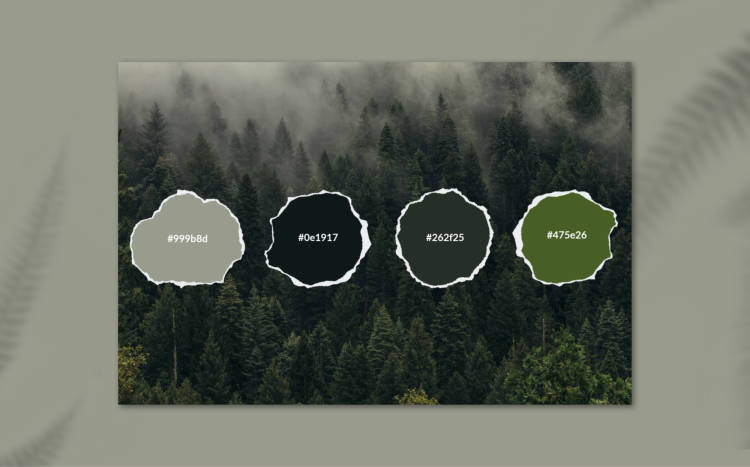
Open the photo you want to pull your palette colors from.
Apply Ripped Paper graphics of your choice atop the image.
With a graphic selected, from the Graphics palette, use the eyedropper tool to change the inner color.
Note that the six-digit hex code of your color displays. Copy it. Add it to your palette by going to the Text tab and adding a text box. Paste the hex code into the text box and adjust.
Repeat steps 3 and 4 for as many colors as you want to include in your palette.
3. Make an abstract pattern with ripped paper graphics
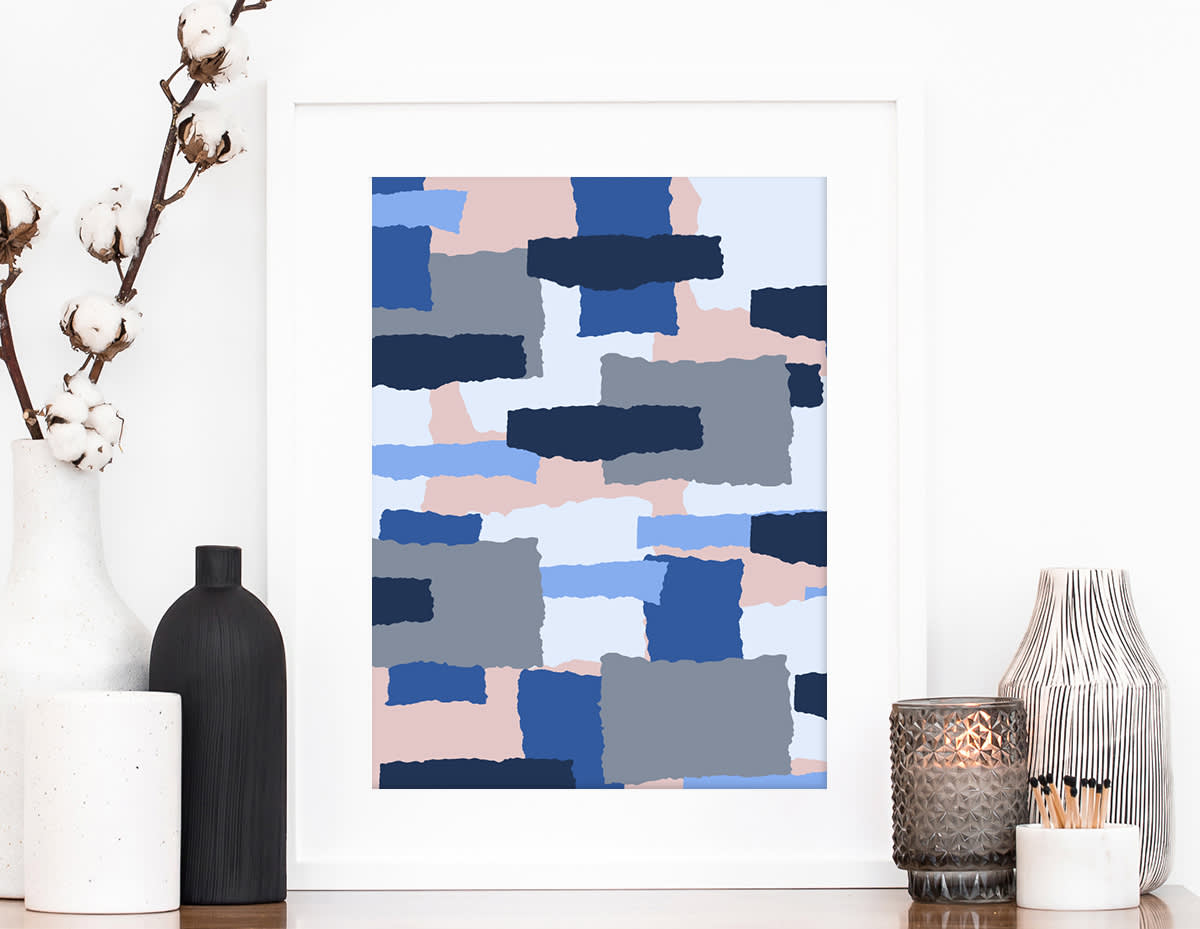
Open a Blank Canvas in PicMonkey.
Apply Ripped Paper graphics to the canvas. Don’t be afraid to layer!
Adjust the color and size from the Graphics palette.
Choose a background color to complete your design.
4. Make a ripped paper quote post
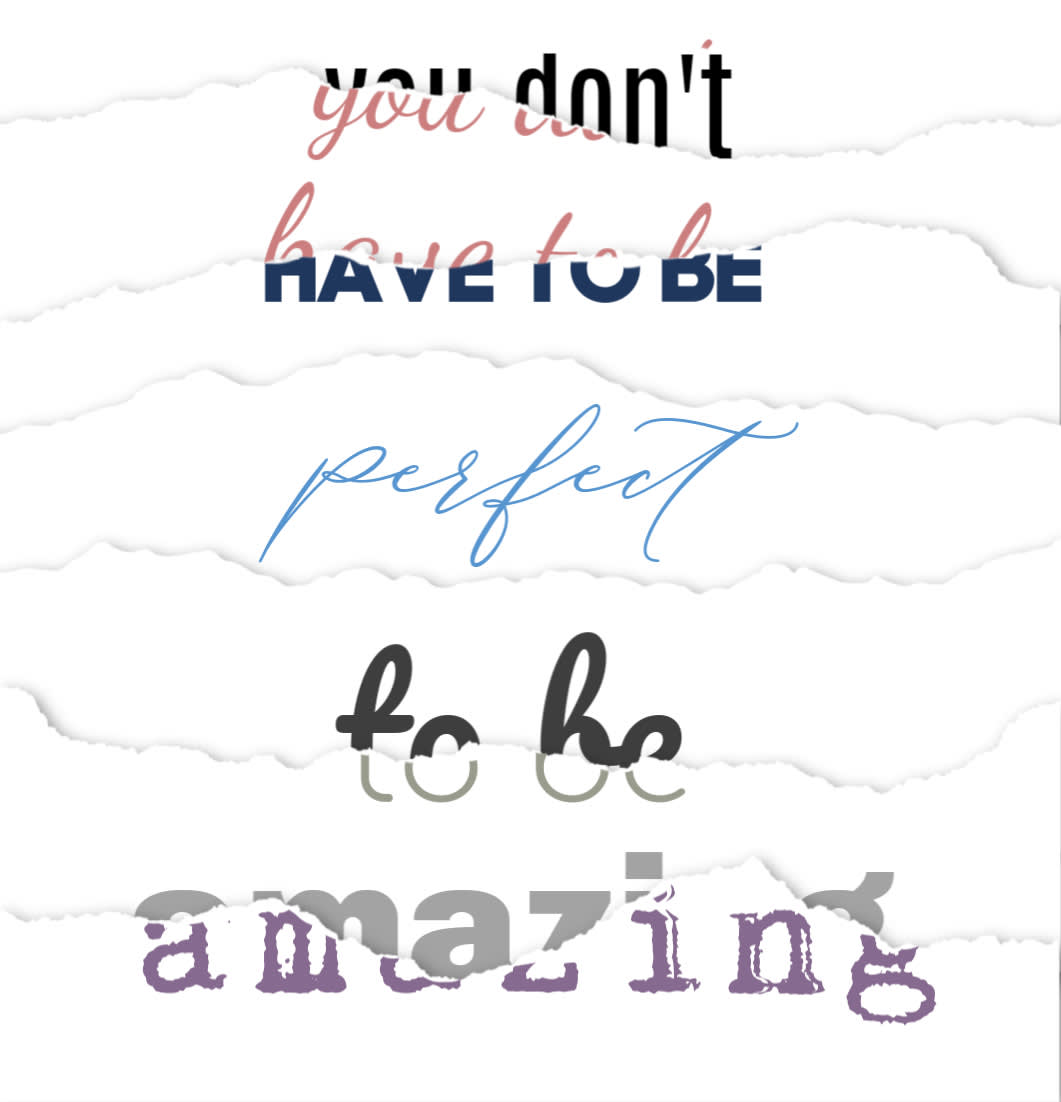
Open a Blank Canvas in PicMonkey.
Layer Ripped Paper graphics spanning the canvas.
Change each graphic layer to white, and add a drop shadow effect.
Add text to the design.
(Optional) Move each line of text partially behind a paper layer.
Add a second layer of text in a different font on top of the ripped paper. Erase the overlap.
Repeat steps 4-6 for each ripped paper layer.
5. Create a landscape or horizon with ripped paper

Open a Blank Canvas in PicMonkey.
Layer Ripped Paper graphics and basic shape graphics to span the canvas.
Add stock photos or or textures from the left tabs to enhance your design.
Add a layer of text.
