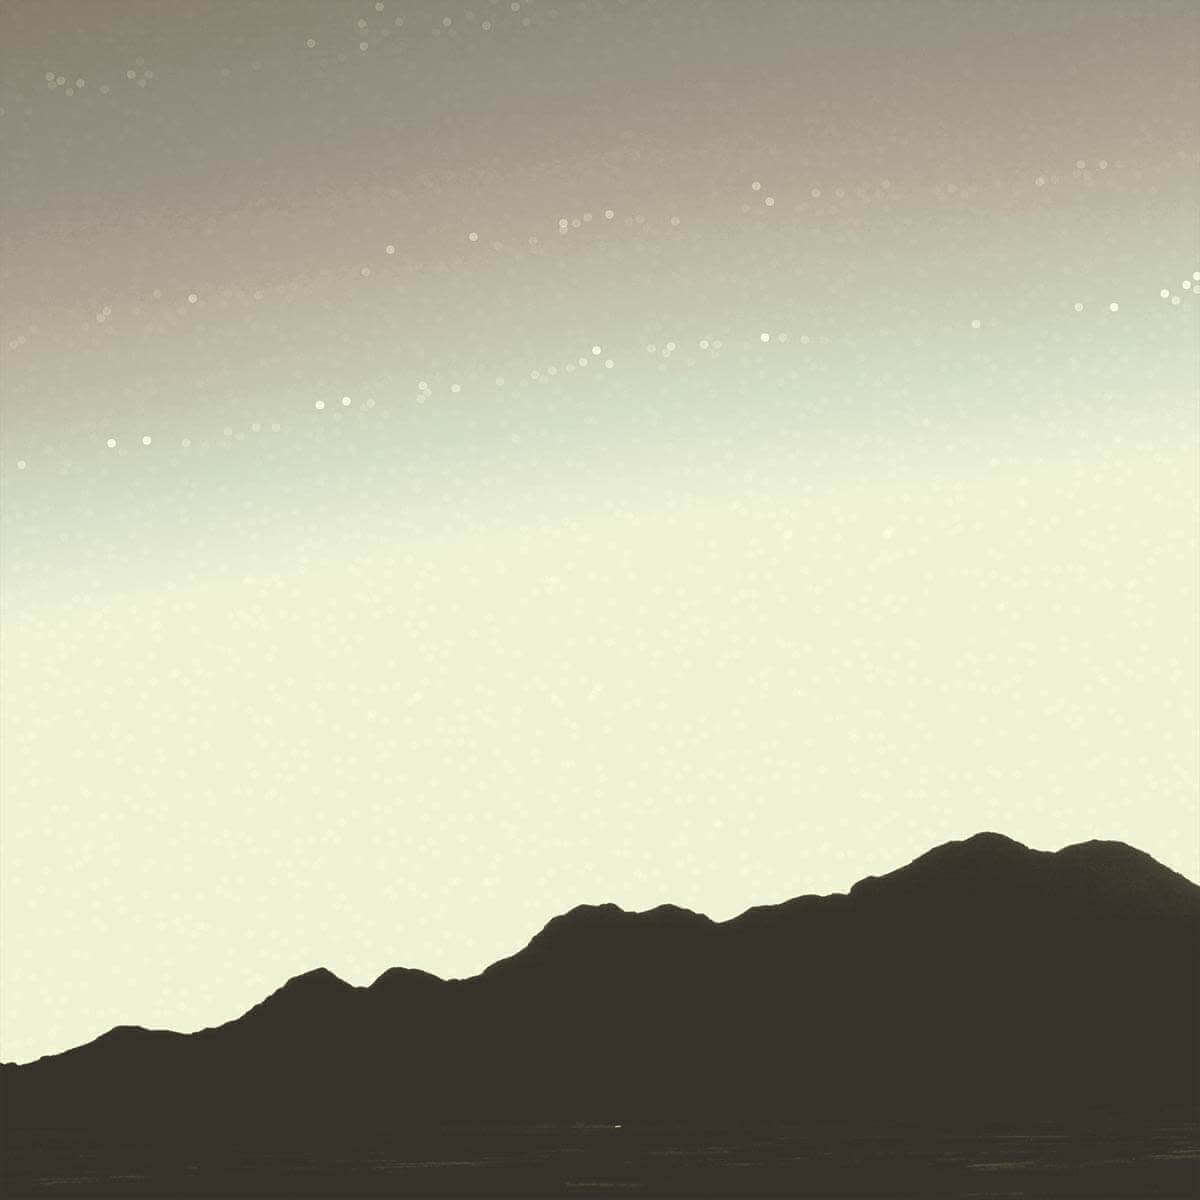
Do you know how many unique black and white effects we have here in PicMonkey? Eight! Do you know how many ways eight distinct black and white filters can be combined, into a saved custom effect perhaps? The internet told us it’s over 40,000, and we didn’t fact-check that because when has the internet ever been wrong?!
The point is, there’s a million ways (give or take 960,000) to combine our black and white photo effects, and today, we’re respectfully submitting our very faves for your consideration. And save-ification. And customization.
Movie Screen

Burst, Silverscreen, Dark Edges.
We all know everything’s more elegant in black and white, so we’re starting you off with a photo effect combo based on the ever-classy Silverscreen.
True to its name, Silverscreen lends a Hollywood glow to any image. We favor it for pics of people, because why let all that flaw-eliding star power go to waste? However, as you can see, Silverscreen goes great with everything. Our recipe adds Burst for a nip of sharp saturation, then finishes with a Dark Edges vignette to up your portraiture game.
Here’s how to make this recipe:
Burst. Start with Burst, at about 55% vibrance.
Silverscreen. Silverscreen it up! We dropped the Intensity slider from 100% to just 75%.
Dark Edges. Finish with Dark Edges, fade set to 30%.
Livin’ la Vida Landscape

HDR, Black & White, Super B&W.
We approach landscape photography the opposite way we approach relationships: maximum drama. The focus of this recipe is on filters that heighten contrast and sharpness, so you end up with images full of crystalline, mountain-air clarity.
HDR. The secret here is to set the radius waaaaaaay way down low, much lower than you think. We like to keep it between 1 and 2, and used 1 for this recipe. Set intensity at 200% and fade at 15%, and you’re ready to roll.
Black and White. The classic! You’ll notice that this effect has its own color picker, which allows you to mimic the effects of different-colored camera filters. Drag your cursor into the lower-right corner pocket to select a red filter, which amplifies contrast.
Super B&W. The monochromatic hero that gets it done. However, Super B&W can be super intense (truth in advertising), so at this point in the recipe, we dampen Brightness to -50, narrow Contrast to -35, and up Fade to 35%.
Daydream Believer

Warhol, Time Machine, Bokeh Shapes.
What makes this black and white custom effect recipe stand out from all others is that technically, none of the effects in it is a black and white effect.
Whaaaaat?!
We know! It’s like the vegan chocolate cake of the black-and-white world! But in this case, the secret ingredient isn’t wishful thinking, it’s Warhol.
Warhol. Set your two colors to black and white, and blammo! You have used Warhol as a black and white filter. Fade Brightness to -35 and crank Contrast to 30.
Time Machine. Select Flo, fade to 30%, and consider this step nailed.
Bokeh Shapes. Oh, bokeh. Teach us your magical ways. If you don’t like bokeh, let us ask you this: when did all your dreams die? We’re gonna top off this recipe with a dash of bokeh circles, sized to 20.
Pro tip: Try using bokeh on images with swathes of light tones, like skies. Light hues make bokeh really pop!
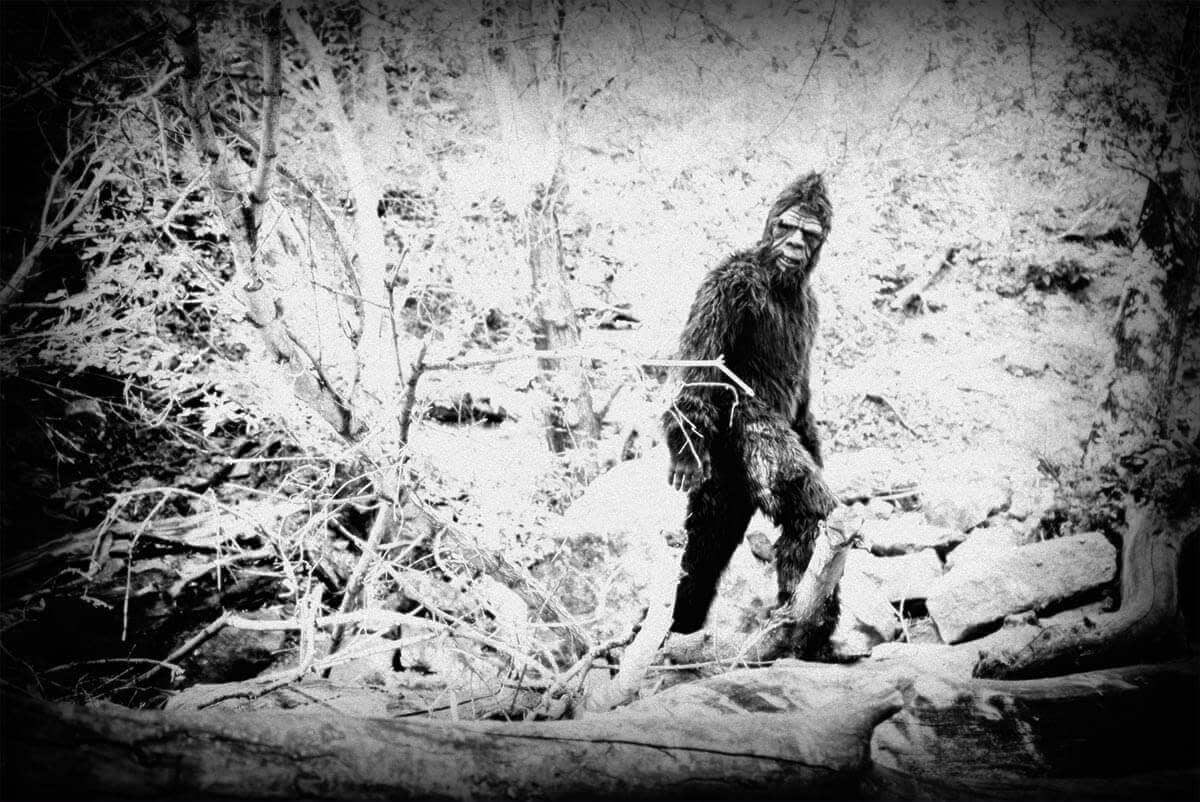
Spotting Bigfoot

Holga, Infrared. Apply twice.
Grainy and secretive, this photo filter combo is perfect for spies, monster sightings, and moody urban scenes:
Holga. We want this saved custom effect to be almost silly in its grittiness, so we’re gonna set the Grain slider ridiculously high: all the way to 90%. Check that blur is 0% and fade is 25%.
Infrared. Just Infrared.
For-your-eyes-only top-secret bonus step. Once you’ve saved your custom effect, apply it to a chosen image twice.
Ultimate conspiracy theory: achieved.
Black Coffee

Dusk, Tri-X, Daguerreotype. Apply twice.
If you dig our landscape custom effect from earlier, but find yourself craving something that’s less about crisp contrast and more about preserving those dense, chewy midtones, we’ve got the look for you.
Dusk. Dim the lights, as it were, with the moody contemplation of Dusk. Fade to 50% and apply.
Tri-X. Go for the 400 option, which has less by way of big contrast than 1600.
Daguerreotype. We just want a butterfly kiss of Daguerreotype to finish us off. (You know, the one you do with your eyelashes?) So select Brady and fade it alllll the way up to 95%.
Twice-brewed bonus step. Once you’ve saved and applied this custom effect, hit Apply one more time to get a richer, darker look.
Black and white gets a bad rap for being stark and unforgiving. But as we’ve long believed here at PicMonkey, there’s so much more to black and white than either/or. We hope these saved custom effect recipes have given you oodles of ideas for your next masterpiece, and we can’t wait to see what you come up with!
