Is it just us, or are there a million ways to say “happy birthday”? Between office email threads, social media posts, and party hat emojis, it’s clear that technology has changed the birthday messaging game. But card enthusiasts need not be left out of this shift in salutations. We’ve rounded up some trendy ideas so you can create a seriously stunning DIY card faster than you can find the perfect birthday cat meme.
Hip handmade

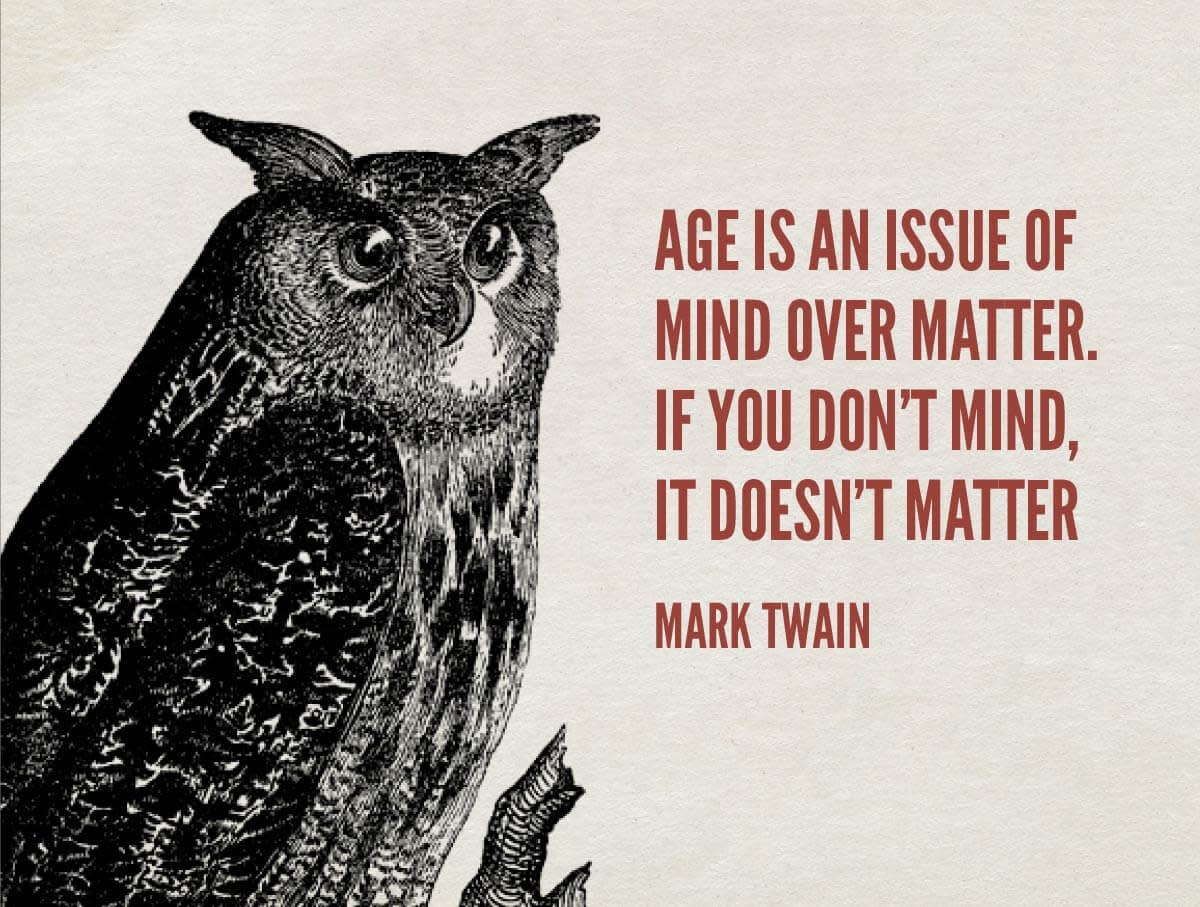
Wisdom (allegedly) comes with age. Help your birthday card recipients feel like the perfect blend of wise and trendy by giving them funny or enlightening quote cards with a hip, handmade look. Paper, Papyrus, and Weave, in the Textures tab, make it easy to give your card the appearance of hand-pressed paper, woven textiles, and embossed leather. Add visual interest with a graphic like this wise old owl from Magical Creatures, in the Witches theme. Dress your witty words up with different font and color options, and you’ve got a custom card worthy of Kinfolk magazine.
Tip: If you want to apply a texture to your entire image, including graphics, flatten it first by clicking the combine all layers button in the top toolbar. We wanted the texture to appear behind this owl, so we didn’t. You can also play with text effects like Inner Shadow and make your card look like it’s hot off the letterpress.
Beautiful black and white

What’s black, white, and b-e-a-utiful all over? Stylin’ black and white birthday cards with pops of color, of course! Getting this artistic look is easy as pie (er, birthday cake) with the Black and White effect. Use the paintbrush to add back the color in specific areas. And if you color outside the lines, click the Effect button in the Paint palette to brush the effect back over errant strokes.Tip: If what you’re after is one round-ish blotch of color in a sea of black and white, try Focal B&W, in the Area effects group. You can go from a little circle to a large swath, with the Focal size slider.
Funny and festive

Birthdays needn’t be serious business. Sometimes all a card needs is a silly saying and a festive vibe. Make your card scream “birthday!” louder than a 5-year-old at Chuck E. Cheese by creating cleanup-less confetti. Find the circles in the Geometric graphics and set Color 2 to the hue you like, then size and move the circles around the canvas until you’ve created the perfect look.
Tips: You can make your funfetti even faster with two slick tricks. Once you’ve made a circle you like, right-click it and choose Duplicate graphic. To quickly change which circle displays on top of another, right-click again and choose Bring to front or Send to back. Find more time-saving tips in our article, Cool Tips Nobody Knows.
Kooky kids’ cards

Kids and our Critters graphics were practically made for each other. Create the perfect birthday greeting for little ones (and whimsy-loving adults) by starting in Design. Find your ideal background shade with the color picker in the Basic Edits tab, then select a lovable monster from the cast of characters in Critters graphics. Add text with a fun font, and boom! Your beautimous birthday card is donezo.
Tips: Use the Eraser in the Graphic palette to get rid of anything you don’t want. For this card, we erased the bubbles that were originally in this monster’s mouth and replaced them with a birthday cupcake, which we created using Geometric and Symbols graphics.
