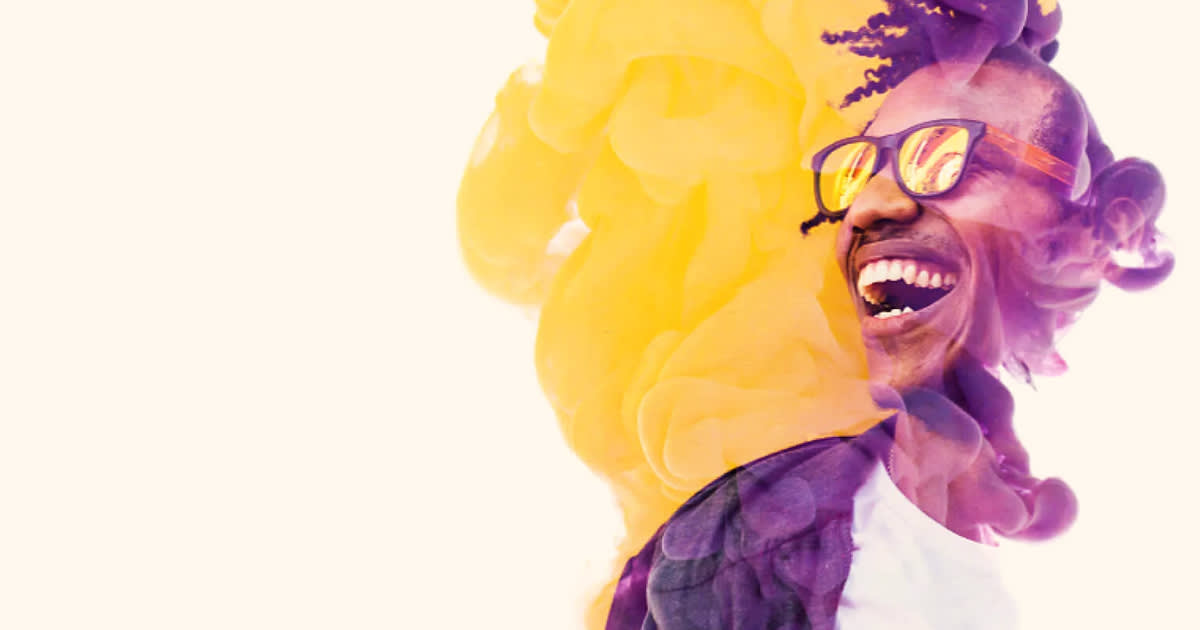
The double exposure photography technique has been around long before PicMonkey was ever around—nay, before software itself ever crawled forth into existence.
What is double exposure?
As an analogue technique, double exposure or multiple exposure photography is when two or more different images are superimposed on the same strip of film. Thanks to today’s photo editing technology, you can put your own personal spin on this mesmerizing look in post-production without using any film (or even a camera).
Watch our double exposure tutorial to learn how to create the look in PicMonkey using graphics, and read below to learn how to achieve the look and see more double exposure inspo.
How to make a double exposure
Pick your images.
Open your base image.
Add your second image on top of the first as a graphic or texture.
Select a blend mode.
Fine-tune until it looks how you like.
Let’s dive into a little more detail:
1. Pick the right images
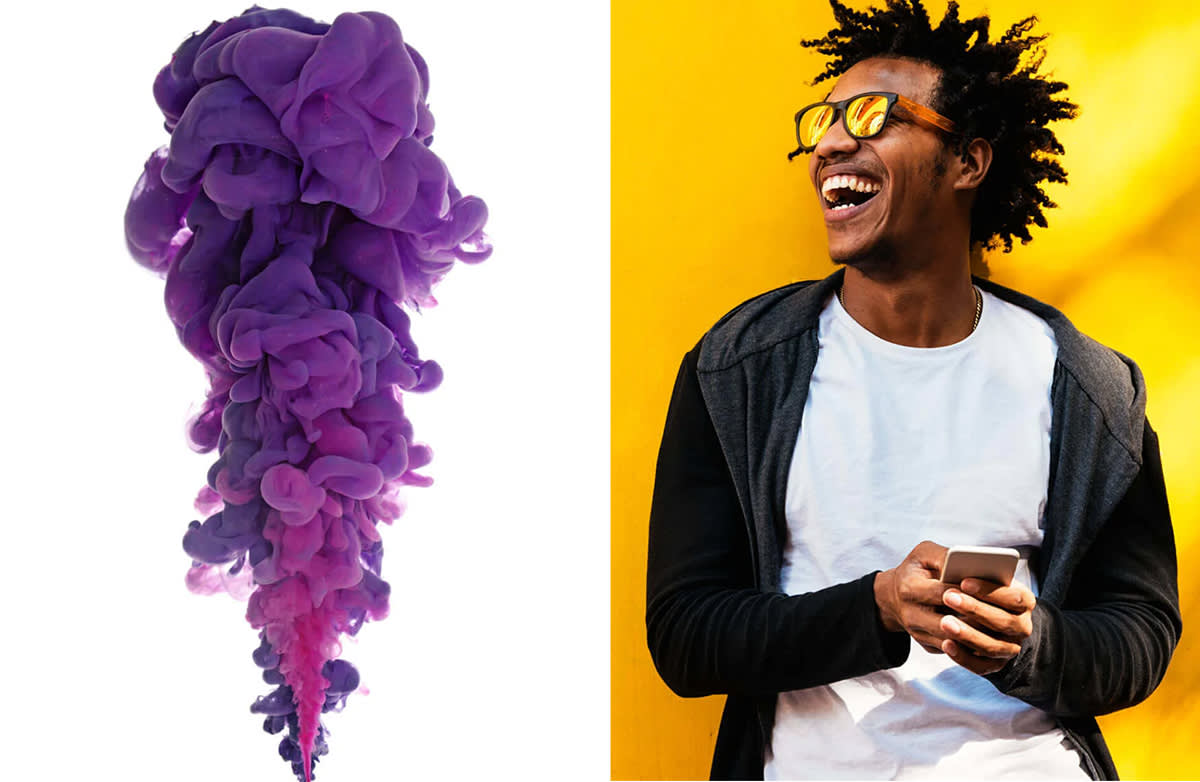
A good candidate for double exposure is at least one photo that’s high contrast, either with a dark background a light foreground, or vice versa. Although not absolutely necessary, this can come in handy when you adjust the blend mode because it will allow the other image to poke through only through the dark or light portion.
2. Open your base image
From the PicMonkey homepage, click Create new, choose your image to edit, and get that puppy in the editor.
3. Add your second image as a graphic or texture
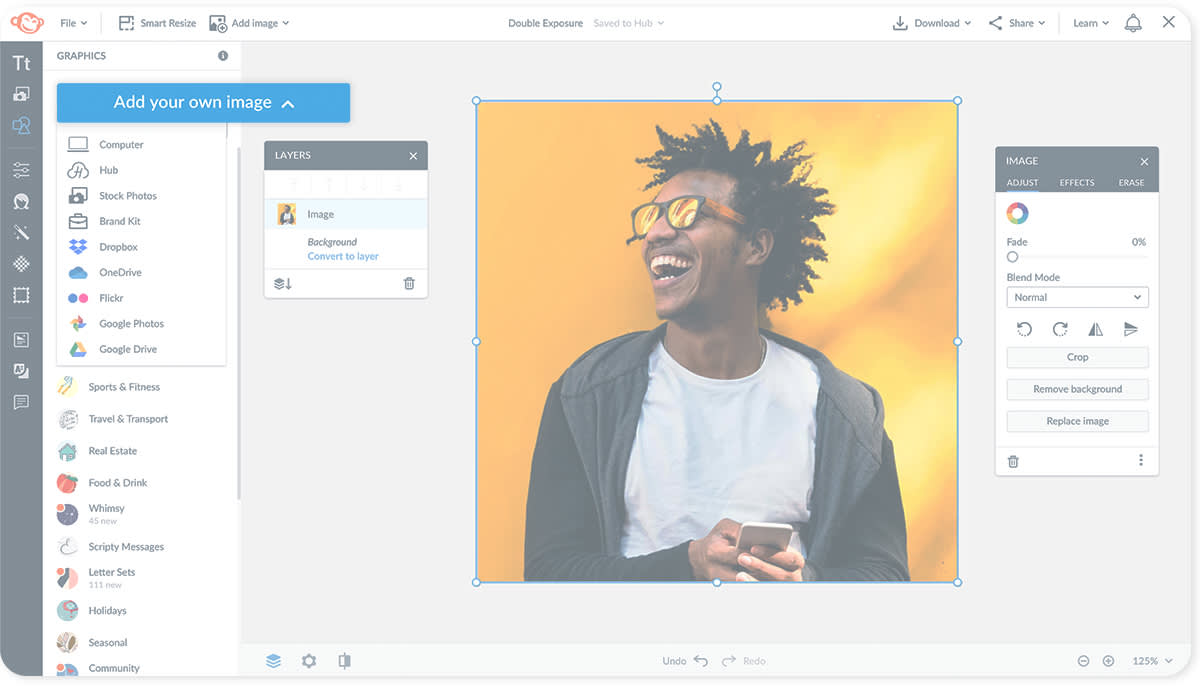
To add your second image, go to the Graphics or Textures tab on the left of the editor and click Add your own image at the top. This will let you pull in a new image from your computer or Hub. You can also always use one of PicMonkey’s textures or graphics. Note that when you apply a texture, it’s applied across your entire background image, so if your second image is smaller than your first one, it’s best to open it as a graphic. A graphic’s size and position can be adjusted exactly how you’d like it.
4. Select the blend mode
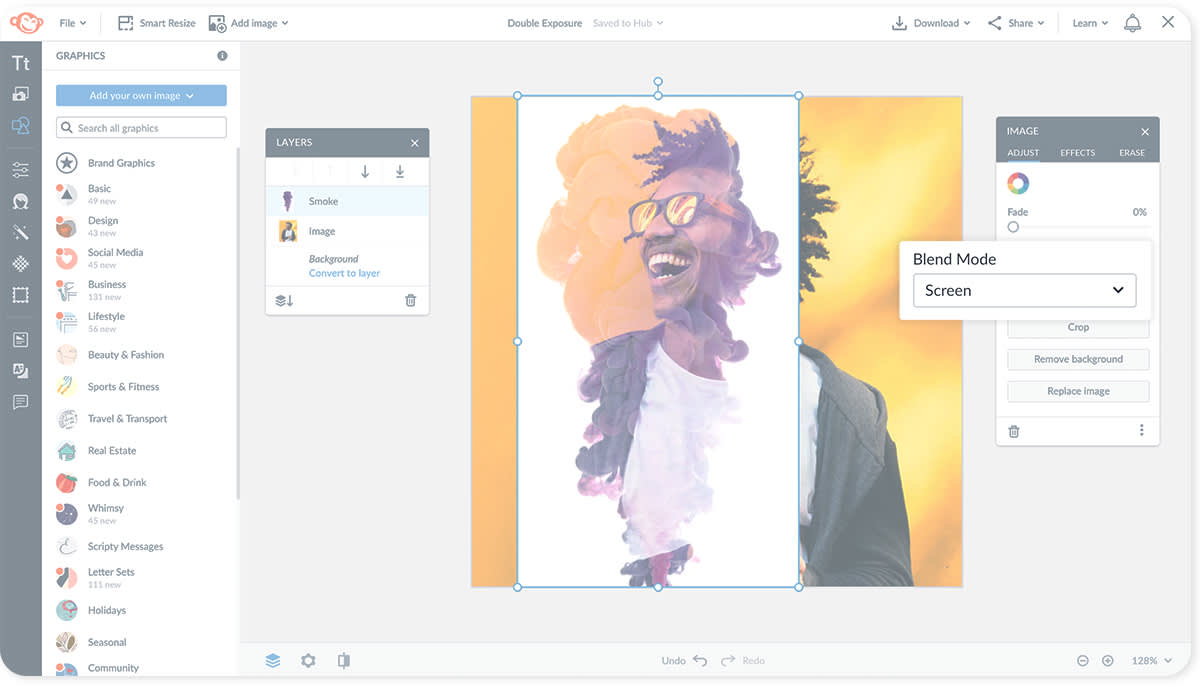
The Graphic and Image palettes, and the Textures tool have a drop-down menu labeled Blend mode. Blend modes, by definition, will blend two layers together in a number of different ways, so scroll through them until you find a look that you like. We like using Screen since it specifically keeps the blend in the dark area of your image.
5. Fine-tune
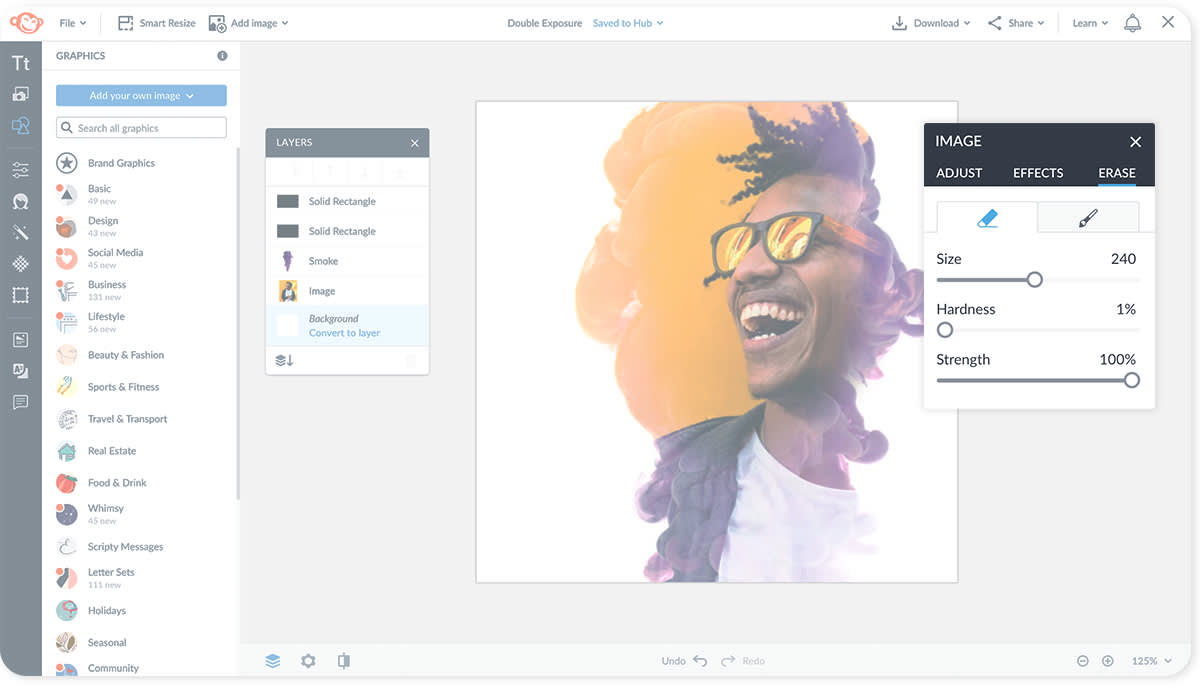
Now that you’ve beautifully melded your images together, it’s time for the finishing touches. If you used an overlay, you can rotate it or change up the placement, and then crop out any part of your image you don’t want. If you used a texture, you can change its size and positioning across your canvas. For both, you can adjust the eraser strength, so that the double exposure shows through more in some spots than in others.
More double exposure magic
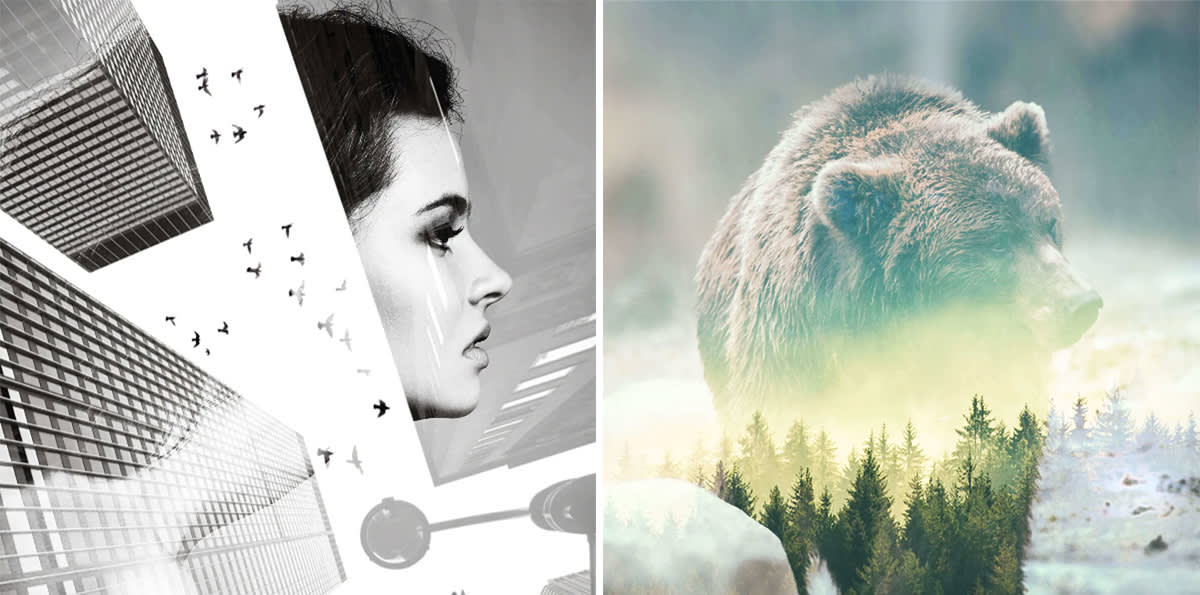
Love the look? Feast your eyes more of this inspo and hie thee to PicMonkey to make your own!
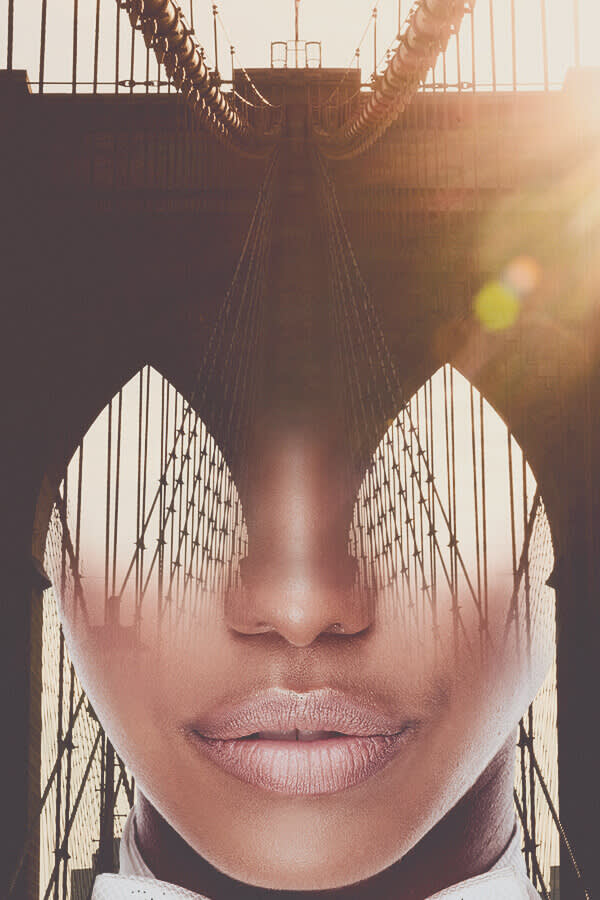
Not all double exposures have to use blend modes. We got this look by lining up with face on top of the bridge image and using a softened eraser to get rid of the parts we didn’t want.
