We’re not looking for a superficial relationship, dear PicMonkeyer. We want you to really know us, which is why we’re continually disclosing photo editing tips and other goodness that flies a bit under the radar. Here’s the lowdown on a few extra handy PicMonkey features that you may not have noticed before. They can save you precious time, make your workflow more efficient, and might even help you rake in a few cashmoneydollars.
1. Combine button

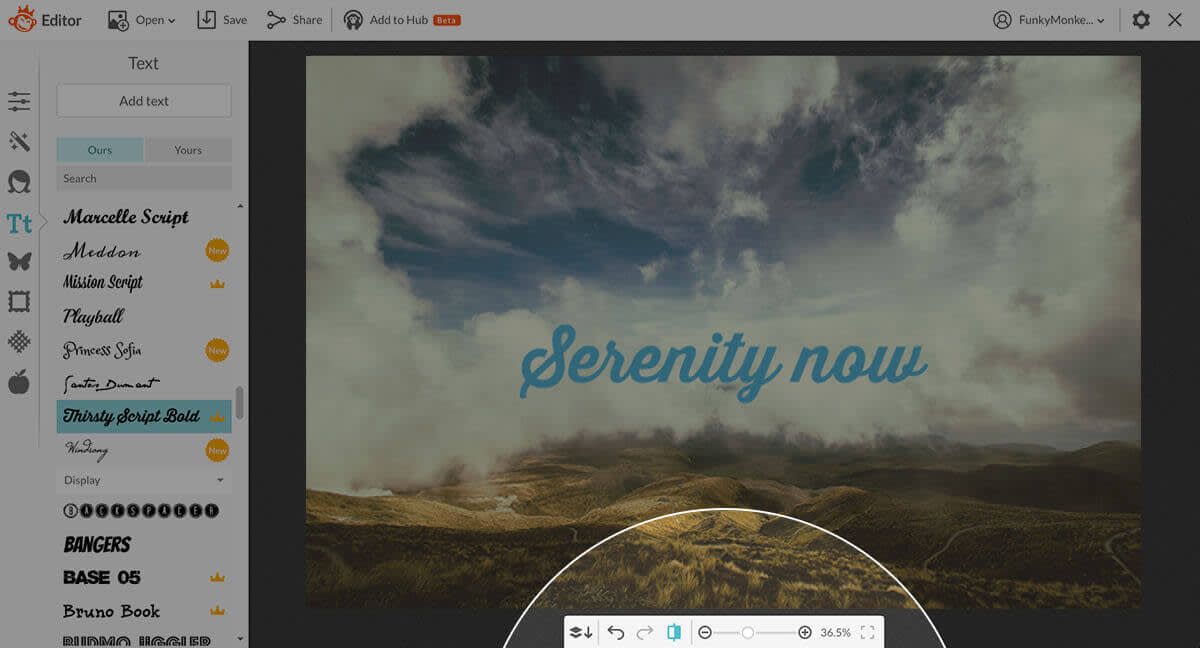
In the bottom toolbar, you’ll notice an icon that looks like two stacked squares and a down arrow. We call it the Combine all elements button, or flatten, or merge. Basically, it takes all of the things you’ve done to your image, and makes them into one unified layer. After you’ve combined all of your elements, any effect that you select will be applied to the entire image. Flattening is a key step in creating things like spiffy text masks (image coming through text). Tip: if you change your mind, and you don’t want everything combined, click that undo arrow in the bottom toolbar.
2. Before/after button

Not sure about that last effect or graphic you applied? The before/after button in the bottom toolbar lets you easily assess your edits without actually undoing or redoing a thing. Move that cursor to the icon that looks like two image files with a divider between them (hover over it to see the tooltip if you’re not sure you’ve got the right one). Click and hold to see your image pre-edits, and release to go back to post-edits.
3. Dimensions in the save panel

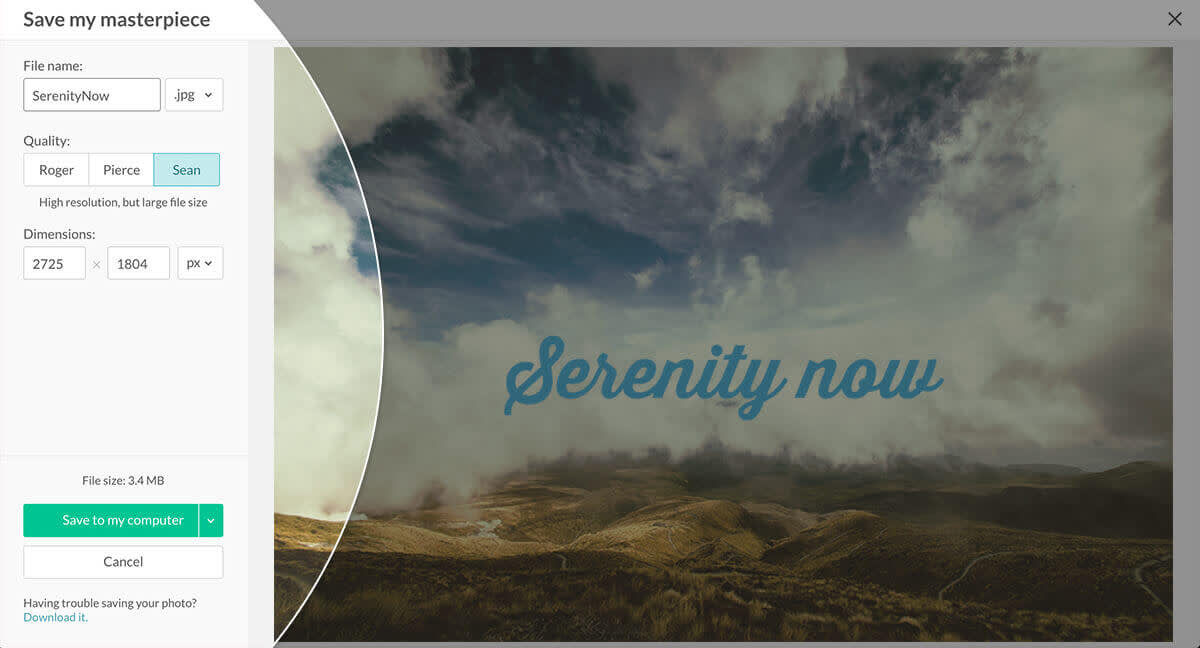
If you’re looking to save your image in dimensions that you didn’t specify when you began editing, you can do so from the save panel (which appears after you’ve clicked Save in the top toolbar). Your image’s height and width display right below the three handsomely named quality options. Click Change, and fill in the fields to specify the pixel dimensions or the percentage of the pixel dimensions you’d like your image to be saved at. We’ve also got a whole mess of other useful ways to make sure your image is the right size; learn all about them here.
4. Clear all button in Collage

Sometimes creativity calls for moments of crumpling up your draft in a state of minor frustration and chucking it into the wastebasket across the room. If you’re gettin’ crafty with our collage maker and decide you want to rearrange the images, save the frustration and the clicks it takes to get rid of every image individually with the Clear all button. It’s hanging out right next to AutoFill in the photo tray. Bee-tee-dubs, you should also check out the AutoFill button while you’re at it: sometimes we could swear there’s a tiny little art director inside it that knows exactly which pic to put where, in your layout.
5. Open-from and save-to options

In this image driven pict-o-verse that is life, images can live in a lot of different places. That’s why we created the option to open your images in the Editor from multiple places, and save them in different locales as well.
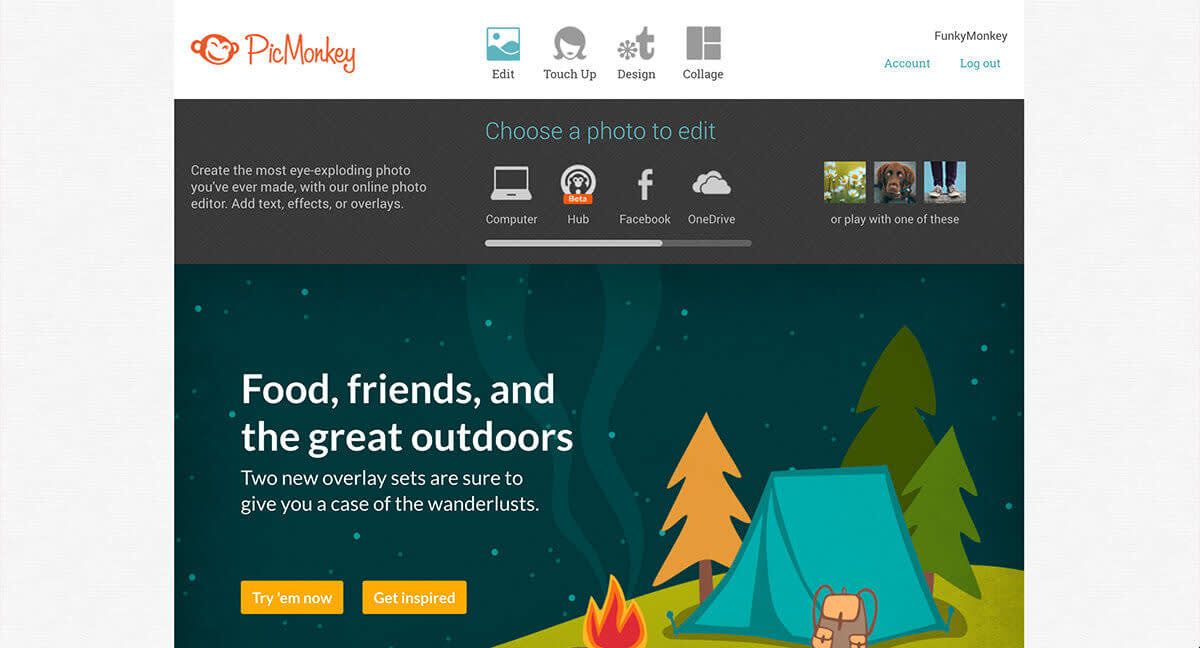
Hover over Edit in the top menu, and take a look at the options that appear below. Whoah! In addition to your Computer, you’ve got Facebook, OneDrive, Flickr, Dropbox, and Hub. Hub is our image storage platform that lets PicMonkeyers re-edit their pics after they’ve saved them. It’s also the PicMonkey mobile app’s BFF, because it opens up a whole new world of desktop-to-mobile, and mobile-to-desktop editing possibilities. Wanna know more? Check our article about Hub and mobile.
You also have a plethora of great options when it’s time to save your images. From the Save panel, locate the green Save to my computer button at the bottom, and click the arrow next to it. You can save to your computer, OneDrive, and Dropbox.
You can also save your images to Hub. Click Add to Hub in the top toolbar, title your masterpiece, and click Add.
6. Googly goodness
Good news, Google Chrome lovers: the PicMonkey Chrome Extension and PicMonkey Chrome app offer two ways to get to your favorite photo editor faster than you can say “antidisestablishmentarianism.”
With the Google Chrome extension installed, simply click the orange monkey icon next to your search bar, and in one kajillionth of a second, every image on that page and a screenshot of the entire page appears as a tiny thumbnail in a sidebar. Choose the one you like, and it’ll open right up in the Editor. Get it here.
The PicMonkey app for Google Chrome offers other neato shortcuts. The orange monkey icon for this one lives on Chrome’s New Tab page. So you can fire up the Monkey from here, instead of pinned tabs or the address bar. Heck, you can even edit photos right from your Gmail inbox. Treat yoself to the PicMonkey app in the Chrome Web Store.
7. Fo yo biznass
Ask not what PicMonkey can do for you, but what PicMonkey can do for your business. Or, actually, ask both questions—we’re here for you and your livelihood. If you’re a photo enthusiast/pro, small business owner, educator, crafter, lifestyle dynamo, and/or blogger whose site visitors would appreciate learning about PicMonkey, we’ll show you some monies for showing us some love. We’ve partnered with ShareASale to make signing up for our affiliate program easy peasy. Get all the deets right here.
If you’re looking to give your visitors all of the PicMonkey editing goodness without sending them away from your site, our API is just what you need. We have the technology, and we want your site to have it too. Our editing experience, your online space. Together, we’ll help your visitors beautify their photos better and faster. It only takes an API key and a few lines of code to get you all set up. Learn more about the PicMonkey API right over thisaway.
